Smart home devices bring convenience into our homes, making it easier to control devices remotely and bringing a new level of automation. The easiest way to make devices work with each other is to ensure they come from the same manufacturer or ecosystem. The new Matter protocol also makes it easier for various products to communicate with each other, breaking boundaries across brands. Still, not all products are compatible with Matter or each other. However, they may support IFTTT, making it easy for devices from various manufacturers to work with each other.
IFTTT stands for If This Then That, and it's a platform that brings plenty of solutions and systems together, making them interact without requiring technical skills. In addition to smart home devices, IFTTT works with most of the online services you already use, such as Gmail and Twitter, so it's worth considering when you want to create conditional workflows.
What is IFTTT?
IFTTT is an automation tool that was launched in 2010. It helps you create applets, which are easy scripts or scenarios that work with thousands compatible services and products. Applets can be triggered manually or automatically based on rules and conditions you define
If some of the products or services you use aren't compatible with IFTTT, you can still use Webhooks to make them work with it.
IFTTT applets are based on conditions, or triggers, meaning that an event automatically launches the script of your choice. For instance, IFTTT can automate your social media by tweeting your Instagram photos, preventing you from doing it multiple times. Similarly, you can automatically turn off your Philips Hue lights when you're not home or turn on your sprinklers when it's not raining. The same goes for automatically adding files to Dropbox or songs to your Spotify playlist.
The possibilities are endless, and the main advantage of using IFTTT is that you can make a wide range of platforms and devices work with each other seamlessly. A basic example is automatically turning off the heater or air conditioning when you're not home, which their apps don't allow.
IFTTT is also compatible with Google Assistant and Amazon Alexa, so it can help you use some devices with your smart speakers, even if they're not compatible. For instance, you can create an IFTTT applet that turns on Blink cameras through Google Assistant, which isn't possible out of the box.
In addition, the platform offers advanced features, such as adding a delay after a trigger before continuing to run the script. Similarly, you can add multiple actions as part of an applet so that one trigger runs various actions. For example, you can create an applet that automatically turns on the air conditioning and closes the shutters if it's above 85 degrees. Lastly, IFTTT can retrieve queries and work with JavaScript to create advanced applets.
Some of these features require an IFTTT Pro or IFTTT Pro+ subscription. The free membership can be sufficient if you don't need more than five applets, each containing one action.
Getting started
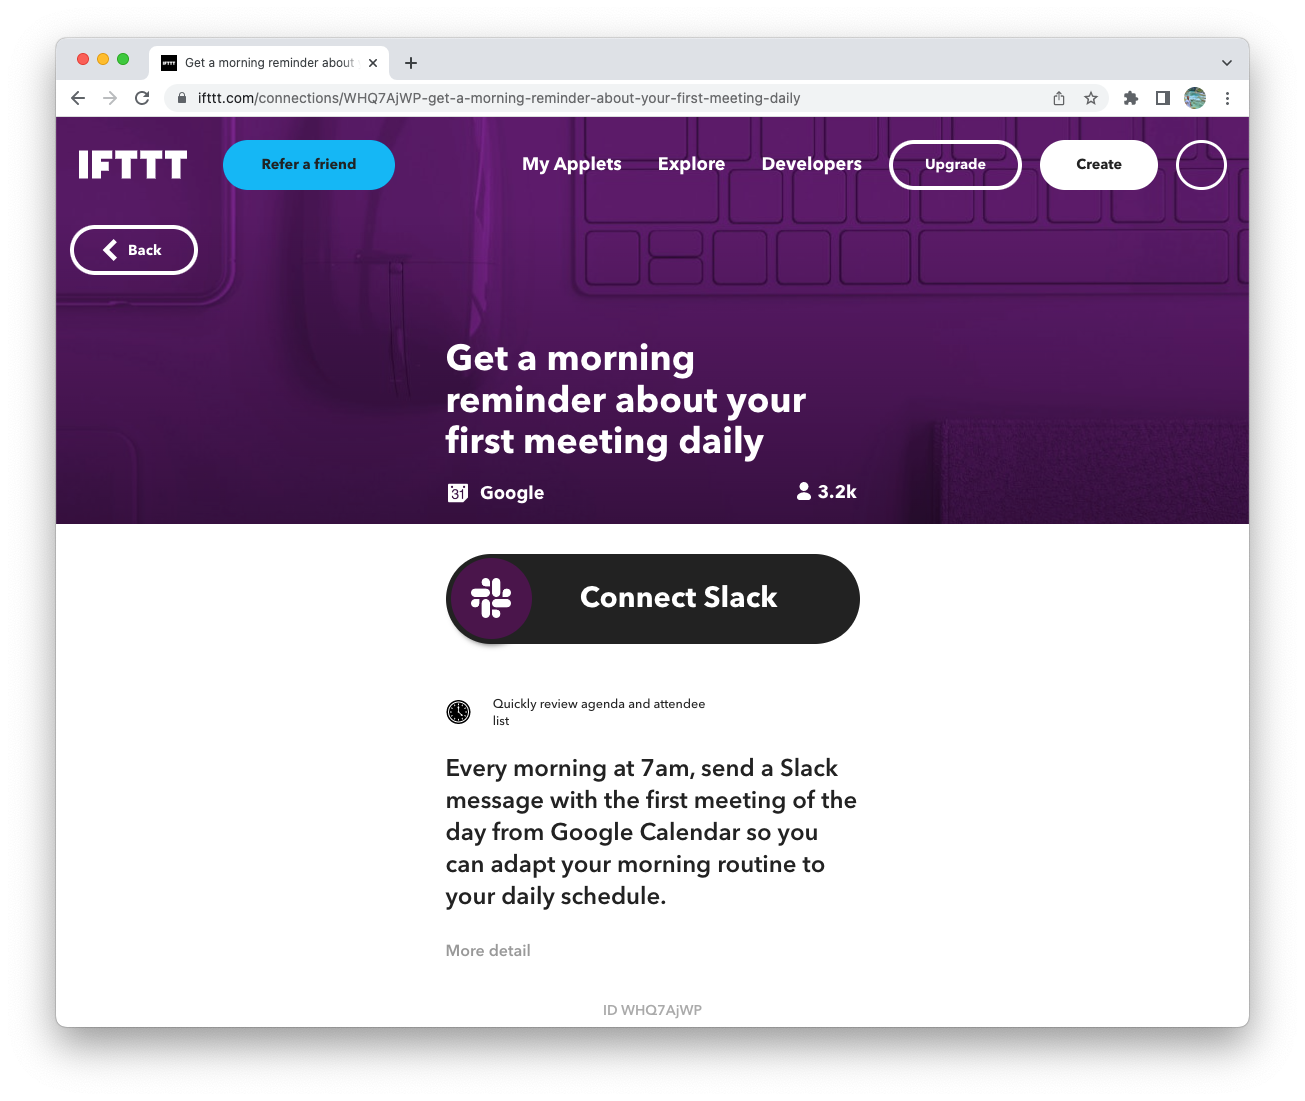
You can either create your own applet or pick from the existing library. Others may have made applets and shared them with the community, so have a look if you're unsure what to do or are looking for ideas. To get started, create your IFTTT account and follow the steps below to use your first IFTTT applets.
To browse the existing library:
- Log in to IFTTT.com or open the IFTTT app on your phone.
-
Click Explore in the upper-right corner.
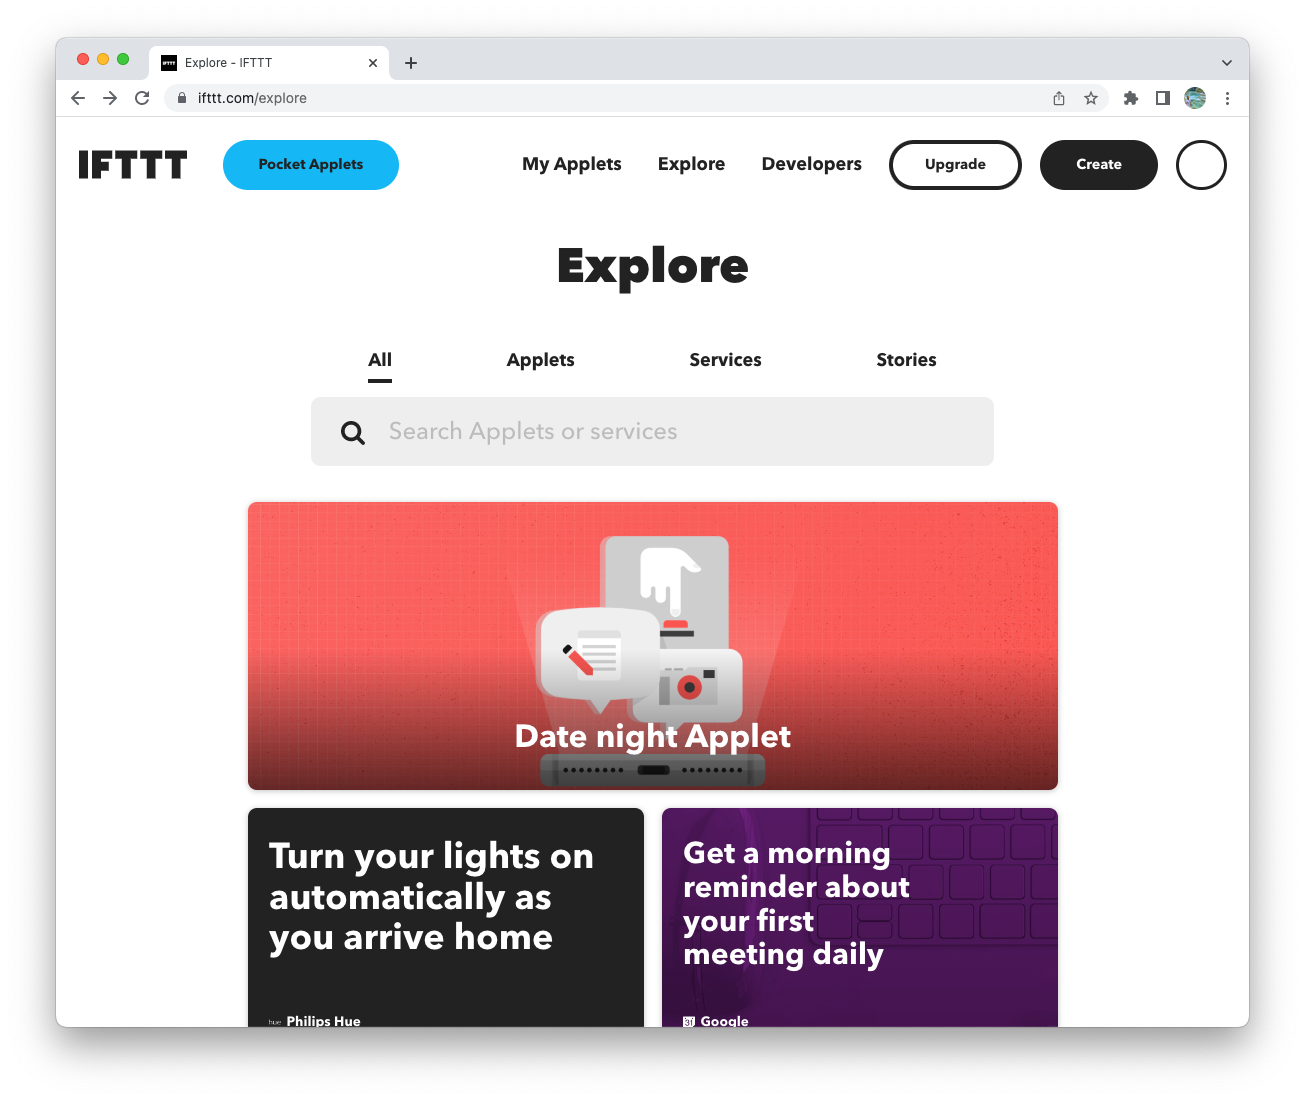
- Select the applet you're interested in.
-
Click Connect.
- Check the various settings and click Save.
- When your new applet is up and running, give it a try!


If you want to create your own applet and customize it a bit further, that's possible and only takes a few clicks:
- Log in to IFTTT.com.
- Click Create in the upper-right corner.
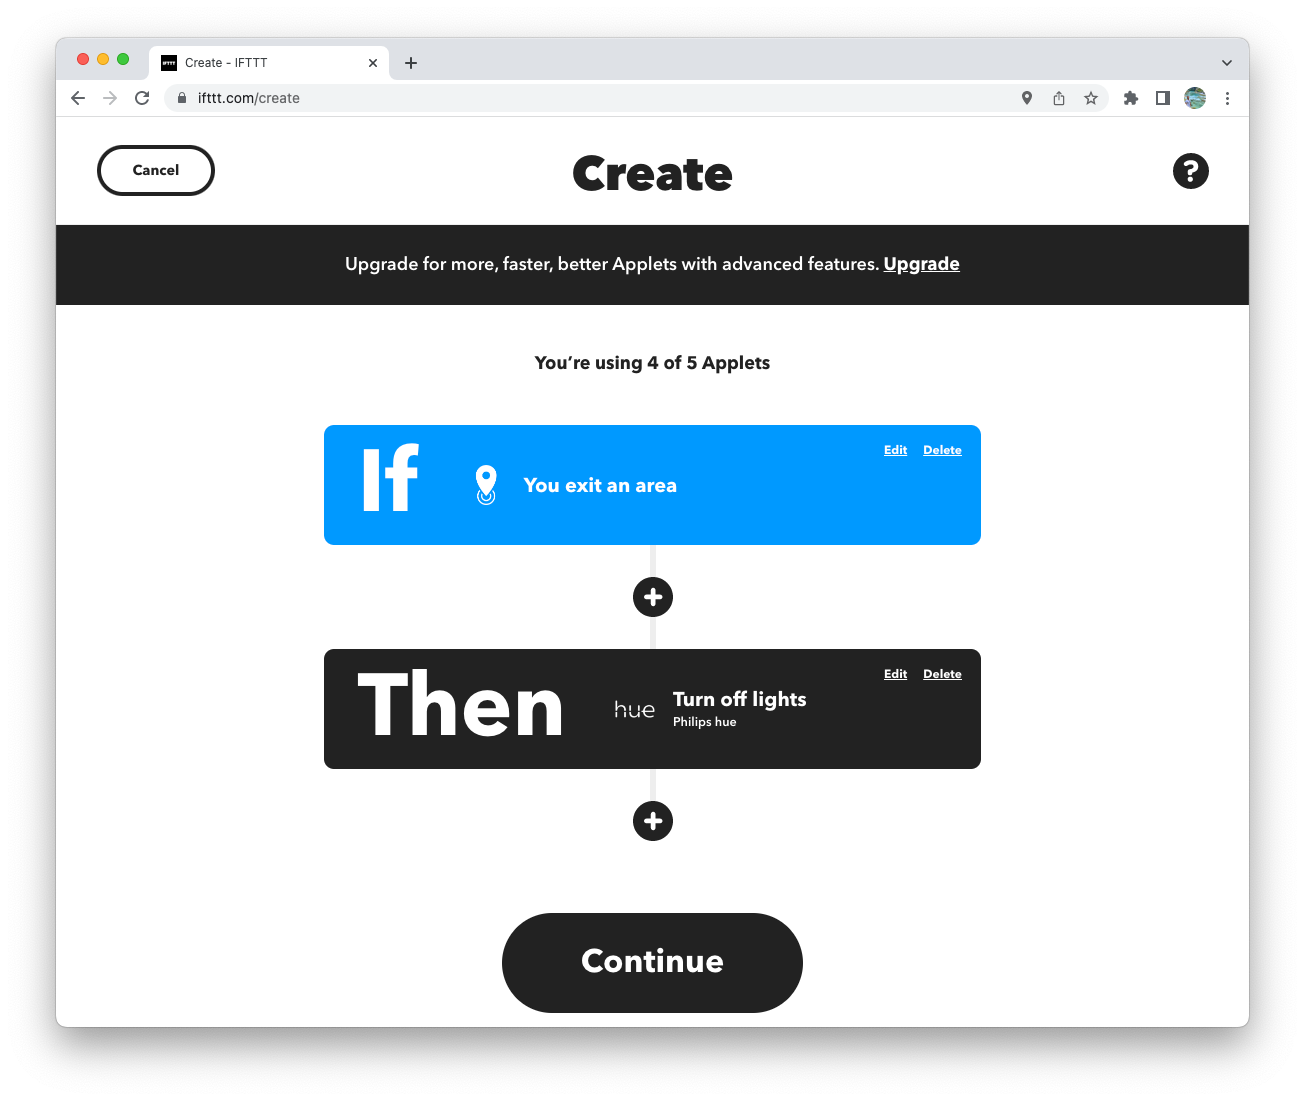
-
Click Add next to If This to define your trigger.
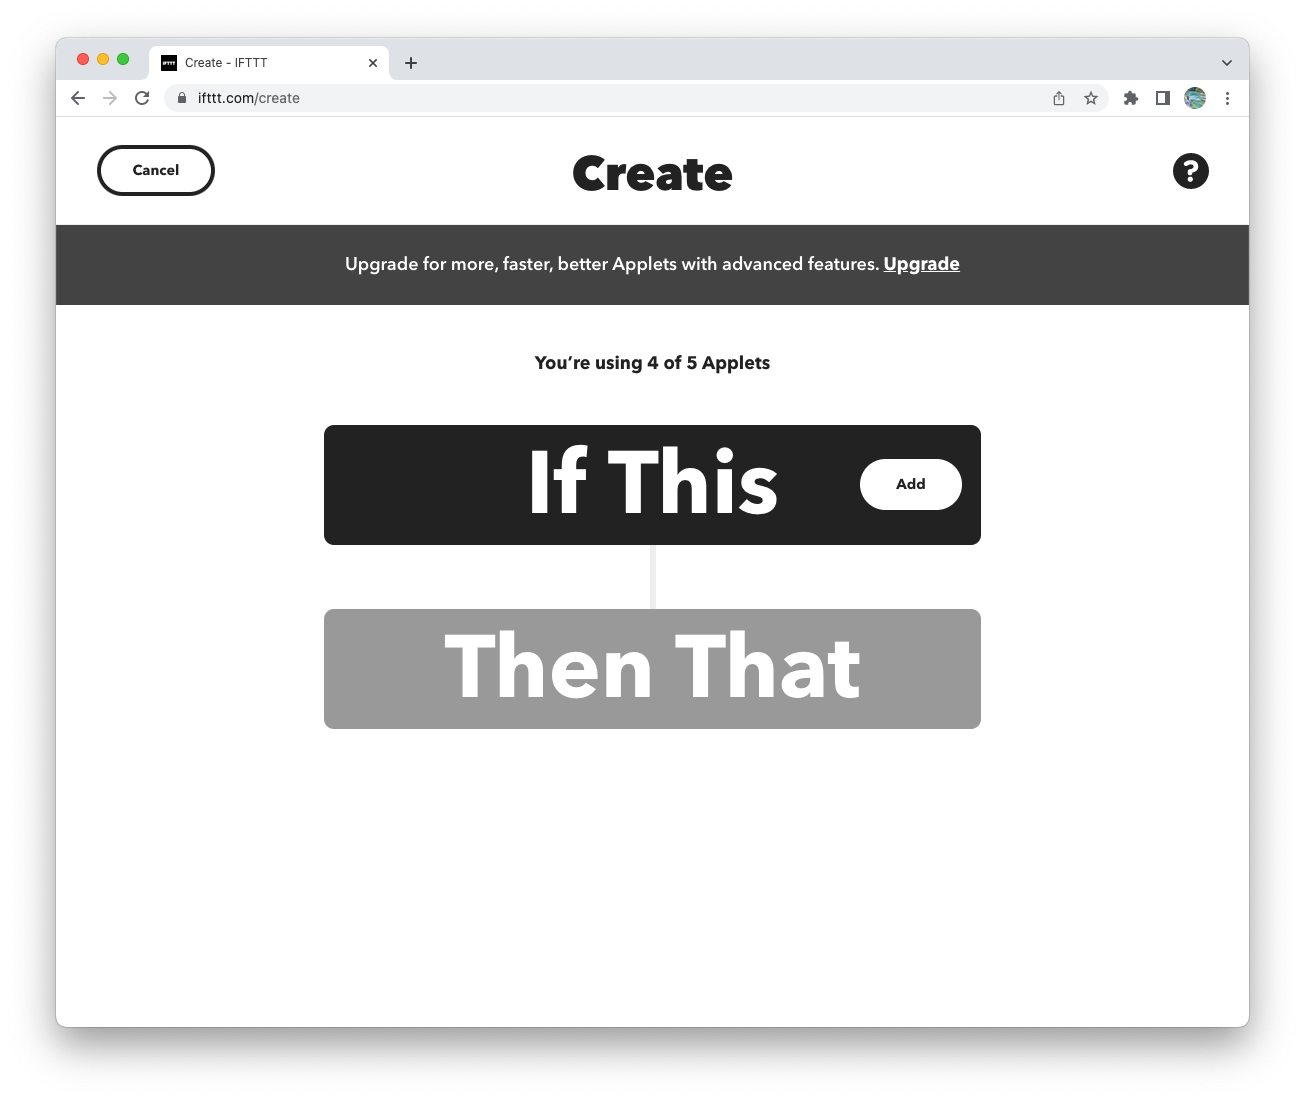
- Then, do the same with Then That to configure what happens next.
- Click the + icon between If and Then to add a specific wait time before running the action. This can be useful if you want to arm your security system automatically with an extra delay.
- This is as far as you can go with the free membership. A Pro subscription allows you to add more actions under Then and run several actions with a single trigger.
-
When you're done, click Continue.
-
Give your applet a name and click Finish.
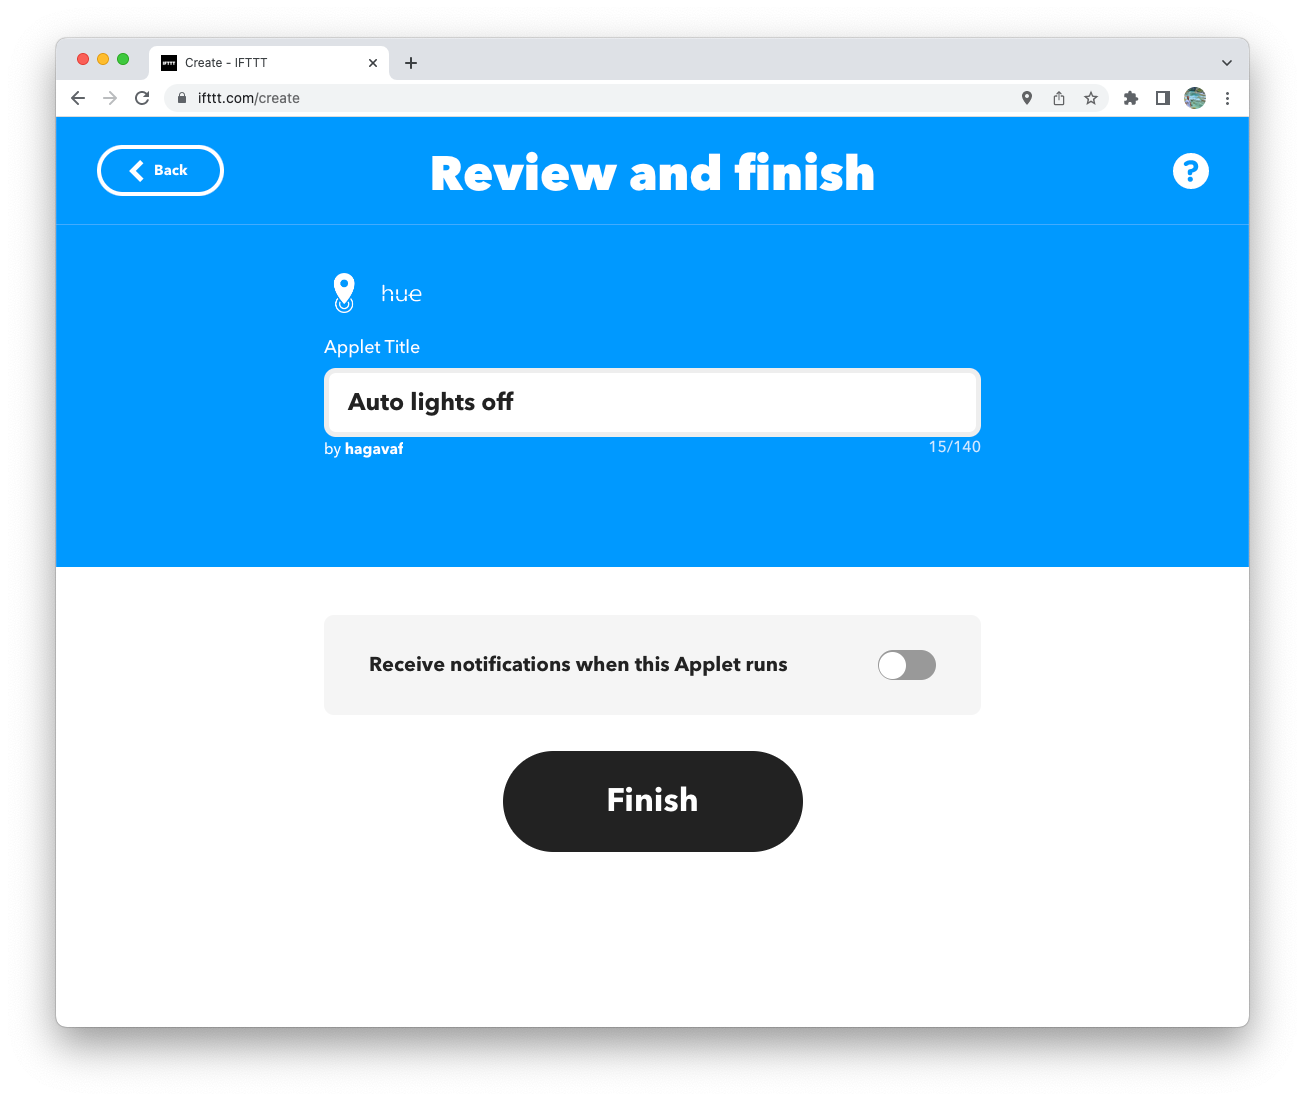
- You're good to go. Enjoy using your new applet!


What's the difference between the free IFTTT service and the two paid subsciption tiers?
There's a lot you can achieve with IFTTT. The free plan has several limitations, as it only lets you have five applets, which can only run one action each. Even though that's enough for some people, you may want to consider a paid subscription to do more.
The Pro subscription raises the applet limit to 20. And you can create multistep applets, meaning one trigger can launch several actions, which makes sense for home automation, especially if you use different providers and brands. It's relatively affordable, at $2.50 a month, which is decent compared to what it lets you achieve.
The Pro+ plan offers unlimited applets, allowing you to create as many as you want. In addition, it lets you connect multiple accounts, which can be handy if you have a different one for each property you own, for example. Lastly, it offers advanced features, including queries, filter codes, and developer tools. It's a bit more expensive, though, at $5 a month.
The Pro and Pro+ plans include customer support and faster applet speeds for a smoother smart home experience.
Advanced IFTT features
IFTTT offers advanced features that developers, tech enthusiasts, and curious people love. One is Webhooks, which allows you to integrate IFTTT with virtually any service. Unlike existing services and applets, you create the Webhook and define the various values. It's not as straightforward as an applet, but it has the benefit of offering advanced integration with an infinite number of possibilities. For instance, if you have your own server at home, you can use it with IFTTT through Webhooks.
Furthermore, with a Pro+ plan, you can use queries and filter codes to customize your applets. The first allows you to create an extra condition for your trigger, allowing IFTTT to gather additional information to assess how to proceed when running the applet. Filter codes are snippets of JavaScript code that you can run inside IFTTT to customize the applet the way you want. While it requires coding and a Pro+ subscription, it lets you achieve maximum customization of your automation.
Use IFTTT to automate everything in just a few clicks
IFTTT helps you bring together services and products that aren't compatible with each other in just a few clicks. It doesn't require any technical knowledge and lets you design your own scenarios and automation.
Geeky users can expand the possibilities thanks to the advanced features IFTTT provides, including the ability to connect even more services and devices using web services and Webhooks. The possibilities are endless, and your creativity is the limit.
If you're looking for great examples of nice applets you can build, check out how to build your own theft-deterrent system using IFTTT without investing in an expensive alarm system.