Are you a novice when it comes to smartphone photography? Whether you've opened the settings menu of your camera app or not, getting professional-caliber photos with your smartphone isn't as difficult as some would have you believe. With a few handy tips, an editing tool here and there, a bit of confidence, and one of the best Android smartphones, you can impress friends and family with some of the best pictures they've ever seen.
In this guide, we give you a few basic tips for beginners in smartphone photography, including some easy ways to get the best show and how to edit that photo once you've taken it.
Getting the best pictures
The clearest way to a good photograph is to take one. It's that simple. However, while professionals make it look easy, getting the right shot takes a bit more finesse than you might realize. These tips are easy to follow and should give you a good foundation for solid photography that will lend itself to more effective photo editing.
Use the grid lines
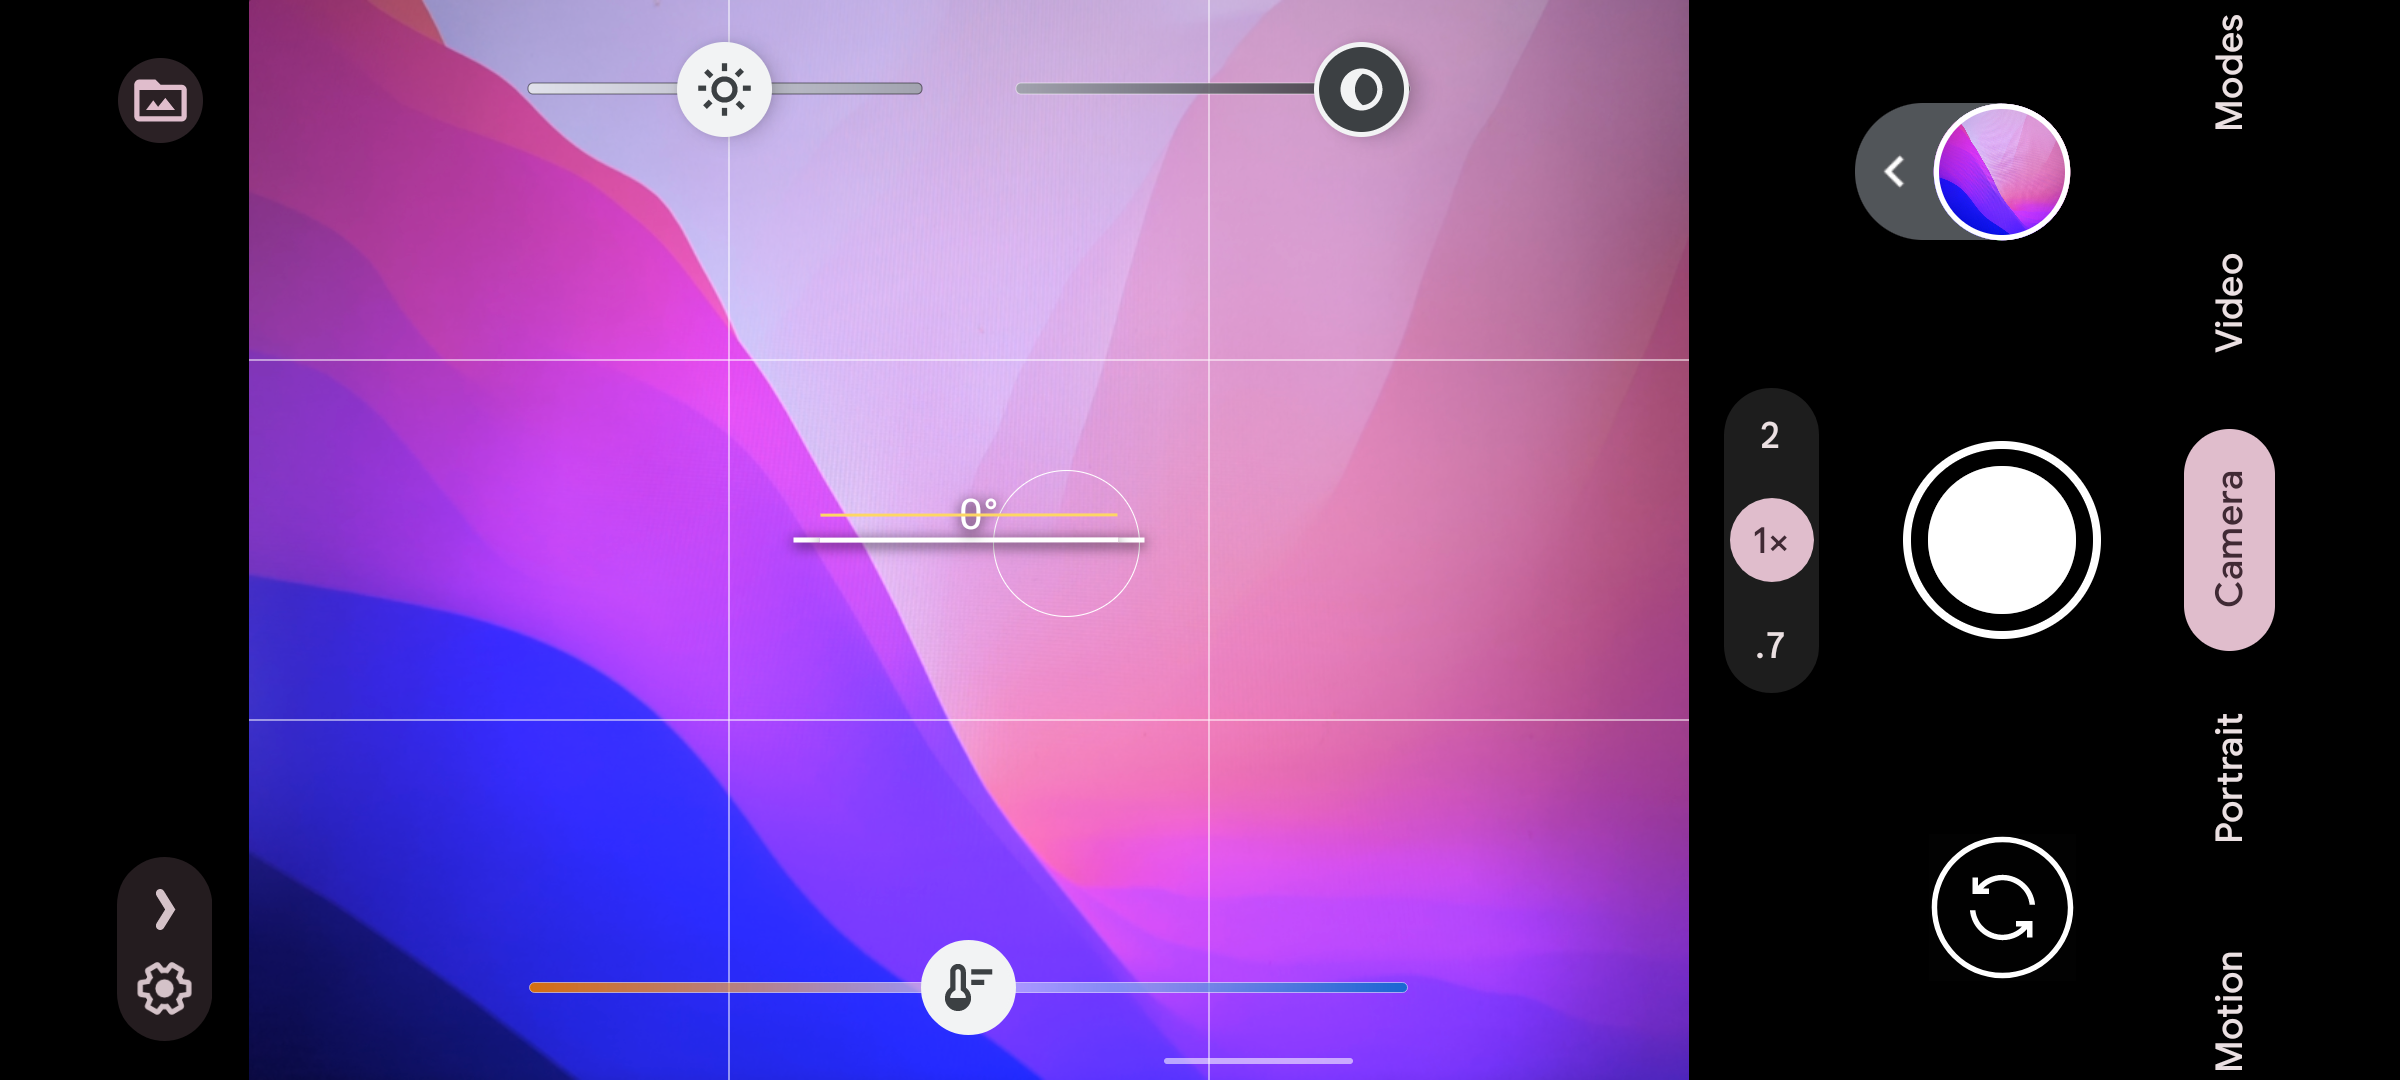
Grid lines are there for a reason! You might not realize it, but photography is a calculated art that can be impacted by spacing out your subjects in a particular way. Whether you want to frame your subject in the middle of the image or juxtapose it with others, you'll need to know where they are in reference to the rest of the picture. That's where grid lines come in handy.
Nearly every smartphone camera app allows you to add grid lines, showing you how an image works out from a geographical standpoint. You can often customize the kind of grid lines you have, whether it's 3x3, 4x4, or the golden ratio, a popular option for more advanced photographers.
Remember to focus
It's not immediately apparent when taking pictures on your smartphone's camera app, but if you want to be sure that the subject of your photo is crystal clear, you'll need to focus. Smartphones make this easy, as all you do is tap your display where you want to focus, and bam, you're in business. This might seem like an obvious one, but if you haven't been doing it, you'll likely notice the difference substantially on your first try.
Avoid the zoom
Yes, some smartphones have exceptionally impressive zoom lenses, including the infamous 100x zoom on recent Samsung phones like the Galaxy S22. These cameras are designed to give you solid pictures from far away, which is nice if you need that. Still, if you're looking to edit your pictures, zooming in too far can give images an over-processed and even pixelated look, which is likely not what you're going for. So, avoid the zoom if you want to try your hand at better-looking photo editing.
Wipe your lens
This one can be easy to overlook on a day-to-day basis, but it can make a huge difference when it comes to picture quality. Maybe you ate some greasy fast food and grabbed your phone hastily before snagging a napkin. Maybe you accidentally pushed the wrong side of your device against your face when you got a phone call.
No matter how you smudged your smartphone camera, wiping off the lens before embarking on your smartphone photography journey will be key to ensuring you get the highest quality photos on the first try. After all, it doesn't matter how good the sensor is if it has to wade through a thick layer of finger oil.
Shoot in RAW
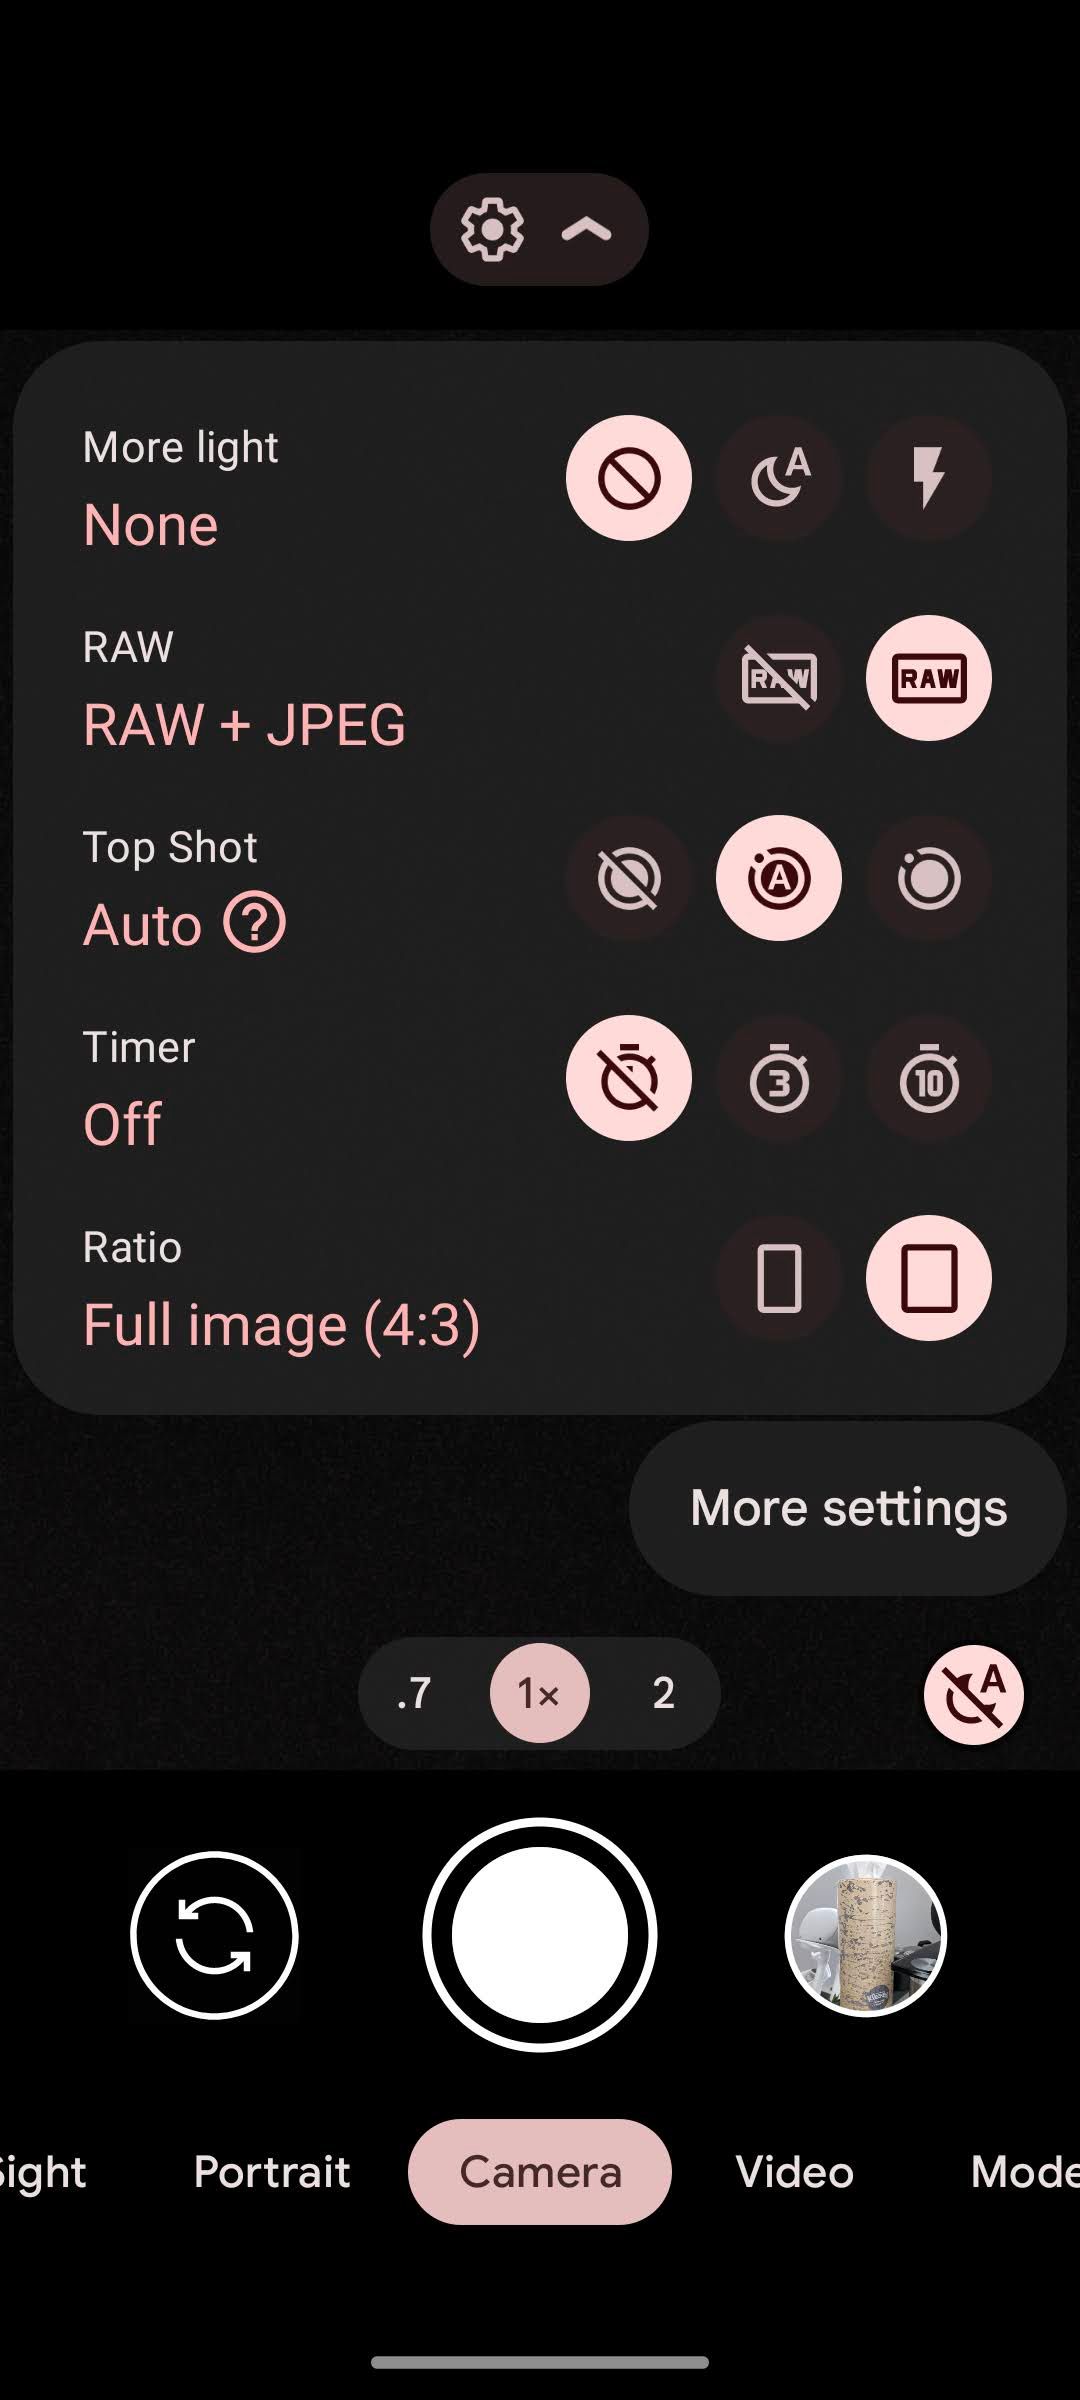
We know this guide is for beginners, but if you really want to branch out and take your photo editing seriously, start shooting in RAW, an uncompressed, unprocessed image file that facilitates more in-depth editing. Knowing when and how to shoot in RAW is key. These image files allow for significantly more noticeable changes when it comes to photo editing, so you can have a greater impact on how the final project eventually comes out.
It's worth noting, however, that RAW files are significantly bigger than the standard JPEG format, so they will take up a lot of room on your smartphone. If you don't plan on editing or processing these images, it's best to leave them as JPEGs.

Editing your best pictures
Now that you've taken a top-tier picture with your smartphone using the previously mentioned tips, it's time to start editing. No guide will make you an expert photo editor after a quick read. As with most endeavors, it takes practice to fully understand the nooks and crannies of photo editing, which means you won't get professional-caliber photos on the first try.
Still, there are a few tips and tricks that can get you started on the right foot, and we're here to give you as many of them as possible.
Crop 'til you drop
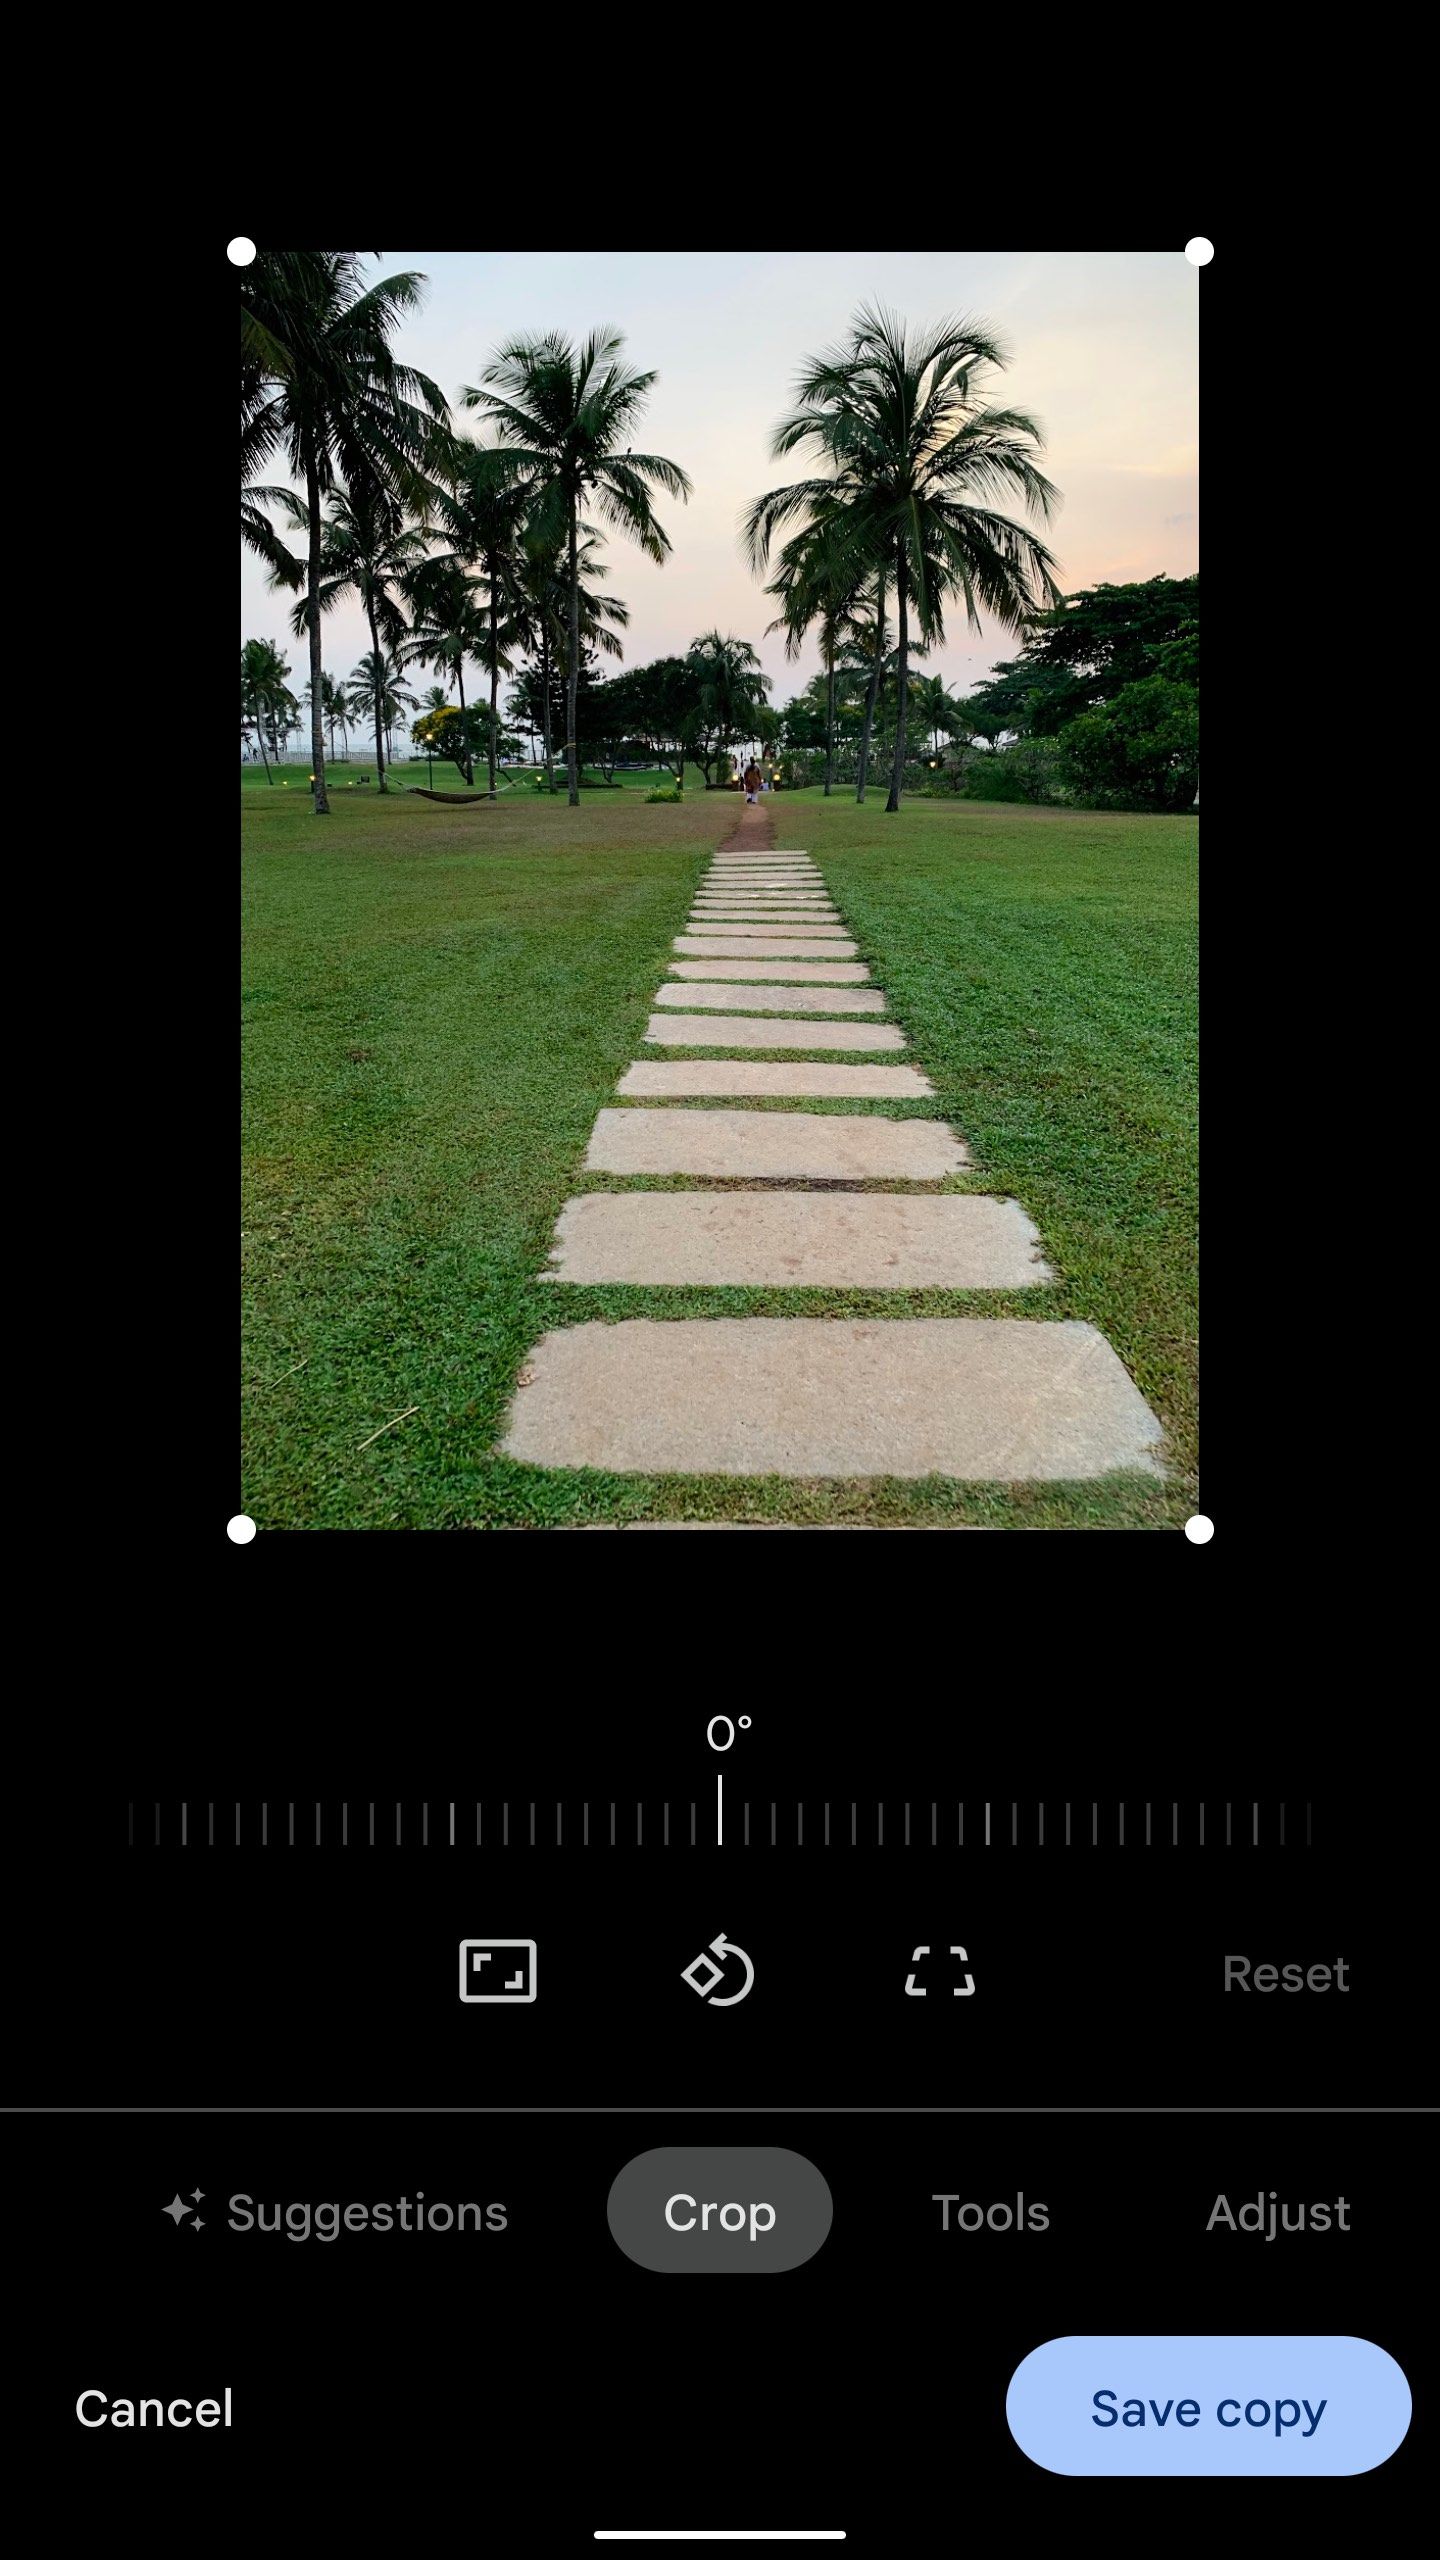
There's a good chance your original image wasn't exactly what you were looking for. Fortunately, modern smartphone photography is decidedly friendly to a simple crop here and there, so don't feel like you're bound to your original image. Just squeeze in those edges, find your perfect frame, and start your photo editing off on the picture you meant to take.
Be sure not to overdo it, though. In the same way that zooming can ruin the integrity of your image, an aggressive cropping strategy can end in the same way. Use cropping to tidy up the edges rather than create an entirely new picture, and you should be fine.

Lighting is the way
In an ideal world, every picture would be taken in perfect natural lighting, and you'd never need to edit anything. However, we live on a planet on which the sun sets, so getting the ideal lighting for every picture is dependent on the time of day. That is, unless you can edit the lighting with tools like brightness and contrast, which virtually every smartphone camera app on the planet allows.
As for how to use these settings, the key is to avoid the extremes for both. Too much light makes an image look washed out, whereas too little light makes it look like you took a picture in a cave. Try to find a pleasant middle ground to improve your picture without fundamentally altering it in an irreparable way.
The colors will set you free
Unless you're going for that edgy black-and-white smartphone photography vibe, color is a big part of your pictures. If you're looking to boost the color of your pictures a bit of, use settings like hue and saturation as much as possible. With hue, you can change the foundational color of the image, making it more substantial. For saturation, you can edit the richness of the color, giving it more of that pop you see in top-quality images.
In 2022, a lot of phones offer features like Auto Color or Color Blocking to create uniquely colorful images, so be sure to check out the various modes on your device before taking a picture.
Getting started with mobile photography
There are a lot of smartphones with great cameras out there to get started. The Samsung Galaxy S22 Ultra and the Google Pixel 6 Pro are two of our favorites, providing top-tier cameras and sensors in their devices and also offering some of the most robust built-in photo editing capabilities for their users. If you want to get a bit more insight into how to take the best pictures, be sure to take a look at our Mobile Photography Week 2022 coverage from August 2022.


