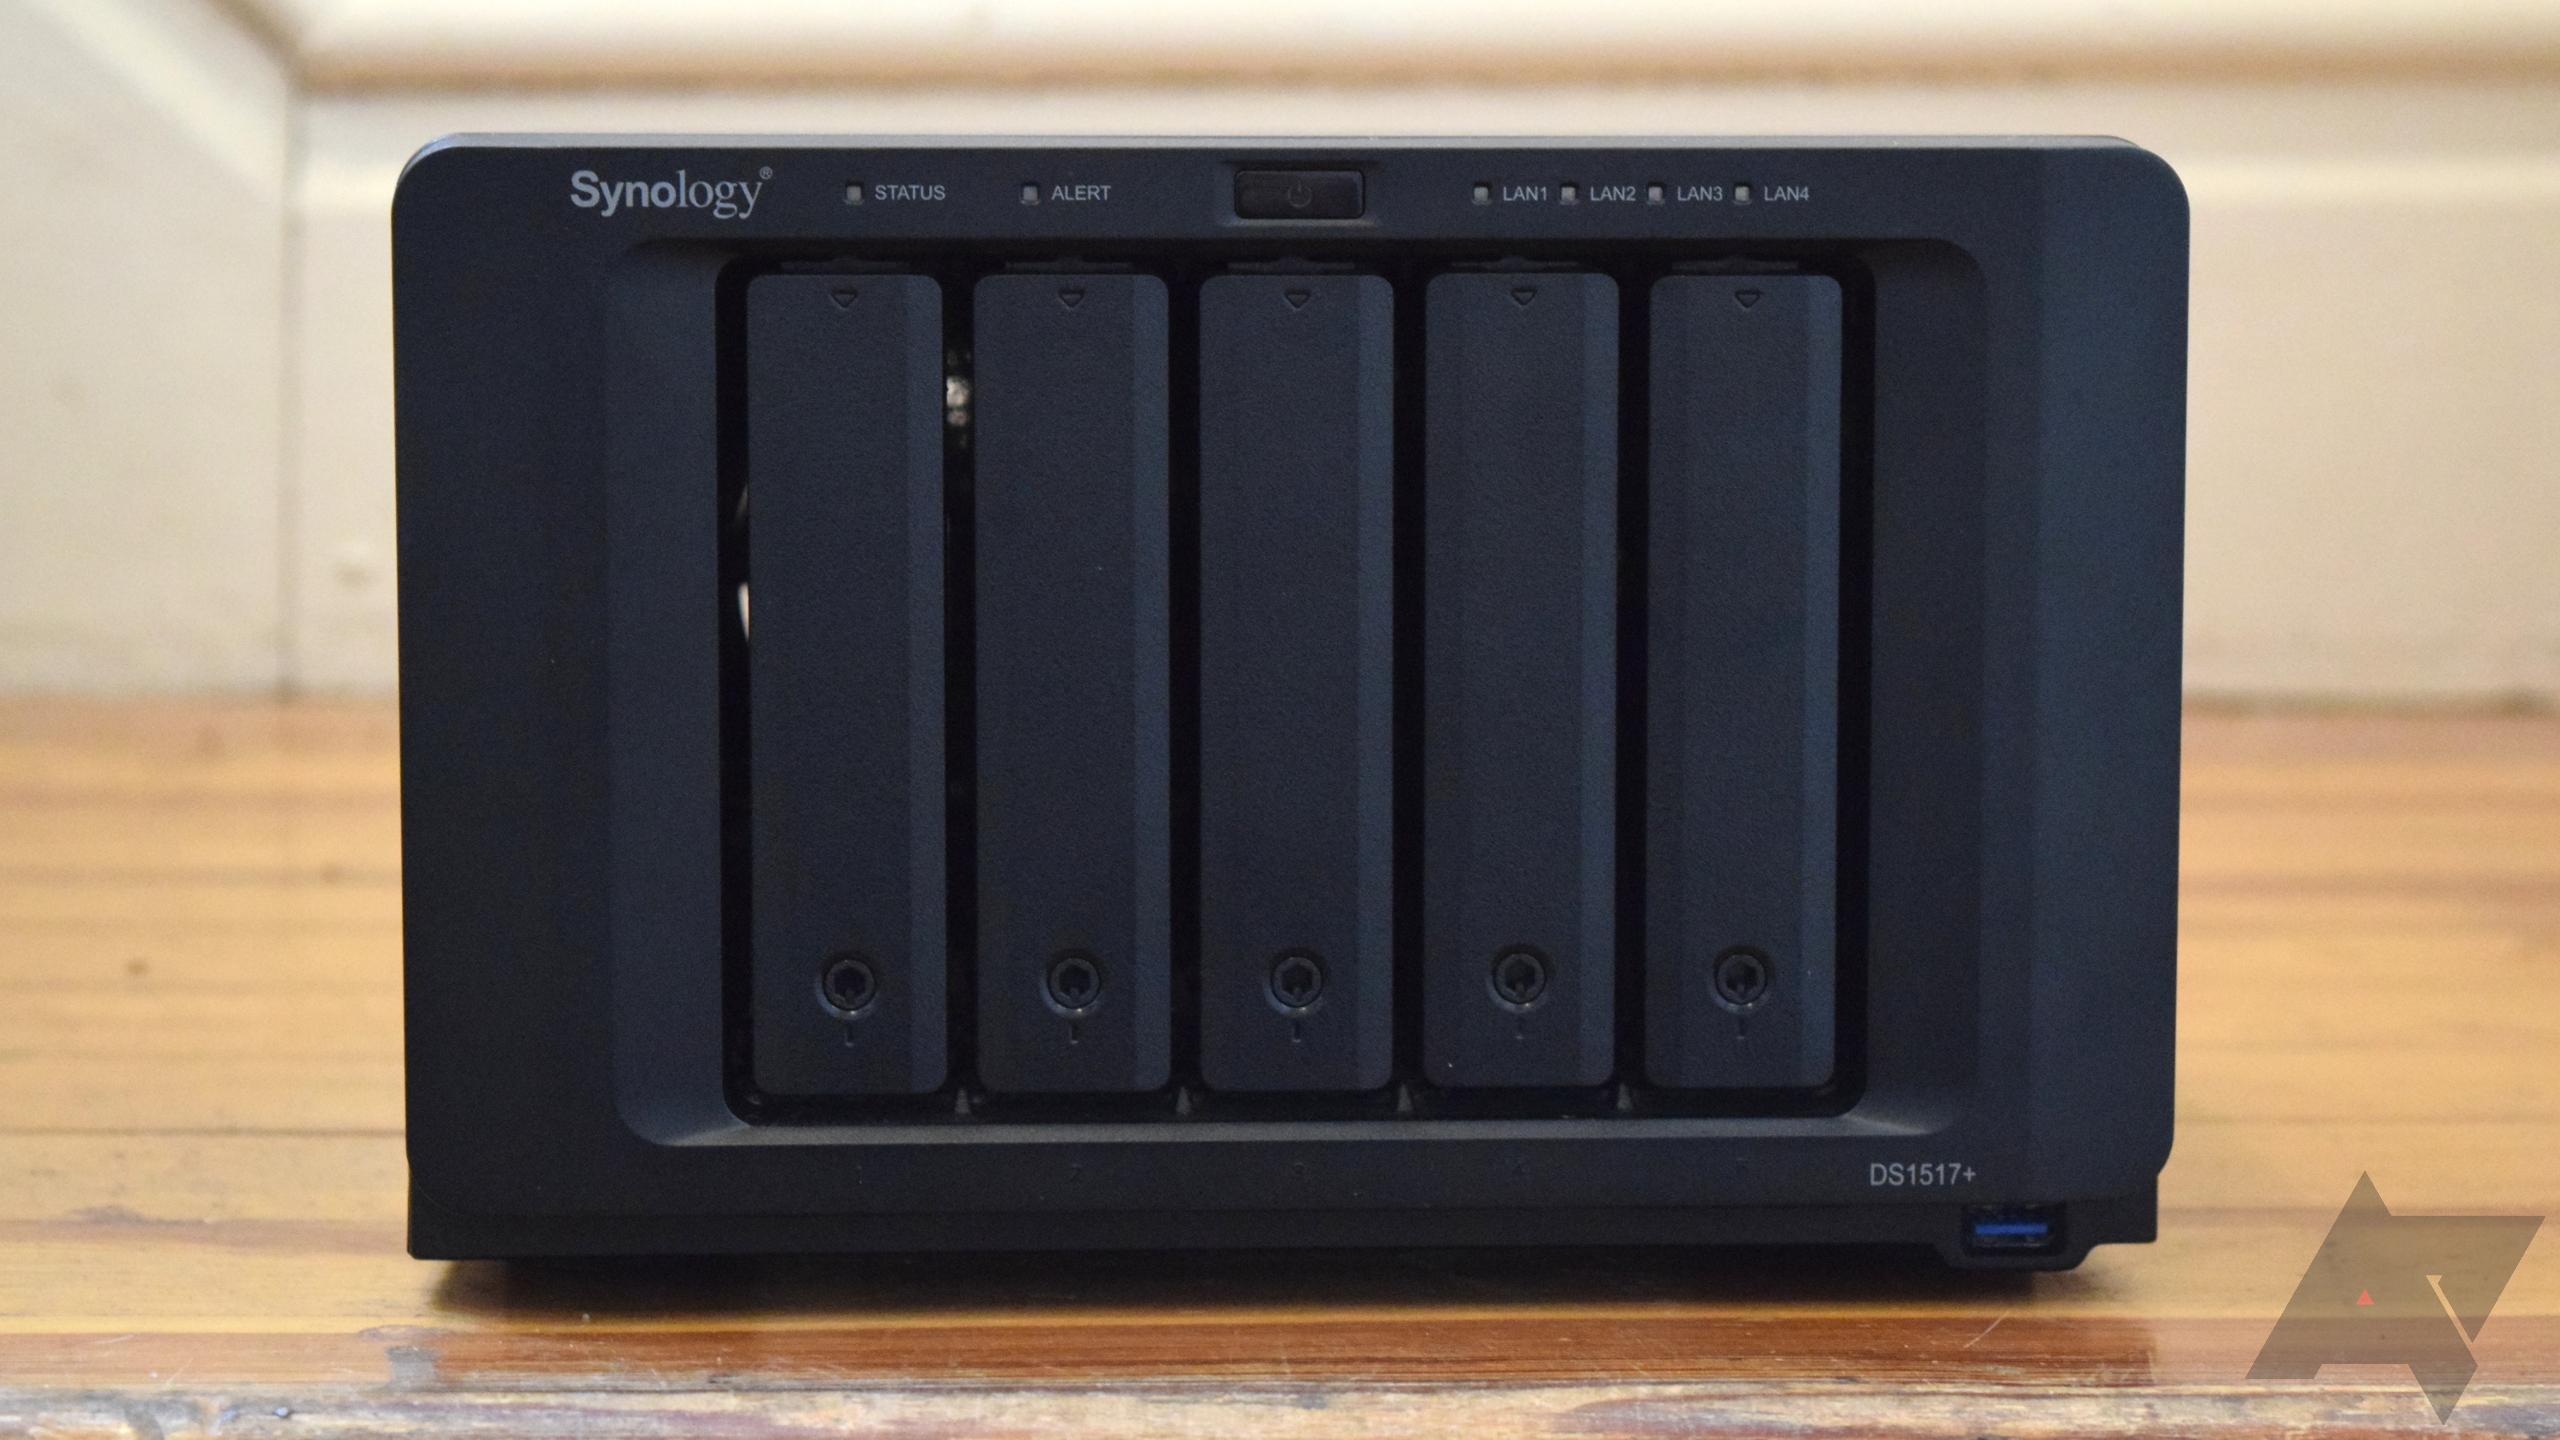
A Synology NAS’s primary purpose is to provide a central storage space that is accessible to everyone on a private network. Though every once in a while, you need to access your files stored on the NAS when you’re outside your home network. Synology makes it easy to do with its built-in utility called QuickConnect. It lets you have a reliable connection with your NAS no matter where you are — and all it requires is a minimal setup. Here’s how you can get started with QuickConnect on your Synology NAS.
Steps to set up QuickConnect on your Synology DiskStation
QuickConnect needs your Synology web account connected to the NAS in order to work. So, you’ll have to do that before allowing access to your NAS over the internet.
- When logged into DSM as an admin, head to Control Panel and click on Synology Account under the Services tab.
- On the next screen, click on the link against Synology Account. In the pop-up window, fill in your account details if you already have one or sign up for a new account.
- After you’re done signing in, click on the same link in step 2 once again and allow your NAS to connect to the signed-in account.
And you’re done with this part. Now you can jump to setting up QuickConnect using the following steps:
- In Control Panel, you’ll see an option called External Access under Connectivity. Click on it.
- Under the QuickConnect tab on the next page, check the box against Enable QuickConnect.
- Now you need to create a QuickConnect ID, which is basically a unique username that is linked to both your Synology NAS and account. You’ll be using this address to connect to your NAS over the internet, so make it easy to remember (but not easy to guess).
- Right underneath that, you’ll see the Advanced Settings button. You can go in there to allow the NAS to create port forwarding rules, toggle on or off the QuickConnect Relay service, and pick the apps you want to have access to over the internet.
- Once you’re satisfied with your choices, hit Apply. It’ll take a few seconds for the changes to reflect, and then you’ll be good to go.
If you ever want to disable QuickConnect from your Synology NAS, repeat steps 1 and 2, and just uncheck the Enable QuickConnect box.
How to use QuickConnect to access your Synology NAS remotely
For instance, if your QuickConnect ID is xyz123, the direct link to access your NAS over the internet will look something like quickconnect.to/xyz123 or xyz123.quickconnect.to. You can bookmark either of these links to directly access your DSM (or any other service that you’ve permitted) through a desktop browser. After this point, the login process is just like what you get on your local network. Depending on the internet speed on both ends, the loading times for various services will naturally feel a tad slower, but it isn’t something that’d bother you much.
It’s even easier to access your NAS remotely using Synology’s first-party Android apps. On the login page, instead of and entering your NAS’s local IP address, you can simply punch in xyz123 in this case and go with the usual login flow. With your QuickConnect ID, the apps will automatically connect to your NAS whether or not you’re on the local network. This should come in handy if you use Synology Drive and would like it to have remote access, just like Google Drive. Do note that QuickConnect doesn’t allow remote access to any third-party packages installed on your NAS.
Left: Synology Drive login page, Center: Connected remotely using QuickConnect, Right: Linked using a local IP address.
Understanding those advanced settings
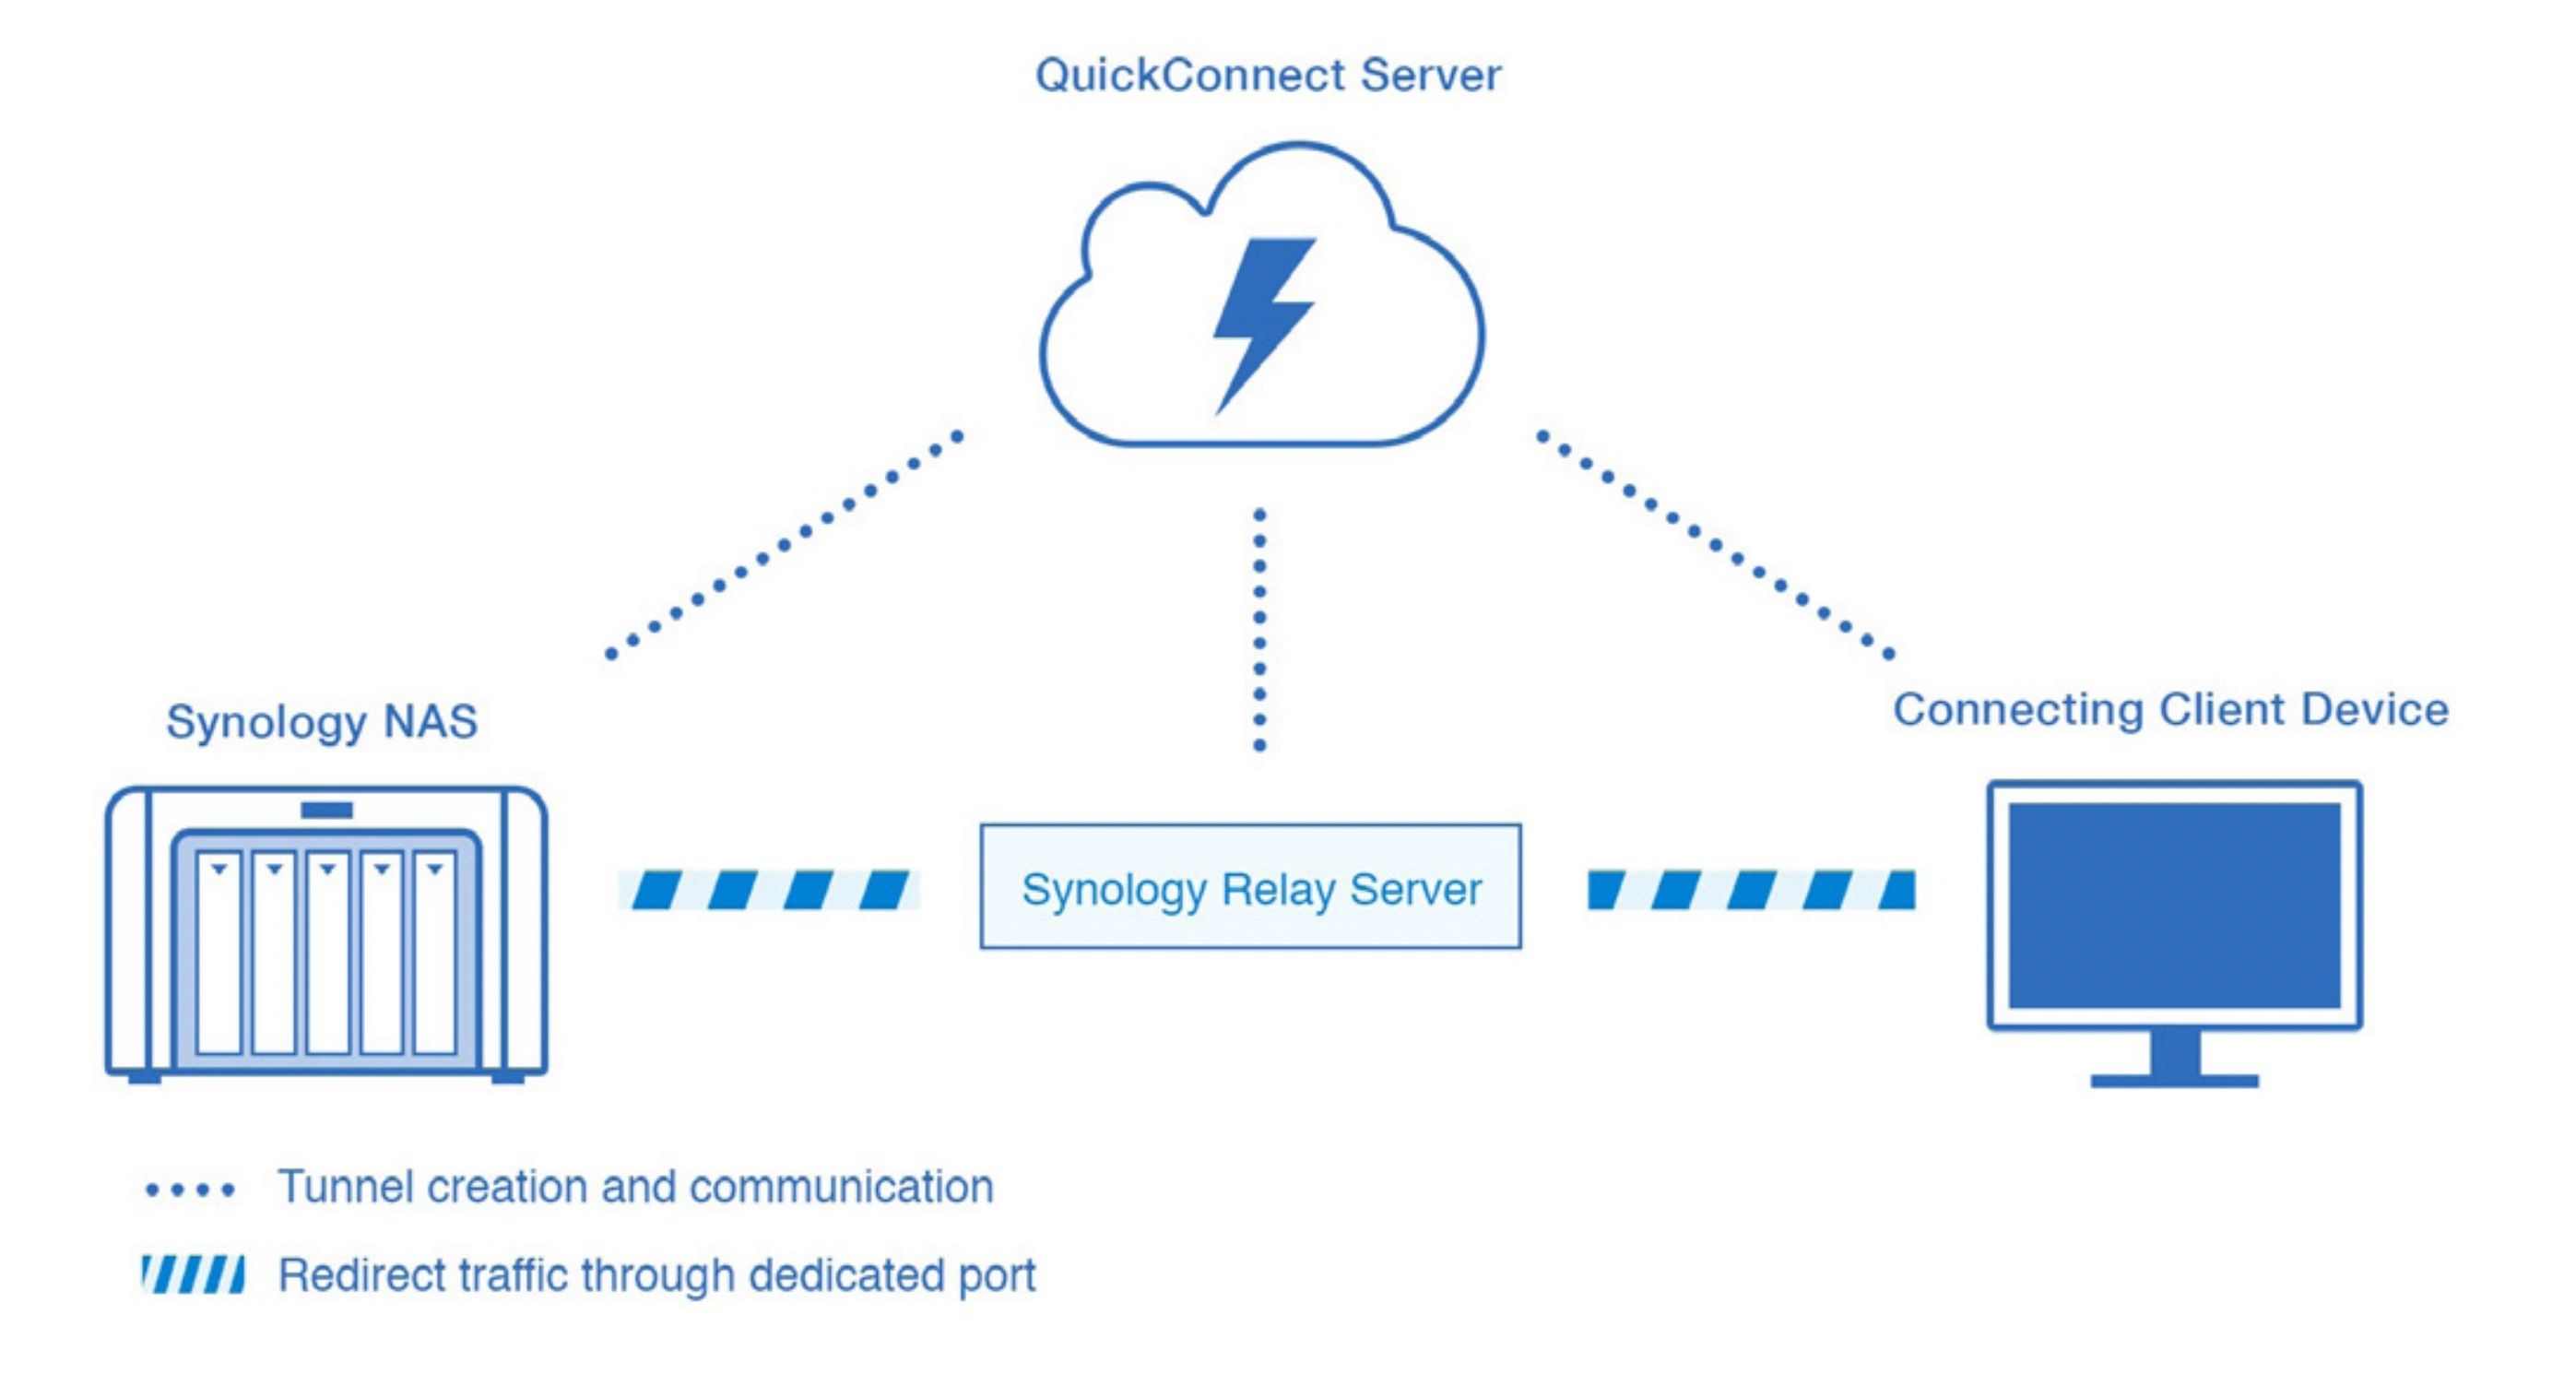
By default, QuickConnect will open a handful of ports to establish a direct connection between your remote client device, say your phone, and the NAS. This doesn’t require manual intervention as long as UPnP is enabled on your router. However, most people like to keep UPnP turned off to keep their private network safe from external threats.
In that case, QuickConnect falls back to Synology’s relay service (which you must keep enabled in step 4 above), wherein a Synology server facilitates your connection to your NAS. The company says that the transfers both from and to the server are encrypted to maintain data integrity. But it all comes down to how much you trust an external server with your data. In my opinion, using QuickConnect should be fine for some non-sensitive data as long as you have the necessary safeguards. You can go through Synology’s white paper on QuickConnect if you want to dive further into the subject.
QuickConnect Relay service flow, courtesy of Synology
Some best practices when using QuickConnect
Under advanced settings, you have the option to pick the services you want to allow on QuickConnect. This way, you can choose only those services you’re going to use over the internet instead of giving access to the entire DSM.
It also helps if the NAS user account you use for remote access doesn’t have admin privileges. So even if your account credentials are compromised somehow, a bad actor won’t be able to take over your NAS’s control completely. And it’s always good to have two-factor authentication on your accounts; Synology lets you enable TOTP (with apps like Google Authenticator) for user accounts on your NAS through their respective profiles.
There’s a good chance that you only temporarily need to use your NAS from outside your home, like when you’re on a trip. In such cases, you can later turn off QuickConnect to limit any unnecessary online exposure. Though bear in mind that doing this will result in Synology apps on your phone set up with a QuickConnect ID failing to connect even on the local network.
QuickConnect is undoubtedly a nifty tool that works perfectly for beginners or just about anyone who doesn’t want to fiddle with all the complicated network settings. You’re going to love it when Synology Photos automatically backs up your photos even when you’re away from your home like it’s with Google Photos. And if you’ve been holding off on getting yourself a Synology NAS, you can consider starting with the rather inexpensive DiskStation DS220+.


