There was a point in the late 80s and 90s when disposable cameras and one-hour film development dominated the world of photography. Although this put the medium in the hands of the masses in an accessible manner, the mass production that made this possible meant that the cameras were built to the lowest common denominator. But now that smartphones are in the pockets of billions of people worldwide, everyone has a high-quality camera that rivals all but the high-end DSLR cameras.
With this democratization of photography has come an increased interest in niche photography, particularly astrophotography (hint, use a Google Pixel 7), panoramic photography, and macro photography. Before smartphones, if you wanted to take a macro photo, you needed an expensive camera and an equally (if not more) expensive lens. Today, you can do it with only your phone, or if you want to push the envelope, a few pieces of inexpensive kit.
What is macro photography?
Macro photography is when there is at least a one-to-one ratio between the size of the subject being photographed and its projection onto the camera sensor. In more practical terms, it's an extreme closeup where you take a picture of something small and make it appear big.
Most phones on the market are good at zooming in on your photos, but this has two limitations. The most obvious one is that you lose resolution as you zoom in. A high pixel count can mitigate this issue but can't overcome it. The other issue is the minimum focal distance of your camera. If you move your camera too close to your subject to enlarge it, the camera goes out of focus, ruining your shot.
High-end phones tend to overcome this problem with a telephoto lens, letting you use the optical zoom to enlarge the subject. Budget phones are more likely to have a low-resolution macro camera that lets you get closer to the subject without losing focus.
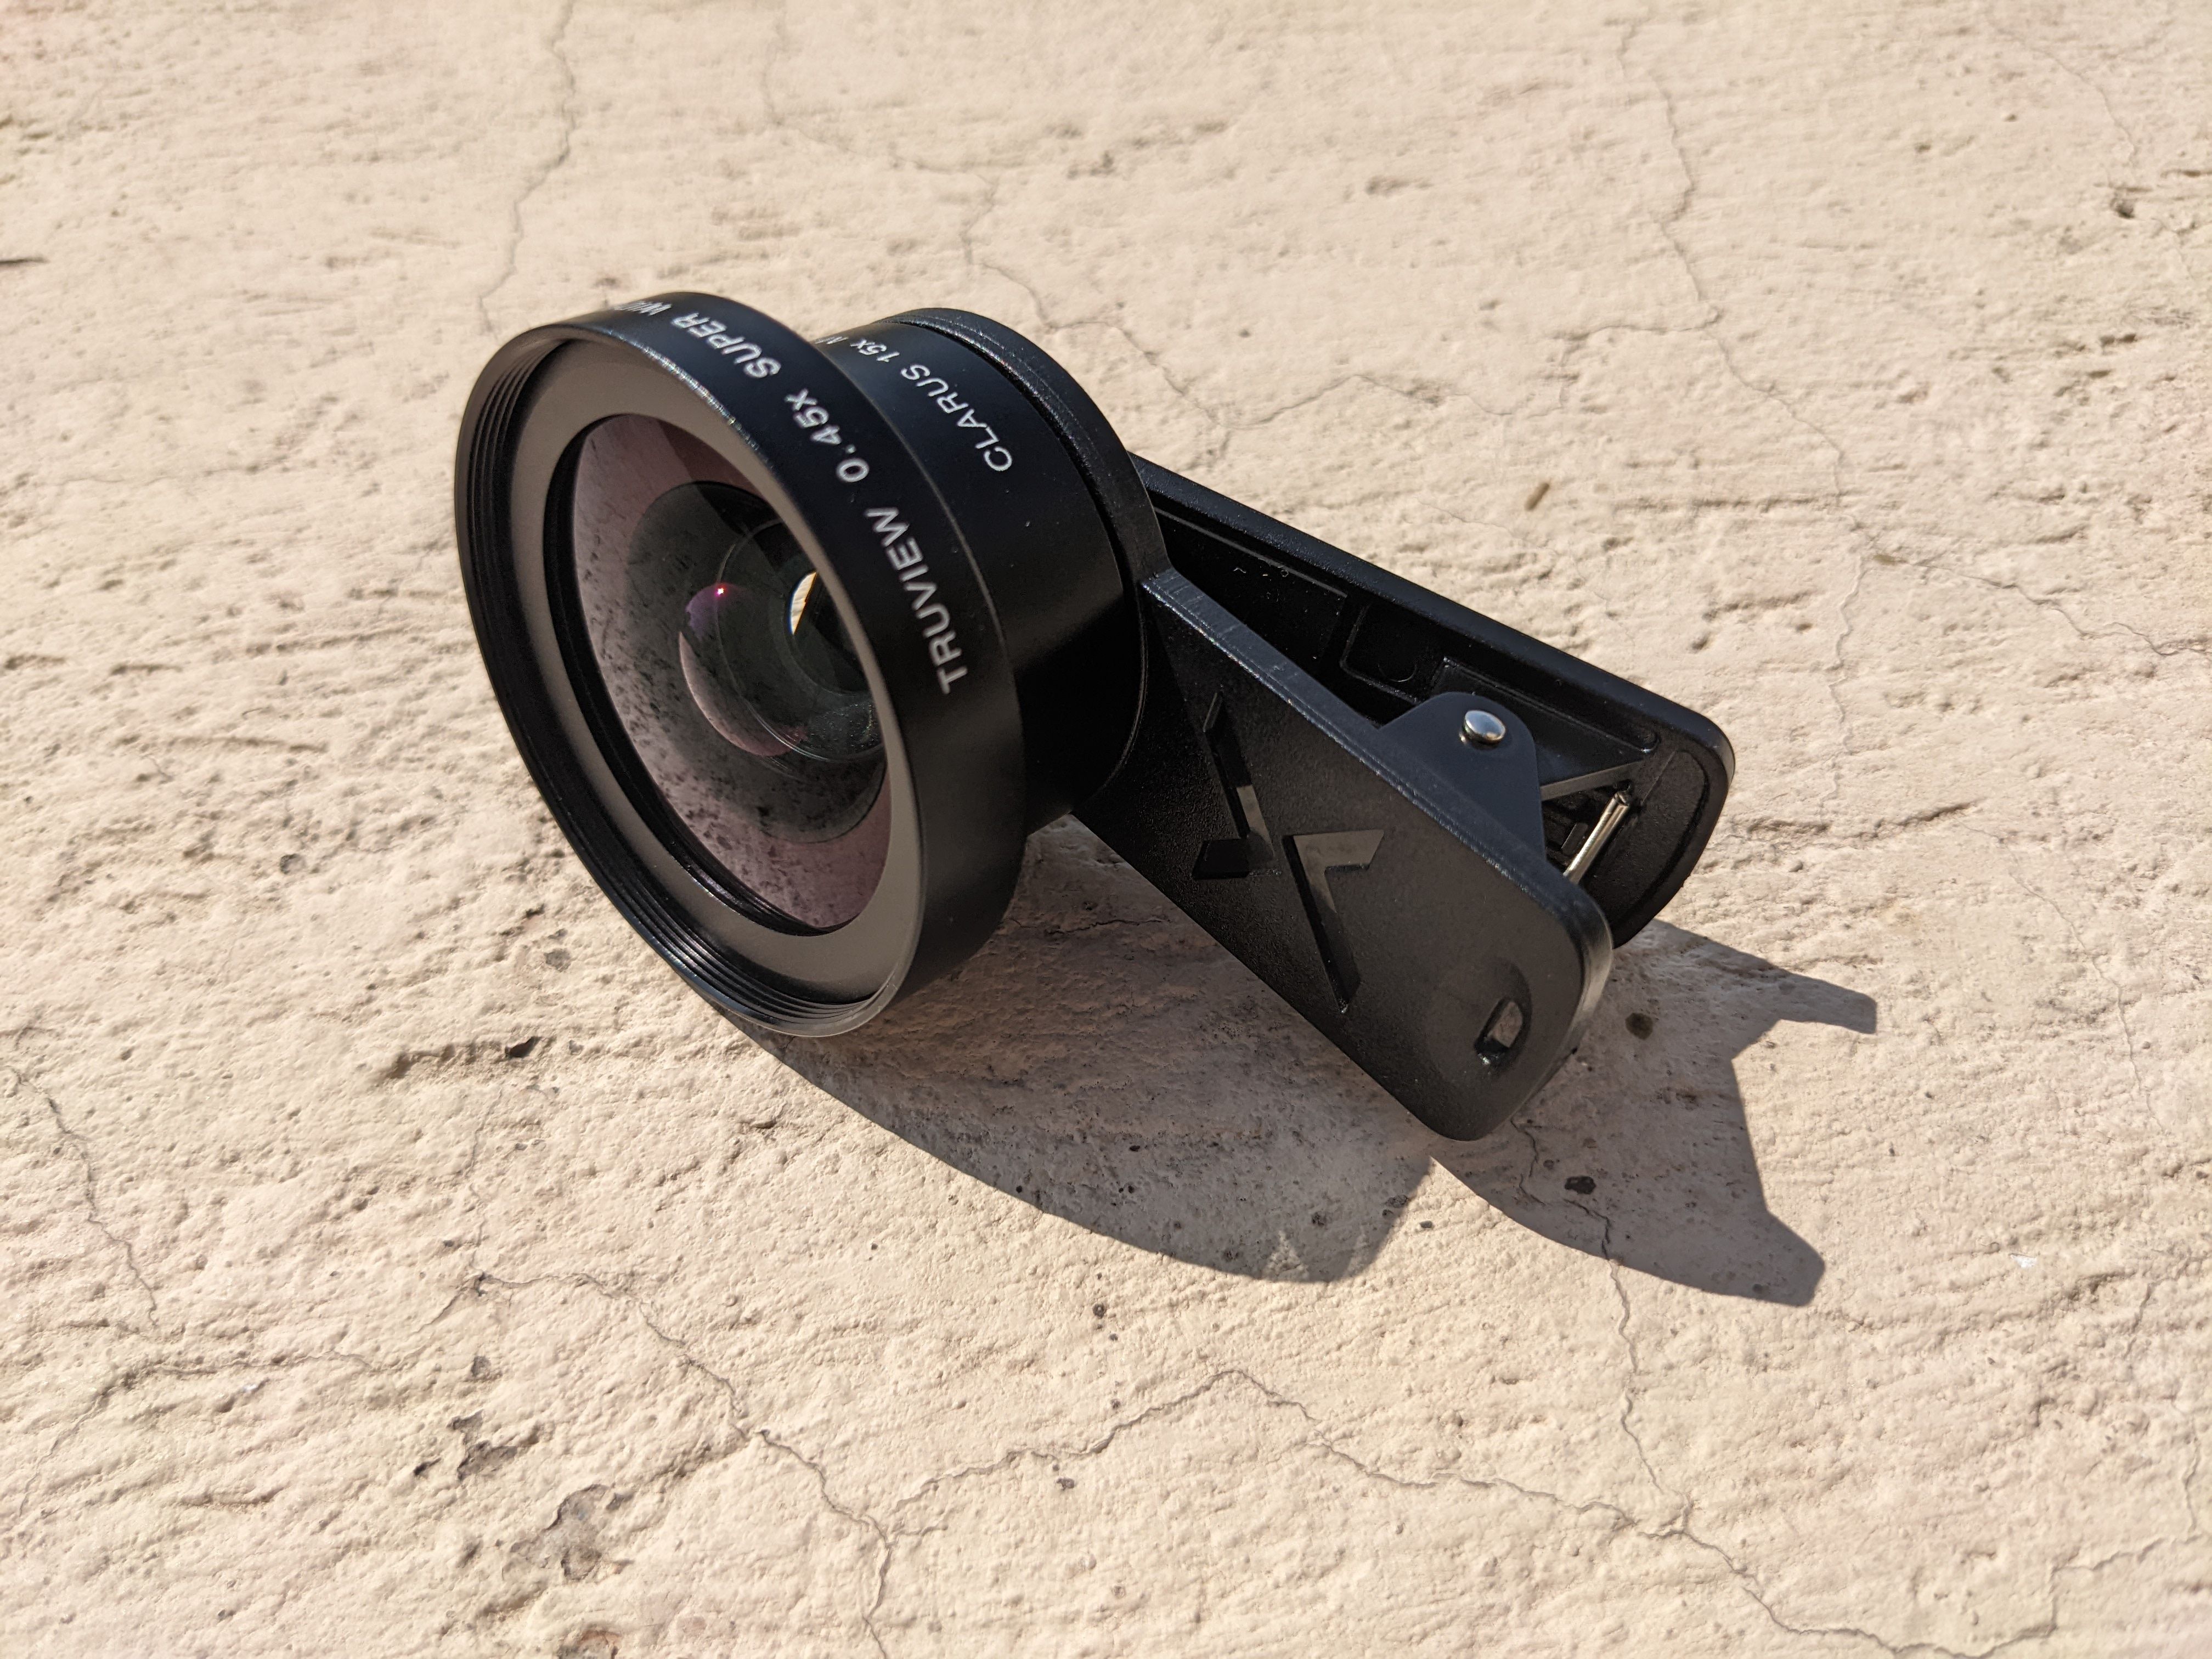
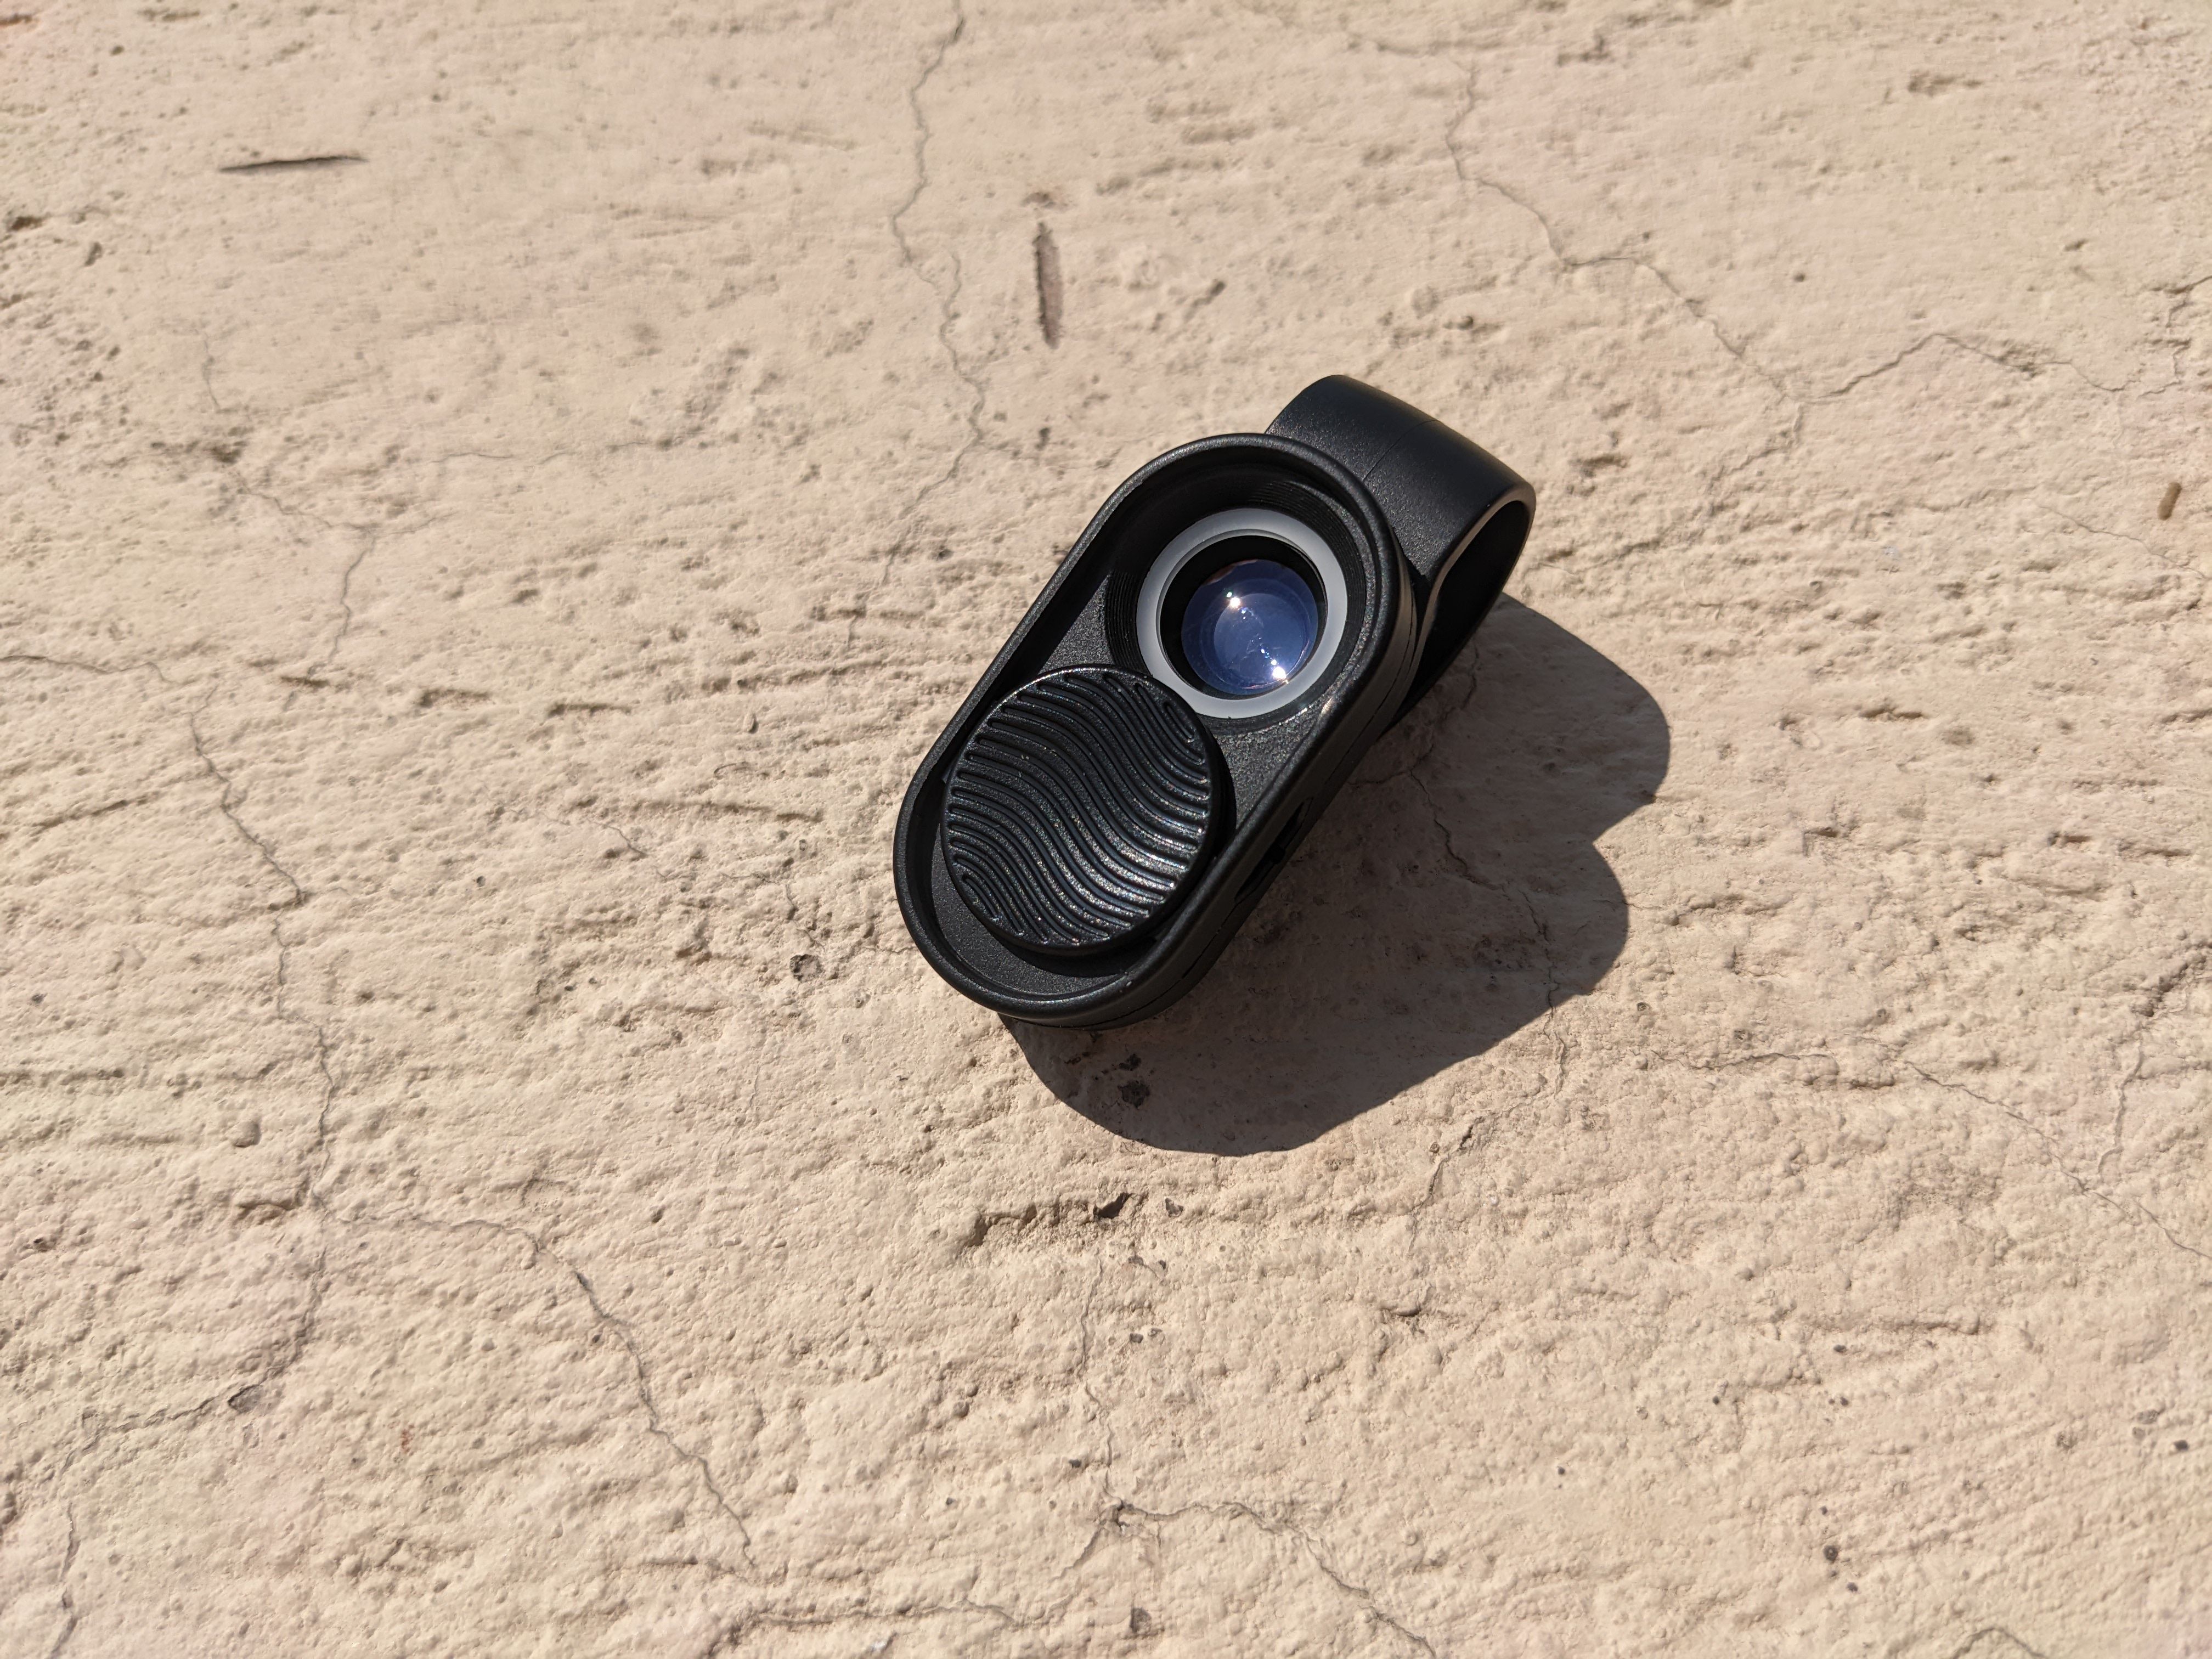
If you want to bypass these limitations and take gorgeous macro shots with your mobile phone, your only option is to invest in a lens kit. An extra lens allows you to decrease the minimum focus length of your camera while taking full advantage of your main camera's superior image resolution. There are a lot of cheap imports available, so at the bare minimum, get one with glass lenses and an aluminum body. You're better off without the 10-in-1 kits.
The basics of smartphone macro photography
No matter how you approach taking a macro shot, it's best to understand its limitations and how to overcome them. It's not as easy as slapping a lens on your phone, but if you know some basic principles, you should be out taking photos in no time.
Focus and depth of field
Using a macro lens decreases the minimum focus length of your camera, but it comes at the cost of maximum focus length (which is infinity for most phone cameras). This means that the distance between your phone and your subject is limited. With most kit lenses, you need to maintain a distance of about one inch, and instead of relying on the camera software to focus, you'll have to move the phone to find that sweet spot.
The counterpoint to being able to focus on closer objects is you have a smaller distance between the nearest part of your subject that's in focus and the furthest. This is called depth of field, and with macro lenses, it's very shallow.
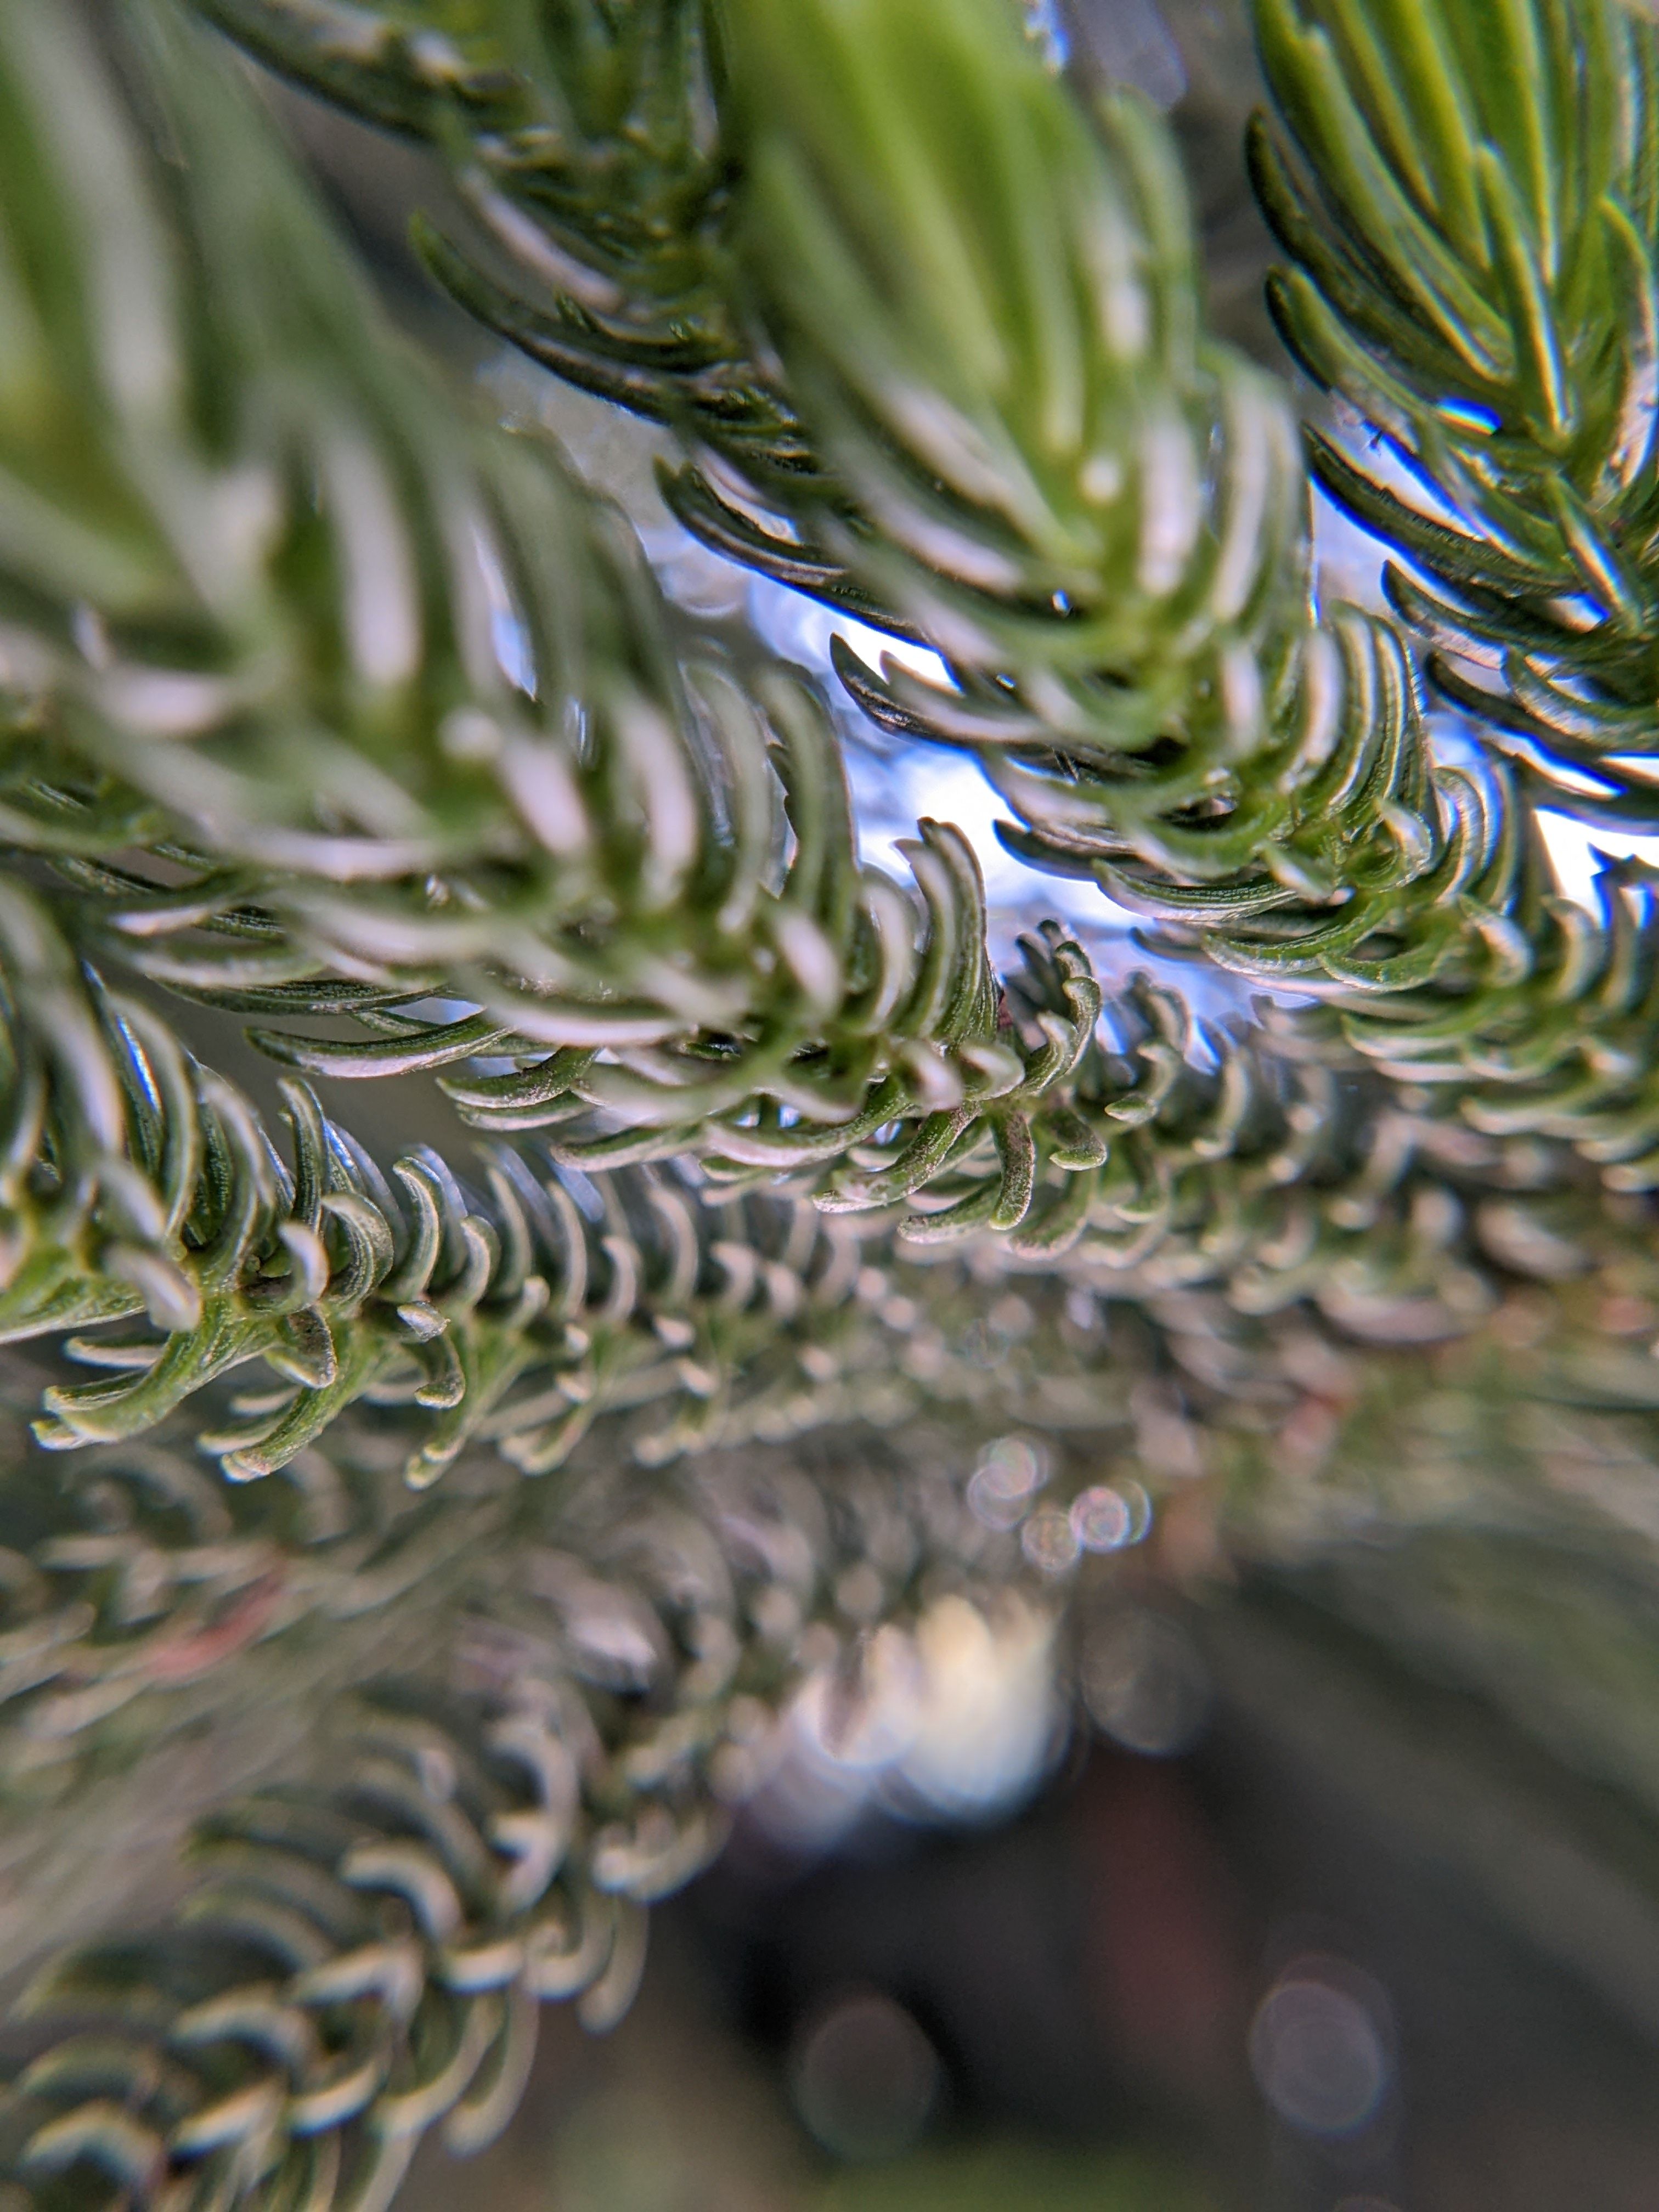
These two elements limit how you can compose your shots. When taking these test shots, it was common to have some of the subject in focus and some of it out of focus. Deciding which part of your subject is most important and should be in focus is a creative choice for you to make.
Light
By introducing an external lens to the smartphone camera, the problem of enlarging the subject while maintaining a high resolution is solved, but now there's a new problem. The kit lens surrounding the original camera blocks some of the light that would have been available to the camera sensor. The need to keep the phone an inch away from the subject also means you're likely to block the ambient light.
To get around this problem, you either need to position yourself, so you don't block the light (which may not be possible depending on where you are or what you're shooting) or introduce extra light to the shot (which can be tricky to manage with only two hands). Some lenses have built-in ring lights to solve this issue.
Movement and stability
The point of macro photography is to magnify something small and make it bigger. One consequence is that it's not only the subject that's magnified. It's any movement as well. Animals move, flowers blow in the wind, and keeping your body perfectly still is impossible. There are some strategies to overcome this challenge.
First, if you're using the manual controls on your camera app, set it to a high shutter speed. If you set it too low, movements appear as blurs in your picture. Avoid night shoots if you can. Your phone automatically reduces its shutter speed to compensate for the low light.
If you can, use a tripod. This isn't always a feasible option, but if it is, it prevents most motion blur issues you may run into. If you need to avoid even the miniscule motion of touching the phone to take the picture, you can either set a timer or drop $20 on a decent Bluetooth camera remote.
How to make it work
The technical stuff in this article is foundational to taking a macro photograph, but it's only part of the story. To snap some Instagram-worthy shots, the number one thing you need is patience. Your first shot may be out of focus or out of frame. However, you can quickly remedy this by taking lots of pictures. Some will be bad. Some will be okay. But when you persist, you'll find some diamonds in the rough.


