Looking for a place to stream your latest challenging playthrough, or perhaps you'd like to showcase early access for a highly anticipated game? Streaming these experiences first-hand would work wonders, provided you have the right tools and setup. And conveniently, one of the best streaming platforms for games is Twitch. The best part is Twitch's accessibility on all the best Android streaming devices you can get your hands on, meaning your friends and family can watch your streams anywhere using one of Android's best apps.
To get started on Twitch, you must create an account and channel for streaming. Your channel's link is then shared with your friends/family, so they can tune in once your stream is live. Android Police will teach you the basic streaming optimization practices of Twitch while walking you through all the steps to set up your first Twitch stream on PC.
Technical checklist for streaming on Twitch
Not every machine is equipped to handle streaming, and you'll also need to consider having a solid internet connection to stabilize the stream. As you become more experienced with streaming, you'll begin adding quality-of-life upgrades to improve your channel. Below is a short checklist to help determine if your setup is ready for streaming.
- Choosing your software: The default is Twitch Studio, a free app designed for direct streaming on Twitch. You can also run OBS Studio, Streamlabs, Xsplit Broadcaster, and others.
- Checking your hardware: Your PC will need to handle running the game you're broadcasting, the software for streaming, and potentially webcam/audio software all at the same time. The minimum requirements to run Twitch Studio include; Windows 8.1 64-bit operating system, DirectX 11 compatible graphics processing unit, 4+ GB (2GB free) random-access memory, and a 4-core Intel or AMD central processing unit.
- Audio quality: Selecting your headset microphone can make or break your streaming experience; consider purchasing a microphone that focuses on picking up your voice and offers background noise canceling capabilities.
- Video quality: Depending on the content type you're targeting to stream or how much you want to have your webcam on screen, try to consider the lighting and angle of your room to produce the best video quality. Getting the most high-end camera on the market is unnecessary if the stream's central focus is the game you're playing.
- Adding/creating an overlay: Another option to consider if you're trying to establish a brand as a streamer. Overlays are graphics added to the stream to produce logos, borders, and other graphical assets. You can add your overlay using the Twitch Studio settings.
Starting your journey on Twitch
Your first few streams on Twitch may not be official streams for a live audience. Remember, you must perform technical tests to see how your machine handles streaming. From there, you'll fine-tune and optimize your software settings to improve your content down the road. When setting up streams for games, some games may end up being more demanding on your hardware resources, like graphically intensive games such as Call of Duty: Warzone, which means your hardware requires even more precise optimization along with a more robust setup to match.
Setting up recommended broadcast options
Before going live, you'll need to adjust some settings. All broadcasting software will contain a list of recommended settings to follow, but here's a list of general settings to help you get started.
Video
- Encoding profile: Main (preferred) or baseline.
- Mode: Strict CBR (constant bit rate).
Audio
- Codec: H.264 (x264), AAC-LC. (stereo or mono).
- Recommended bitrate: 128 Kbps (for maximum compatibility).
- Maximum audio bitrate: 320 Kbps (AAC).
- Sampling Frequency: 44.1 kHz or 48 kHz.
Other
- Maximum broadcast length: 48 hours.
How to stream Twitch on your PC
- Download and install the Twitch Studio software, though any broadcasting software will do. You'll find a list of broadcasting software under Creator Dashboard > Streaming Tools after logging into your Twitch account on the website.
-
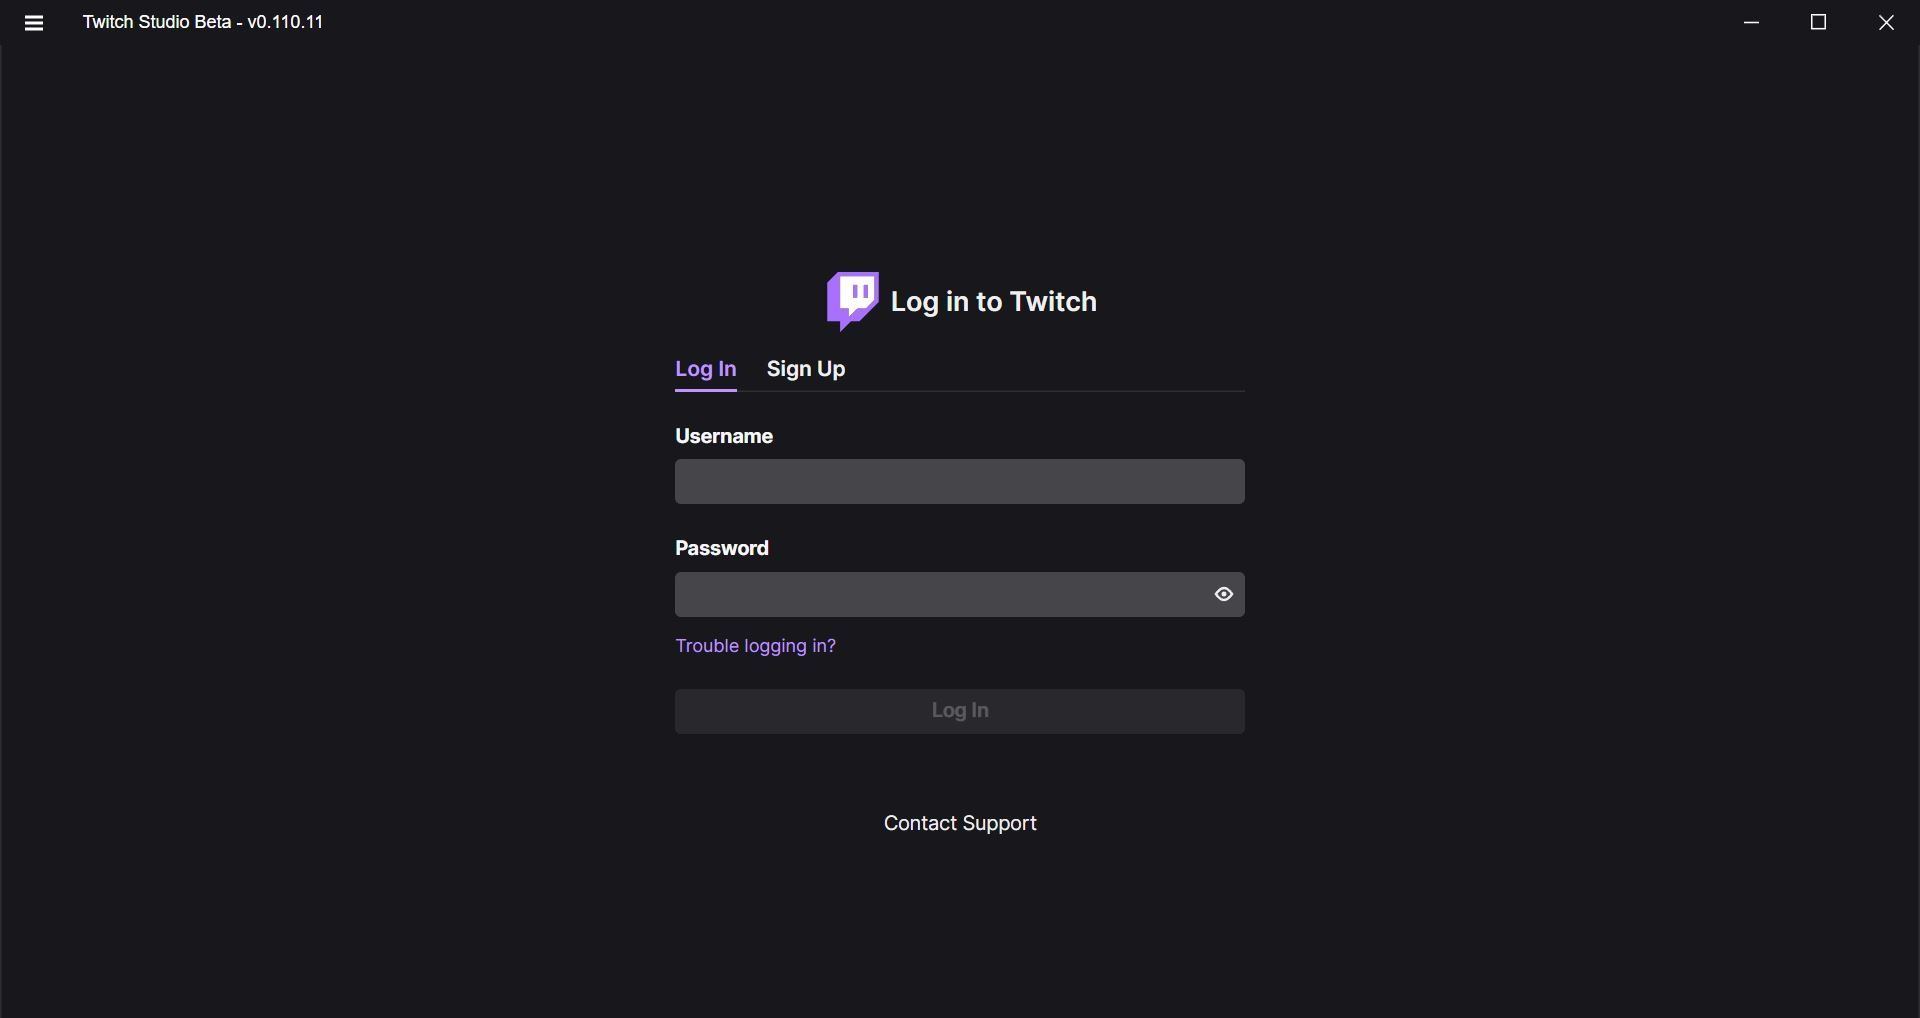
After you've downloaded and installed Twitch Studio, open Twitch Studio and sign into your Twitch.
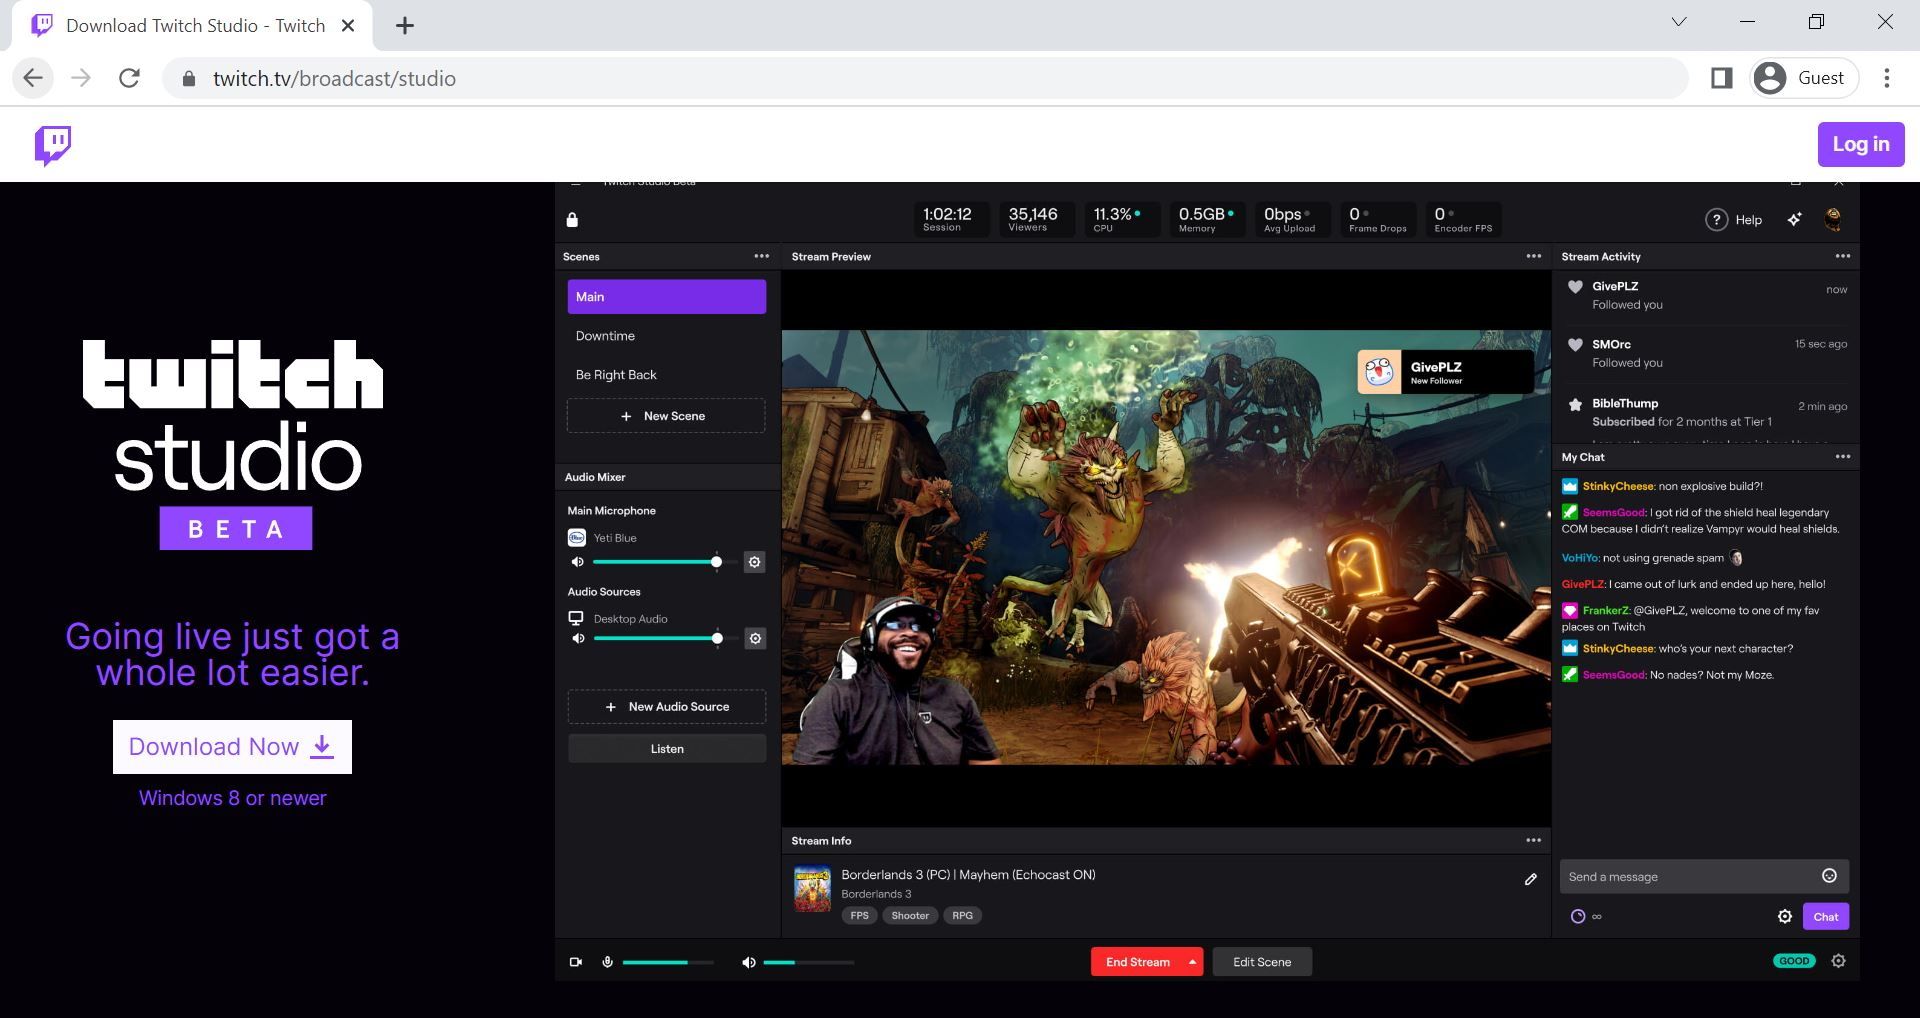
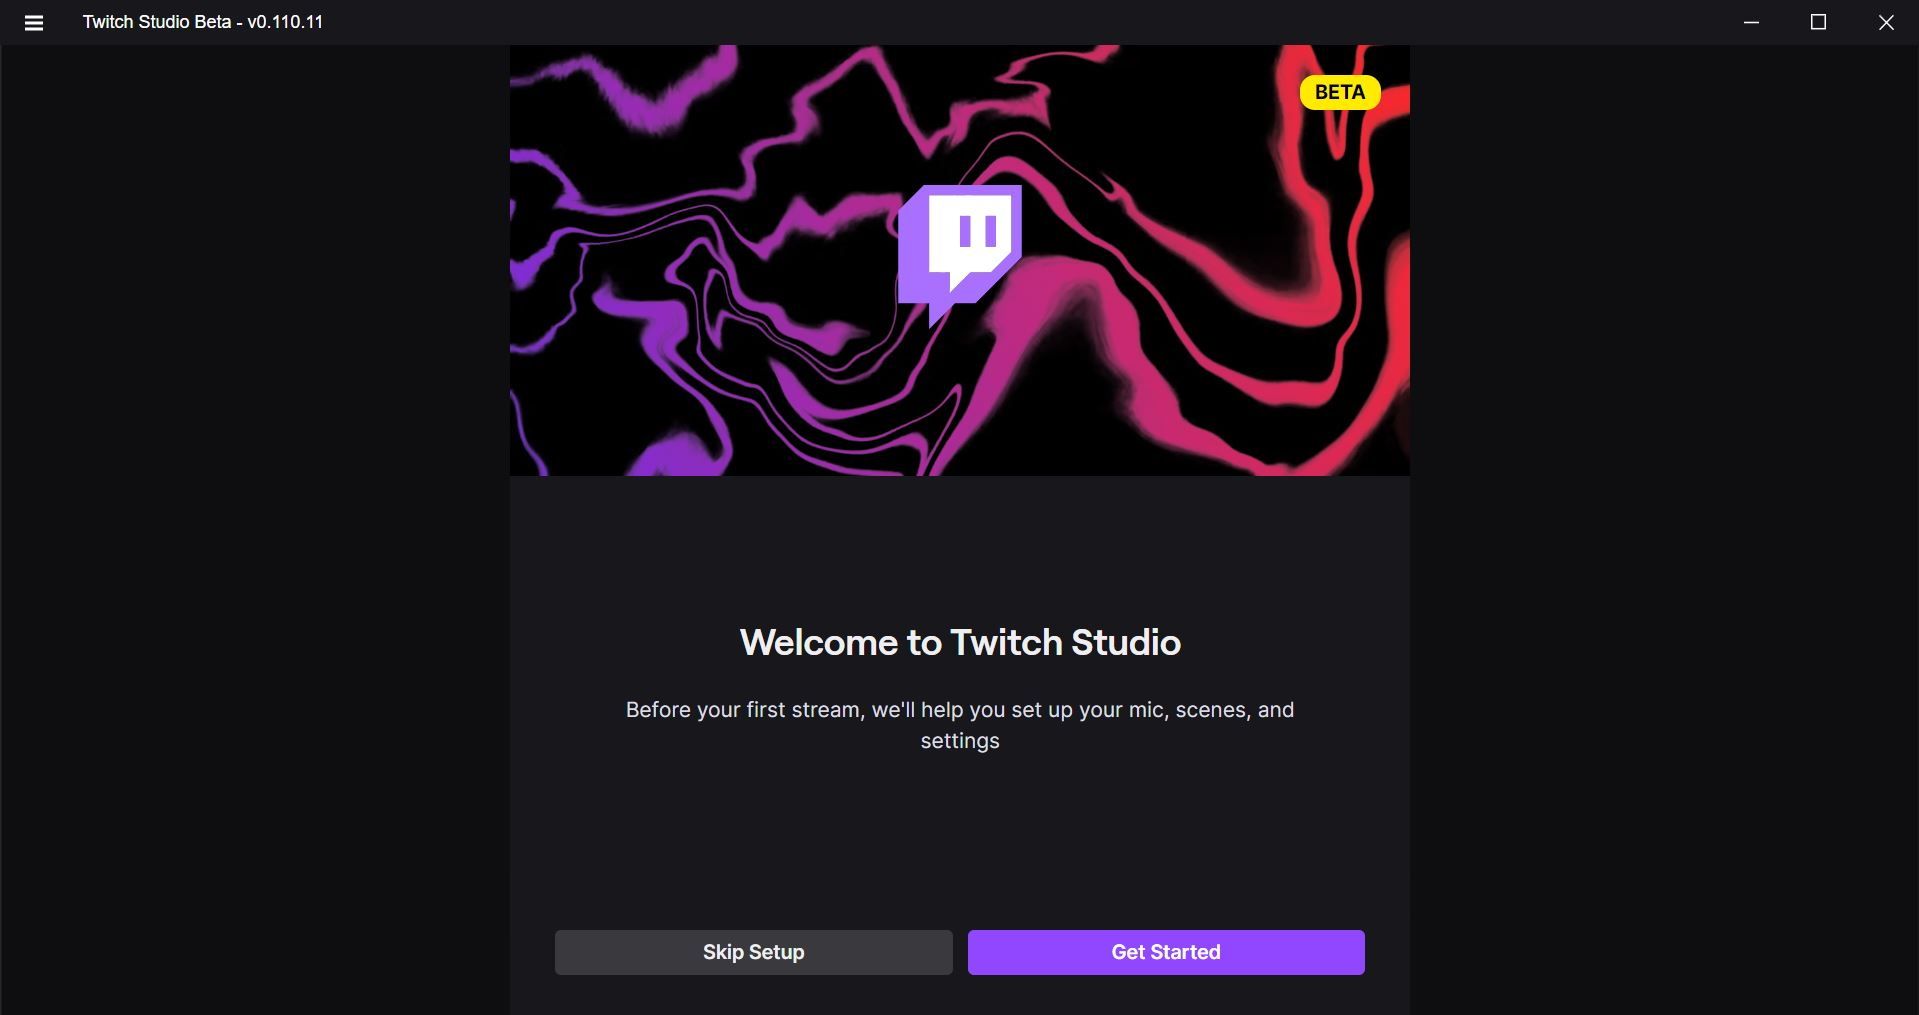
- Click on Get Started and follow the on-screen steps. You'll set up your microphone, scenes for your stream (screens), and adjustable stream quality settings.
-
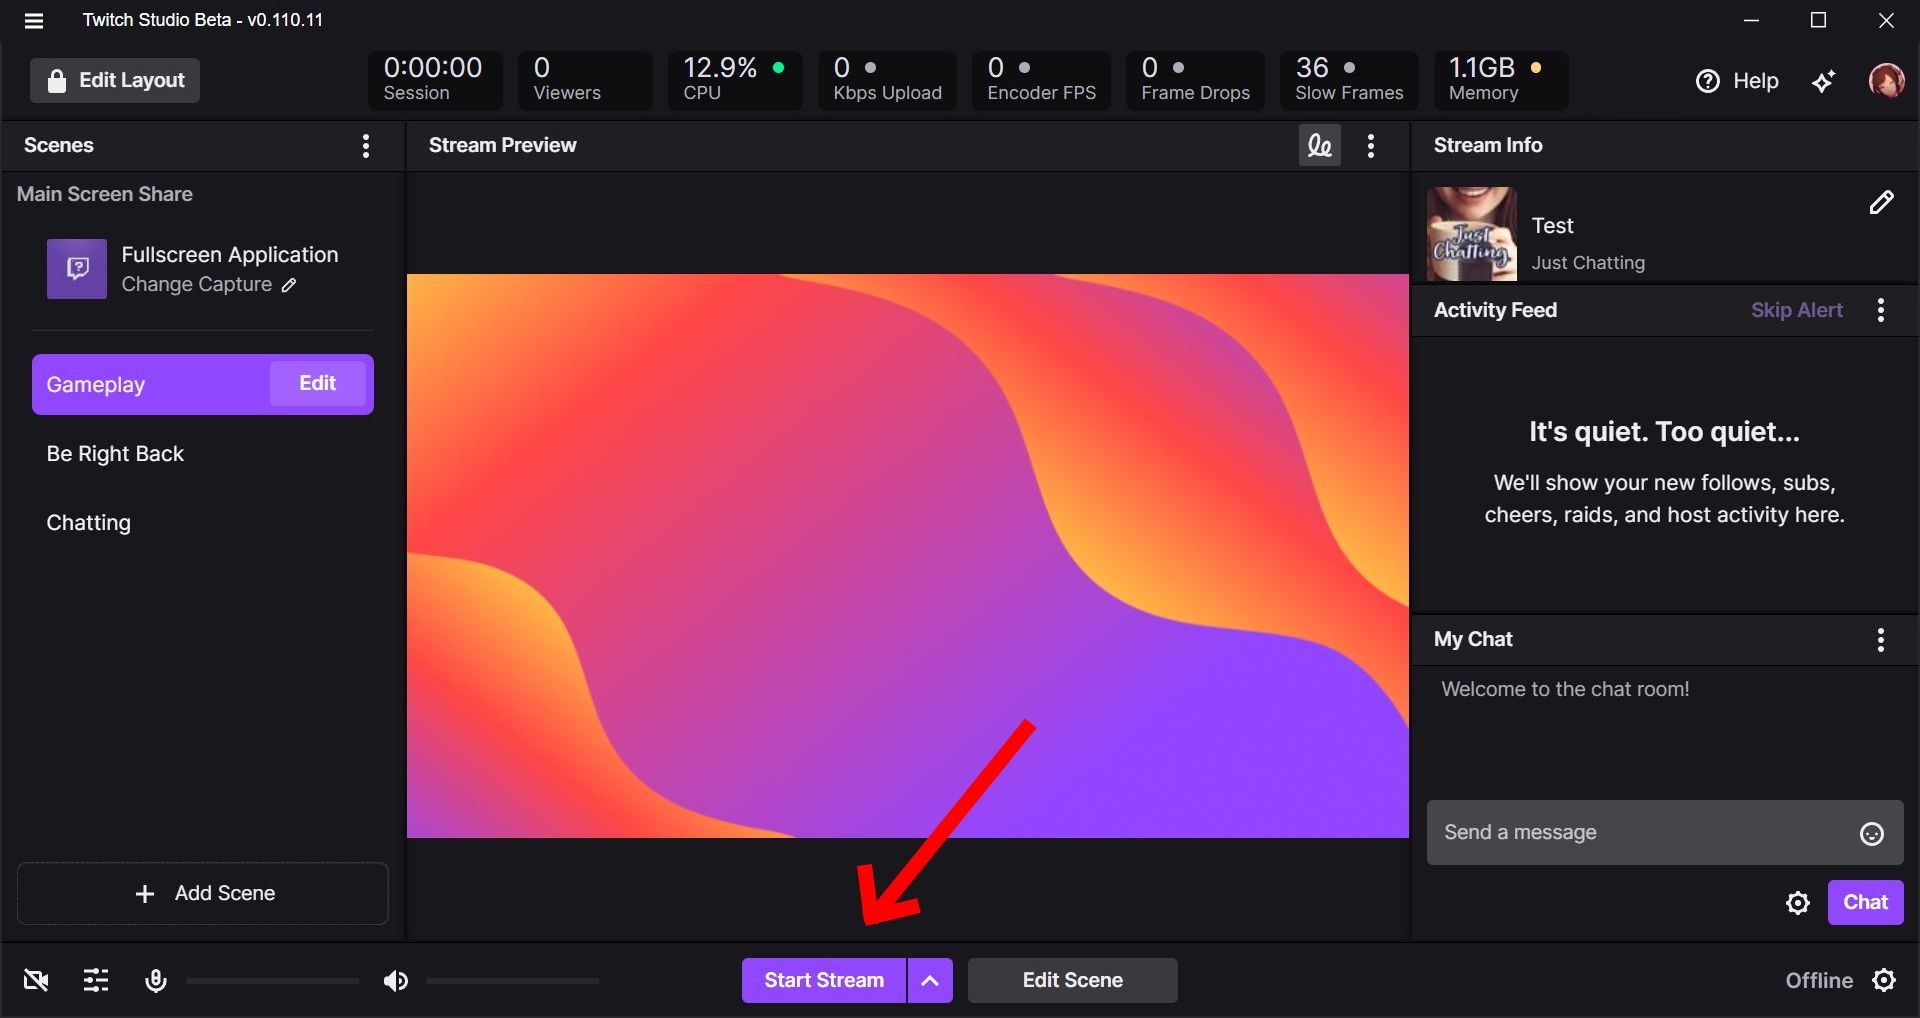
Once you've completed the initial setup, you'll have access to the main page, where you can customize your stream preview, scenes (screens), layout, and the title of your stream and category.

-
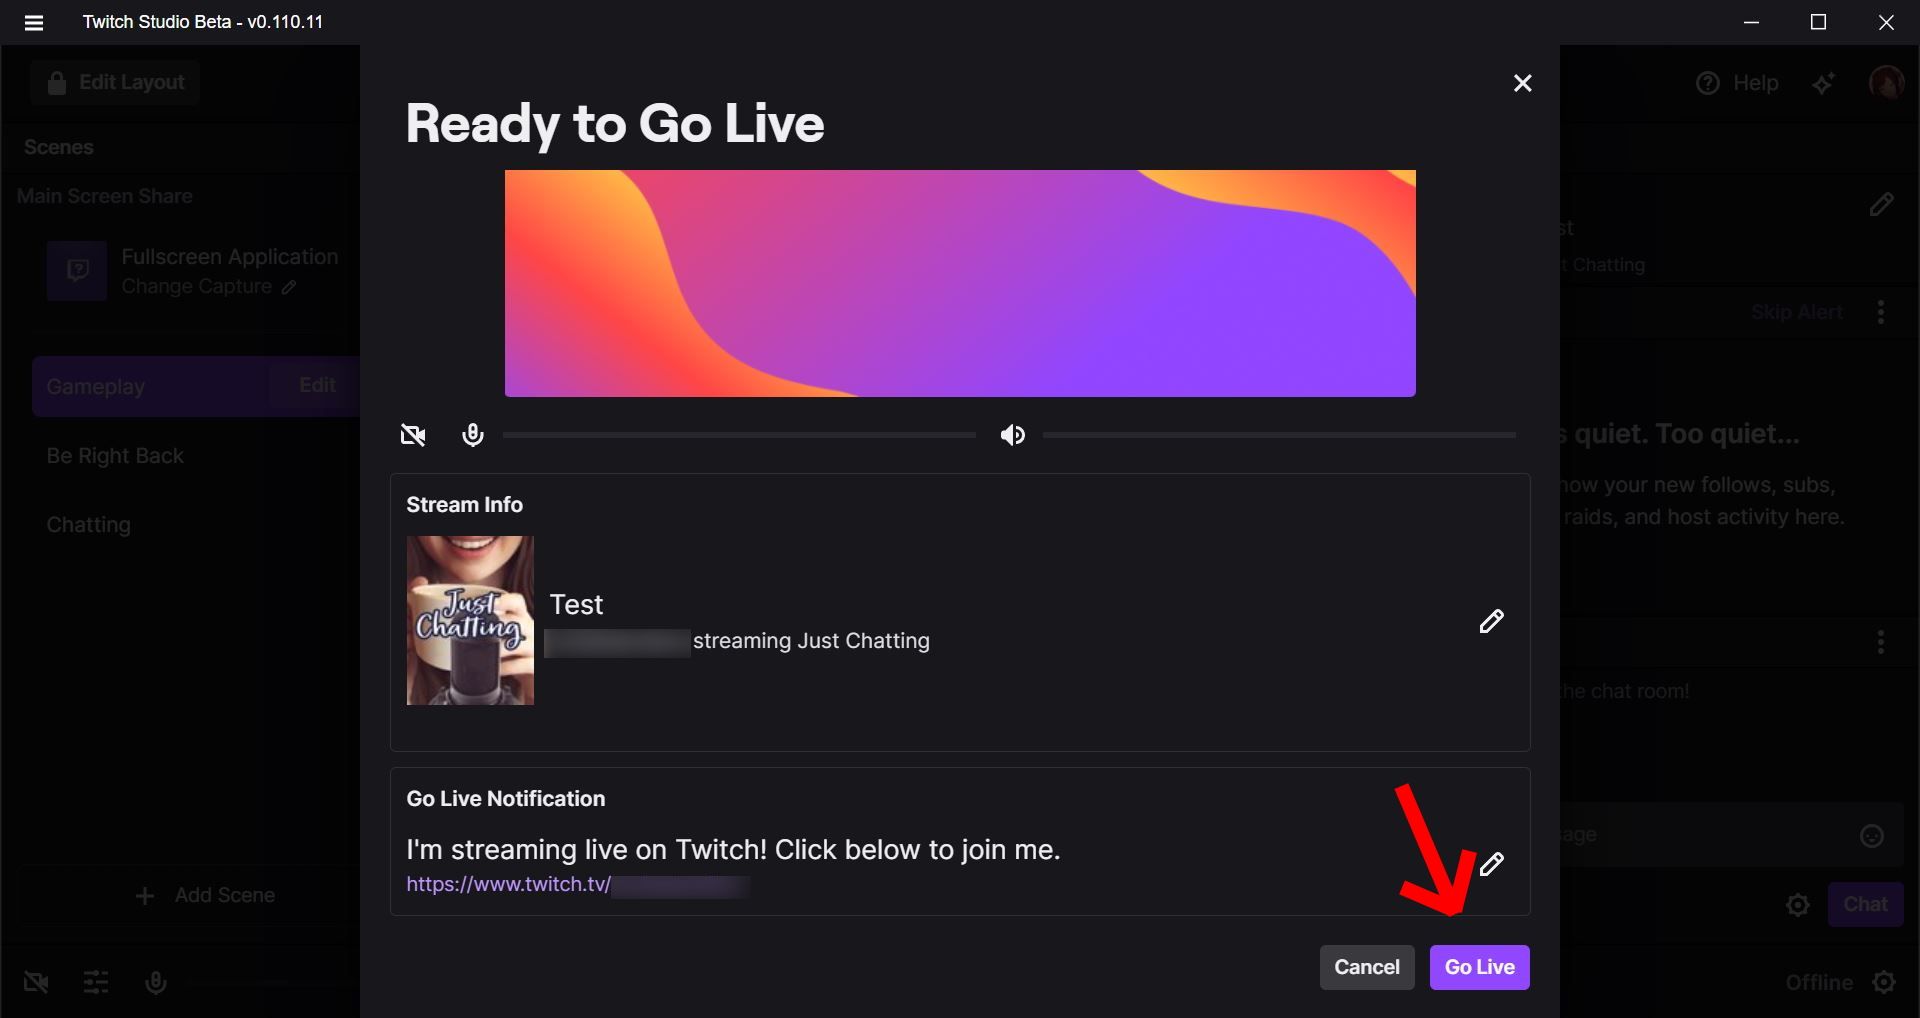
After preparing your settings and stream, click Start Stream > Go Live. Now you've begun your first broadcast, congratulations! Note: Twitch VODs (video on demand) won't save automatically; you have to toggle on Store saved broadcasts under your channel settings.


Growing your channel
Streaming means you may gain a following outside your usual group. Once you've gained a handle on streaming your games (and general hobbies) regularly, you should invest time into ensuring a safe space on your channel. Practices like writing guidelines on your channel's profile page, chat rules, and assigning Twitch mods are what you should consider going forward with the growth of your main channel.
Stream on Twitch to entertain your family and friends
It takes experience to fine-tune and optimize your Twitch streams, but we must start somewhere. So before shooting for the moon, it's best to start small and ask your family and friends for feedback. But once you've managed a few successes, live streaming will become second nature, which may even net you a side hustle in content creation. And if you aim to get your name out there on various streaming platforms, creating a Youtube channel is just as easy.