Google Photos is one of the best cloud storage options for photos that takes care of the organizational overhead for you. Since it shares storage space with the other services on your Google account, there's a limit to how many photos you can keep in the cloud (unless you want to pay to get more than 15GB). With that in mind, you may want to delete some photos permanently to free up space (or maybe you want to get rid of embarrassing pictures you should have deleted a long time ago).
Permanently deleting an image from your Google Photos account is simple, and the process is virtually identical across platforms, whether you use a phone or a fancy new Chromebook. We focus on Android in this guide, but you can use these instructions no matter which platform you use.
How to permanently delete a picture on Google Photos
The steps for deleting a Google Photos image are similar on the mobile and web versions of the software. Here's a breakdown.
Delete a picture on the mobile app
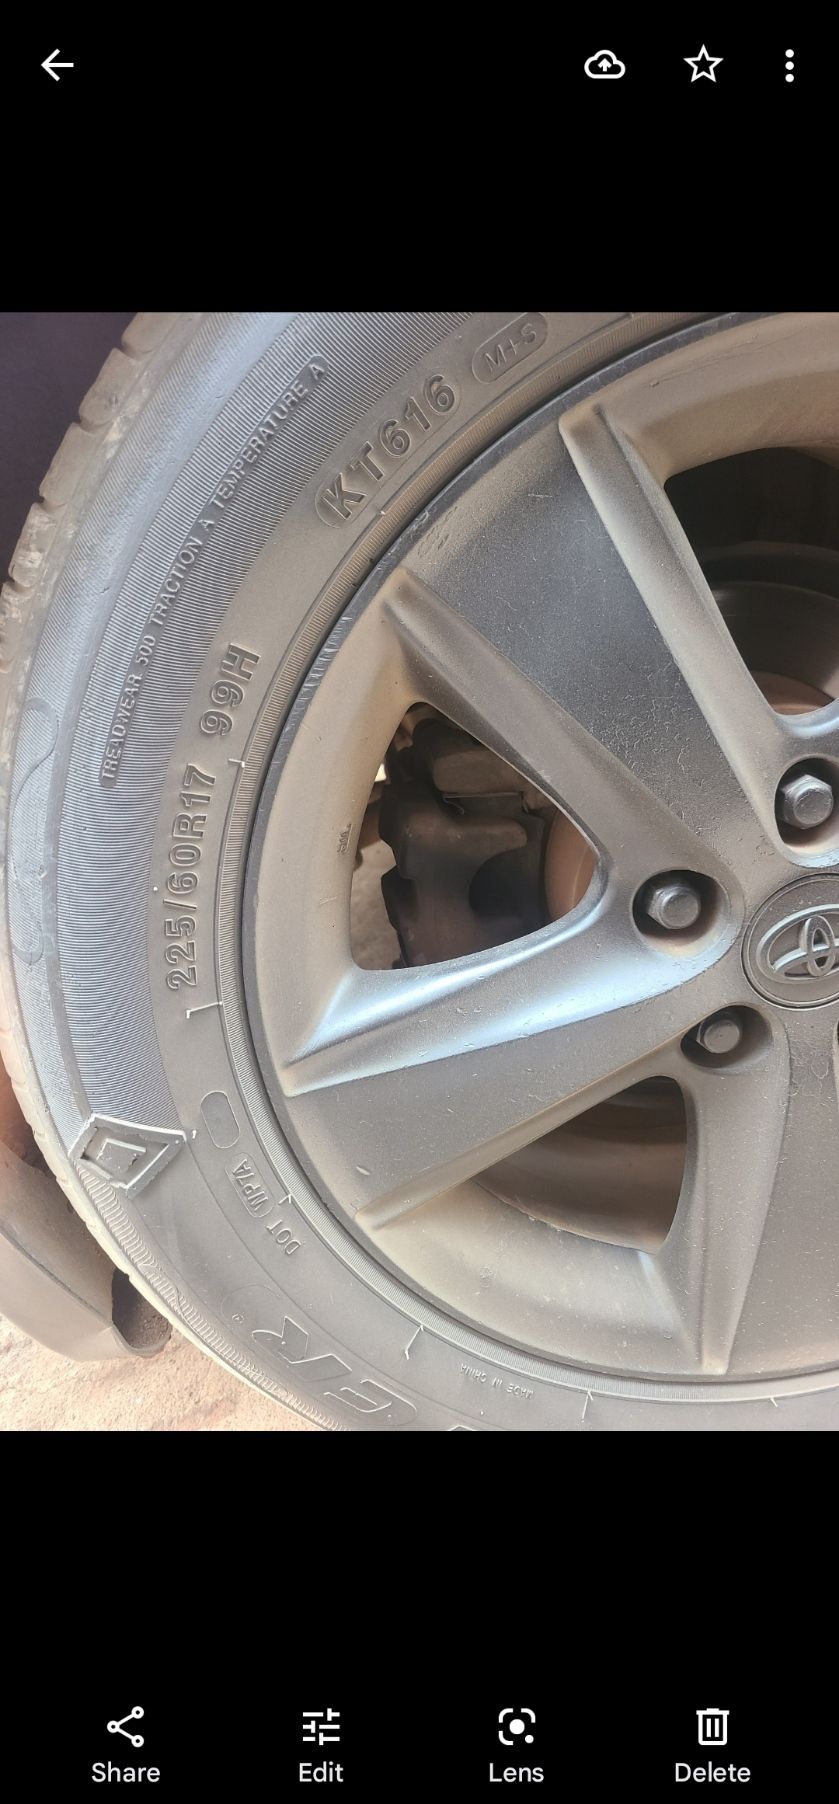
When you open the Google Photos app on your Android device, Apple iPhone, or iPad and find the image you want to delete, there are a few simple steps you'll follow:
- Tap a photo to bring up the full-screen view.
- Tap the Delete button in the lower-right corner of your screen. A dialog box appears and asks if you want the photo moved to the trash bin.
-
Select Allow to confirm that you want to trash the photo.


- Navigate to the Google Photos Library section on the bottom tab of the screen.
-
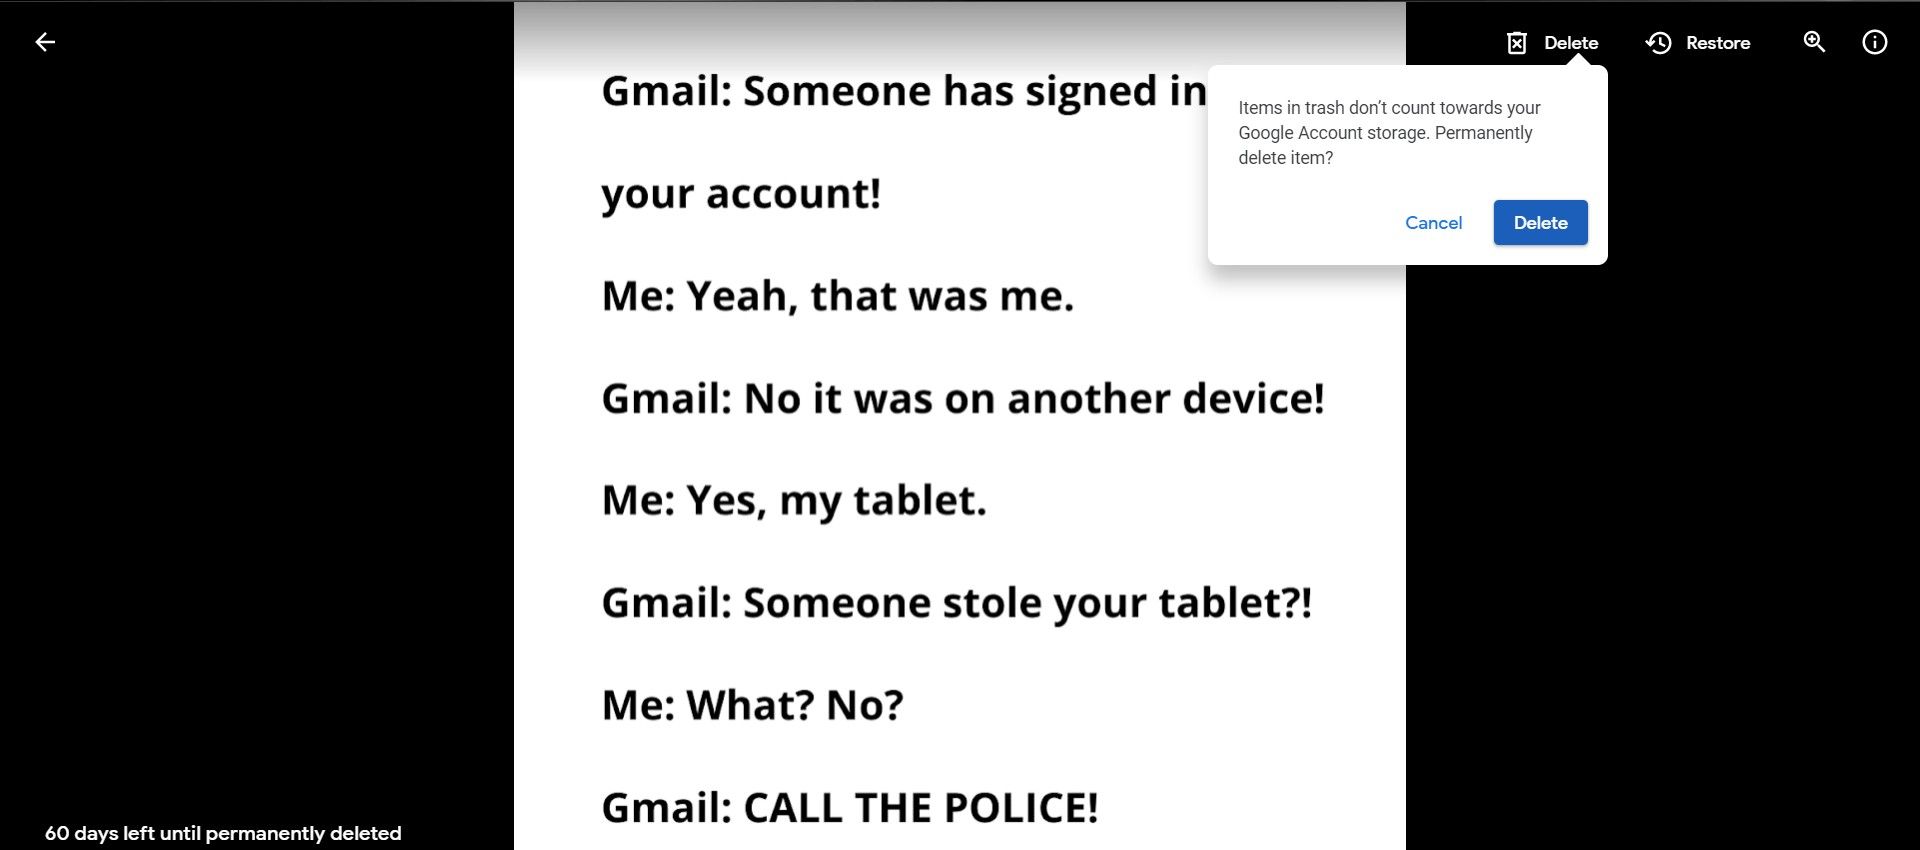
Open the Trash folder in the upper-right corner of the screen.
- Locate the photo you trashed and tap it.
- Tap the Delete button in the lower-left corner of the display.
-
Tap Allow to confirm and permanently delete the photo.


The image is deleted from your mobile device and cloud storage immediately. If your Google Photos cloud storage isn't at risk of running out, or you don't mind waiting 60 days for the image to be automatically deleted, it's enough to put the item in the trash.
We illustrate the steps using an Android phone. However, the experience is similar when deleting photos on the iOS mobile app.
Delete a photo on the web app
Deleting images on the Google Photos web app is as simple as the mobile version. Follow these steps:
-
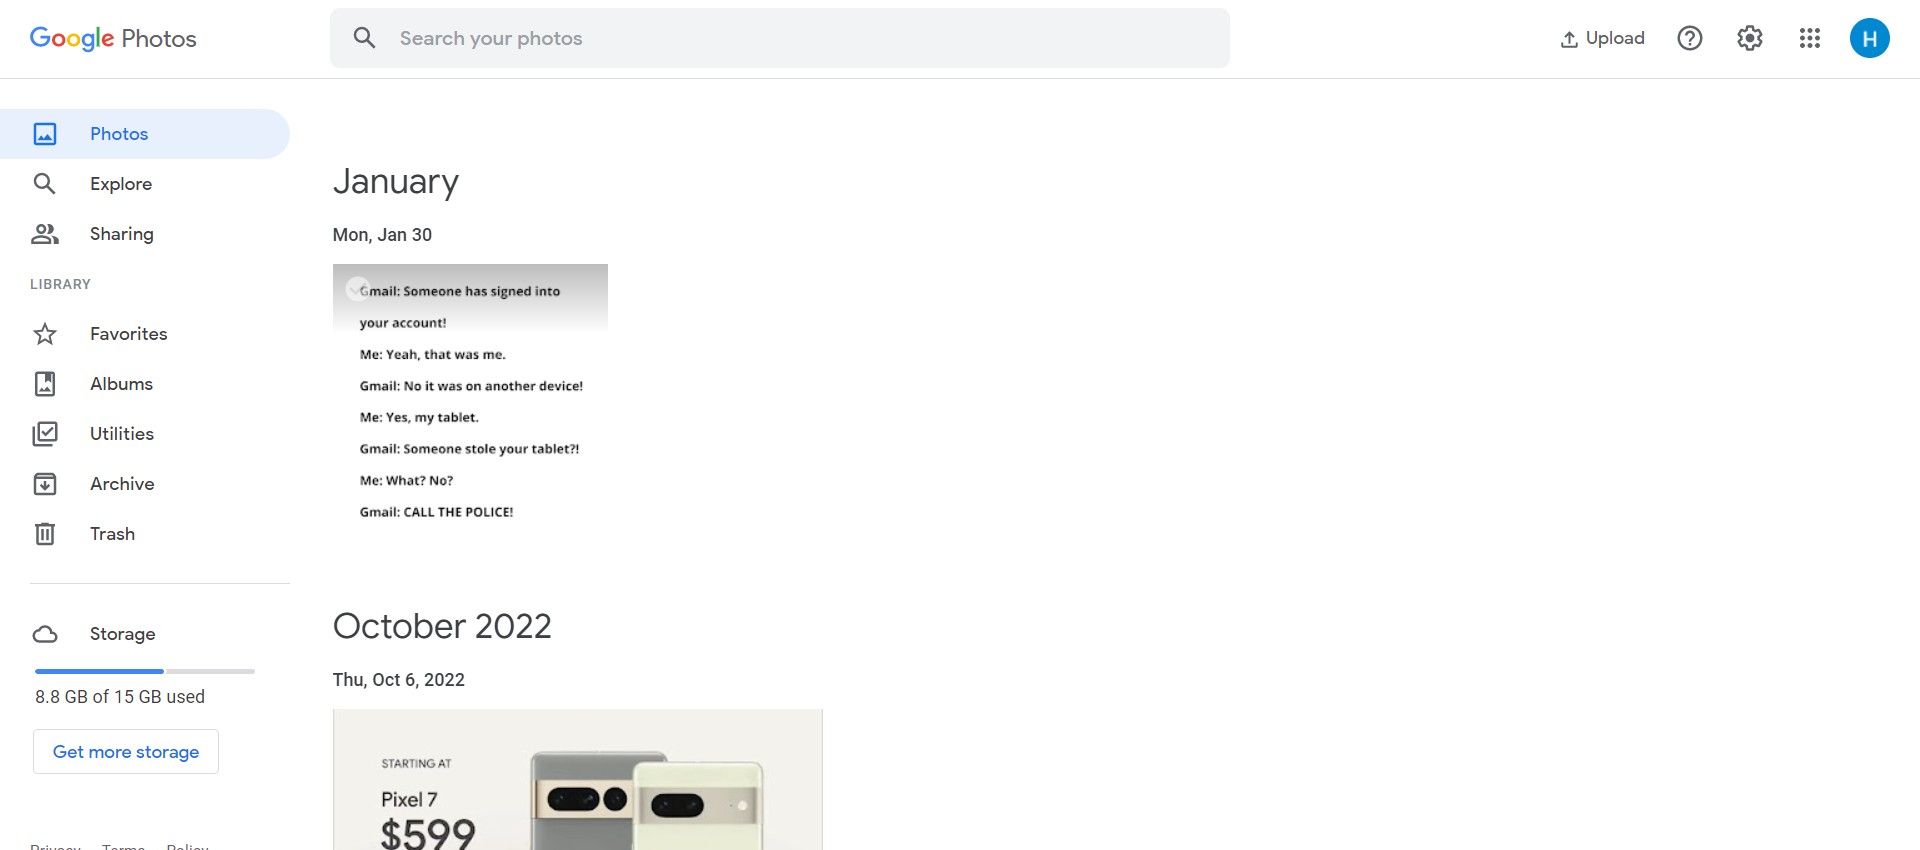
Visit photos.google.com on your desktop browser.

-
Select the photo you wish to get rid of to open it.
-
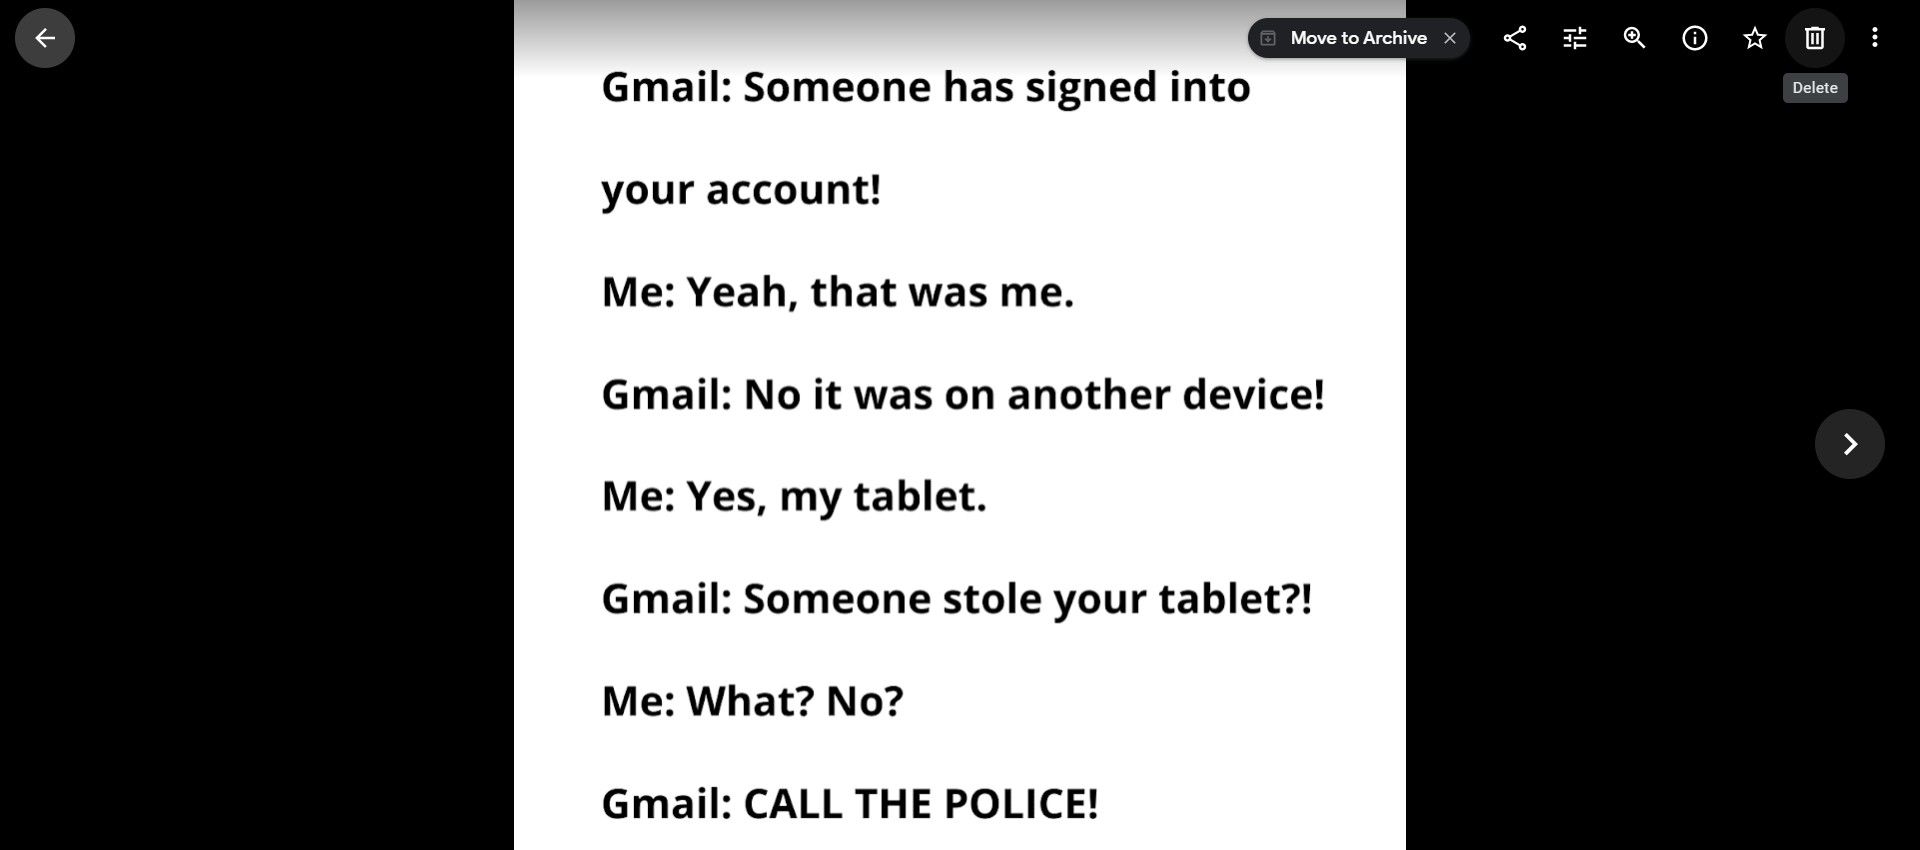
Click the Delete button in the upper-right corner of the screen. You're asked to confirm the deletion.
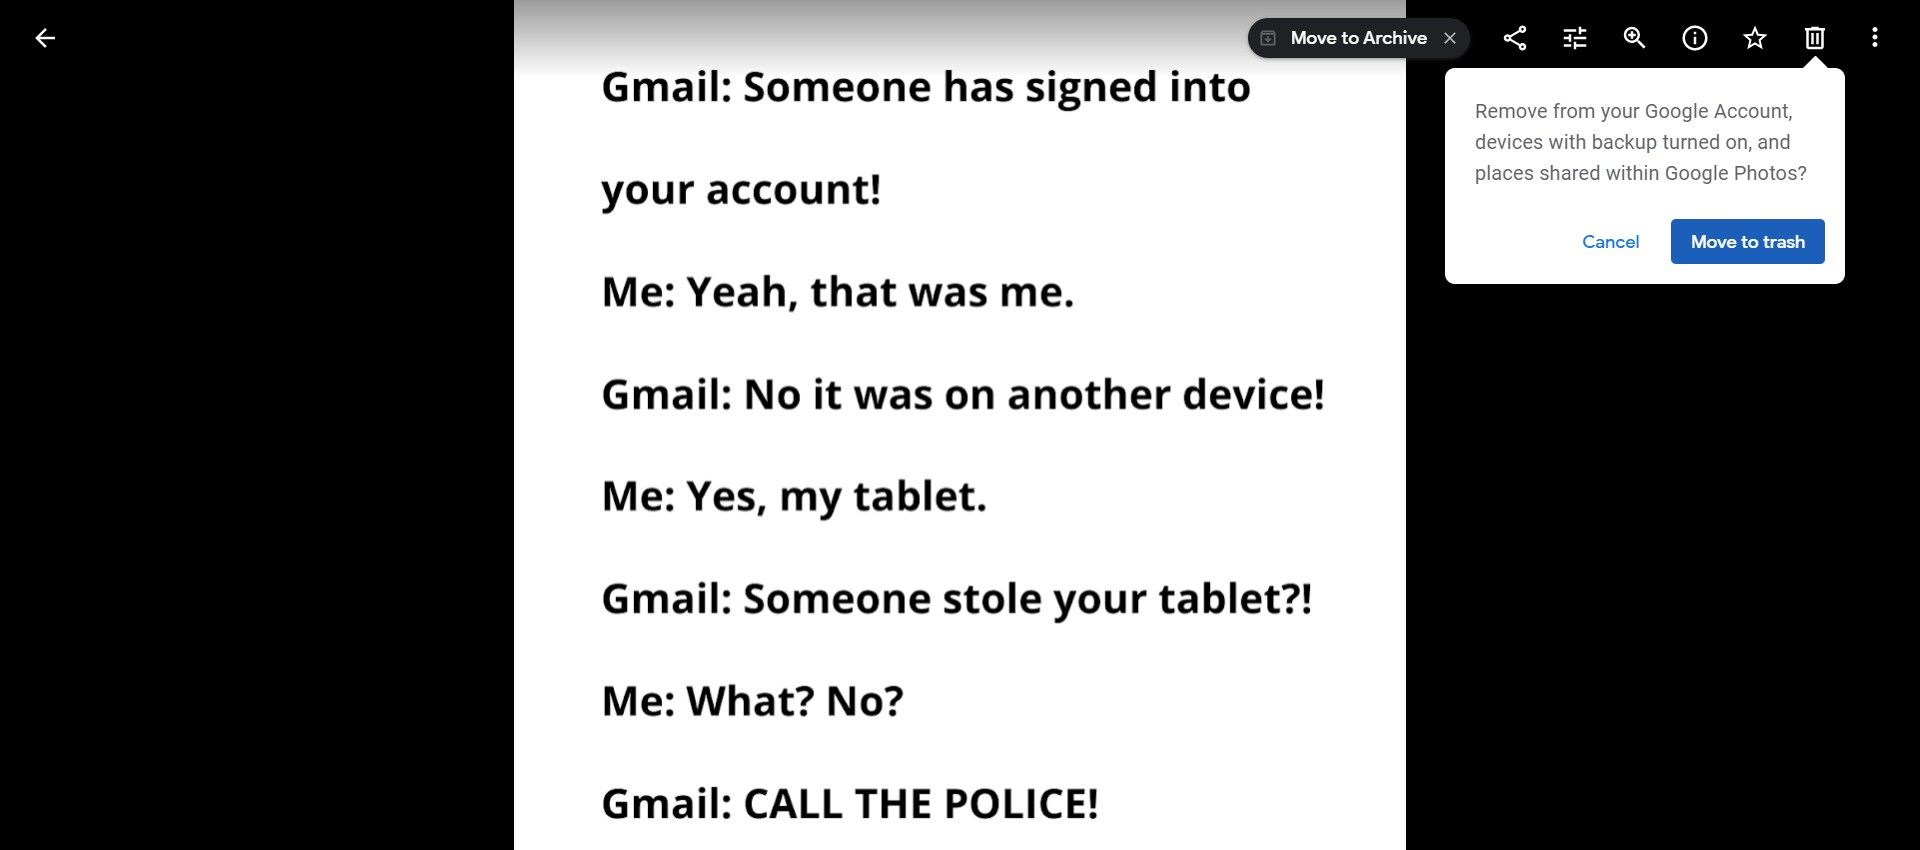
- Select Move to trash. The item is removed from the gallery immediately.
-
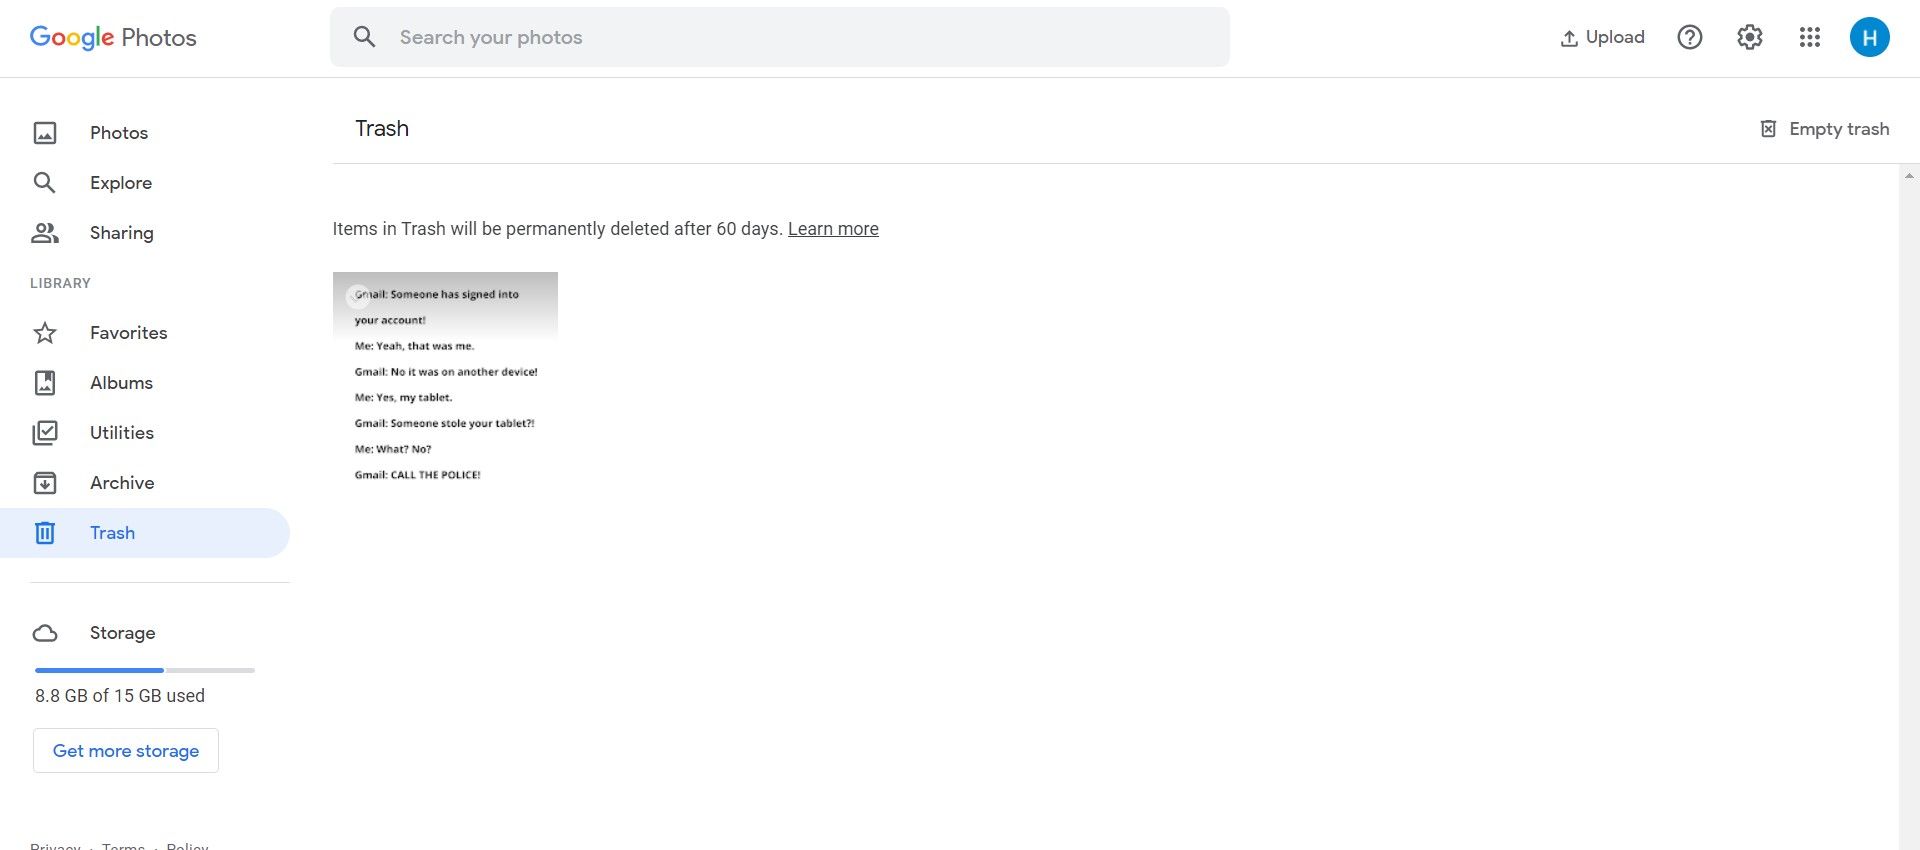
Navigate to Trash on the left sidebar.
-
Select the photo you just deleted.
-
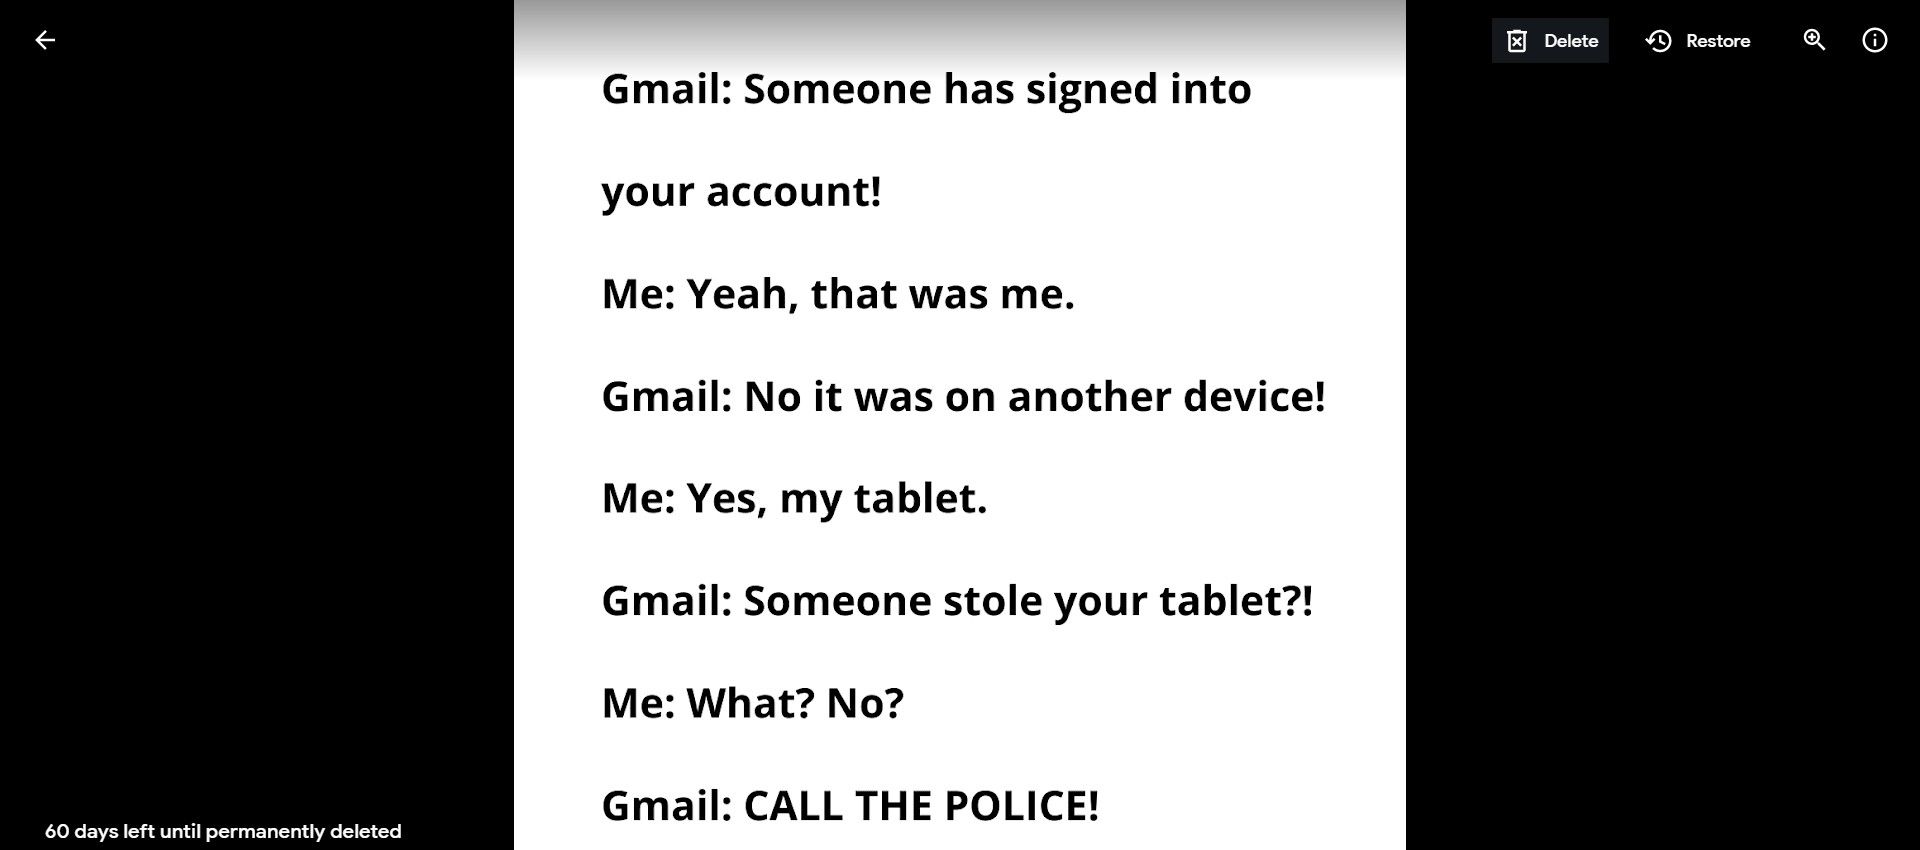
Click the Delete button in the upper-right corner of the screen. The picture is deleted permanently.


How to permanently delete multiple pictures on Google Photos
If you have numerous images to delete, follow these steps to speed up the process.
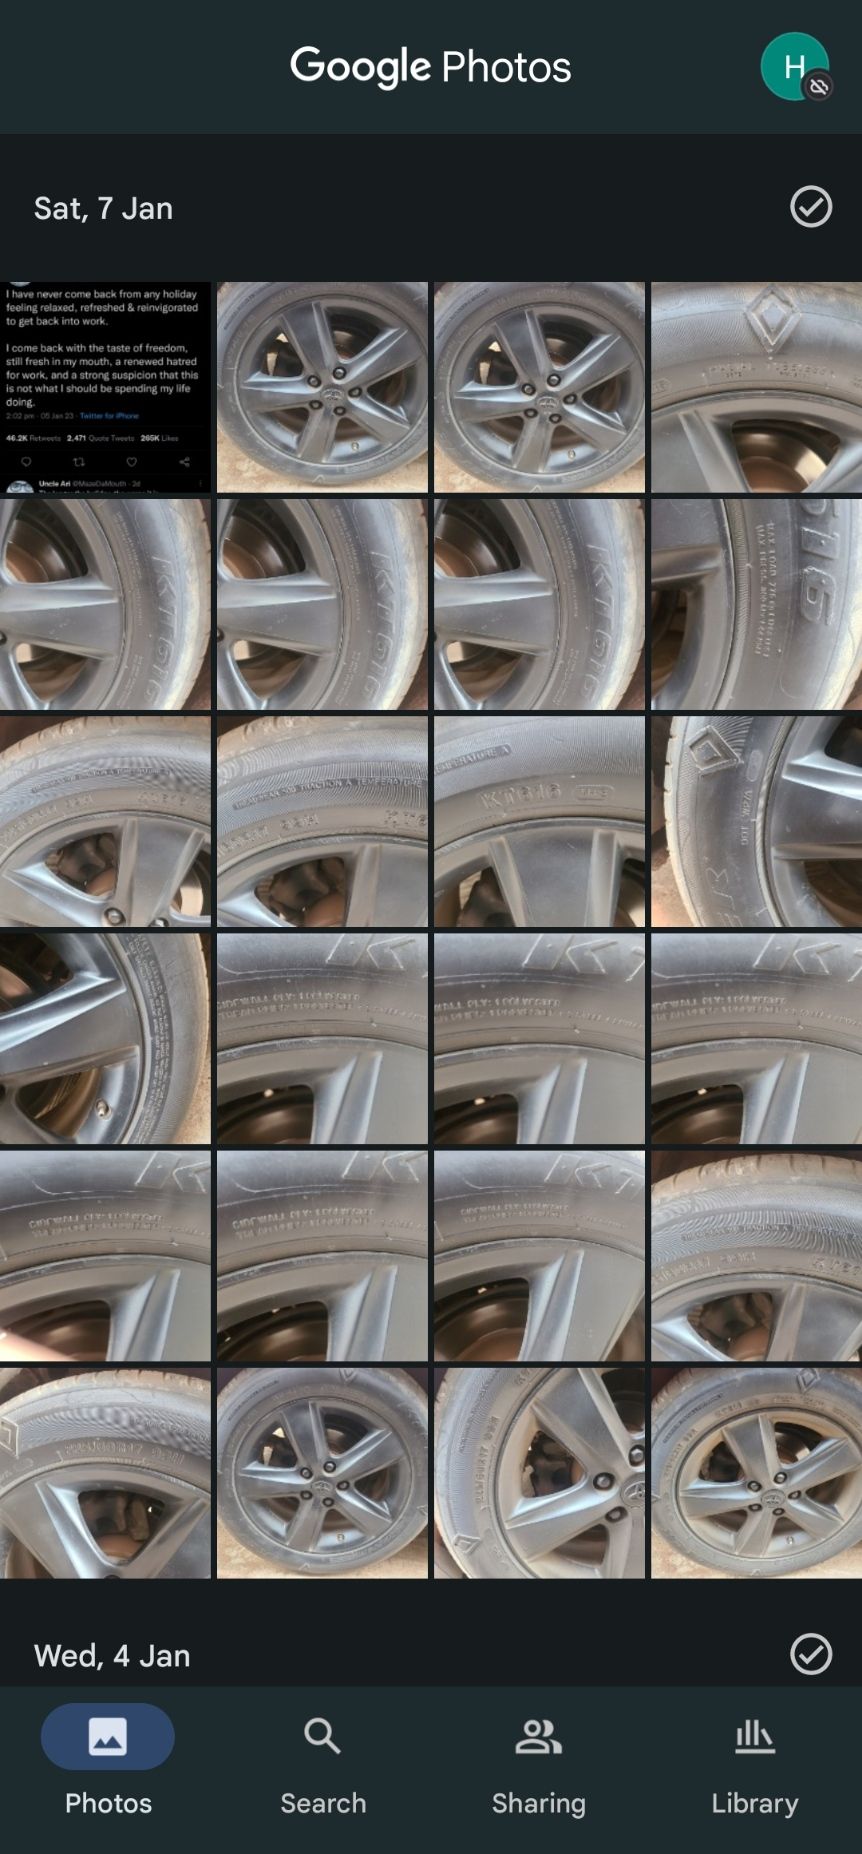
- From the gallery view, tap and hold one of the images you want to delete to select it.
-
Tap the other images you want to delete to select them.
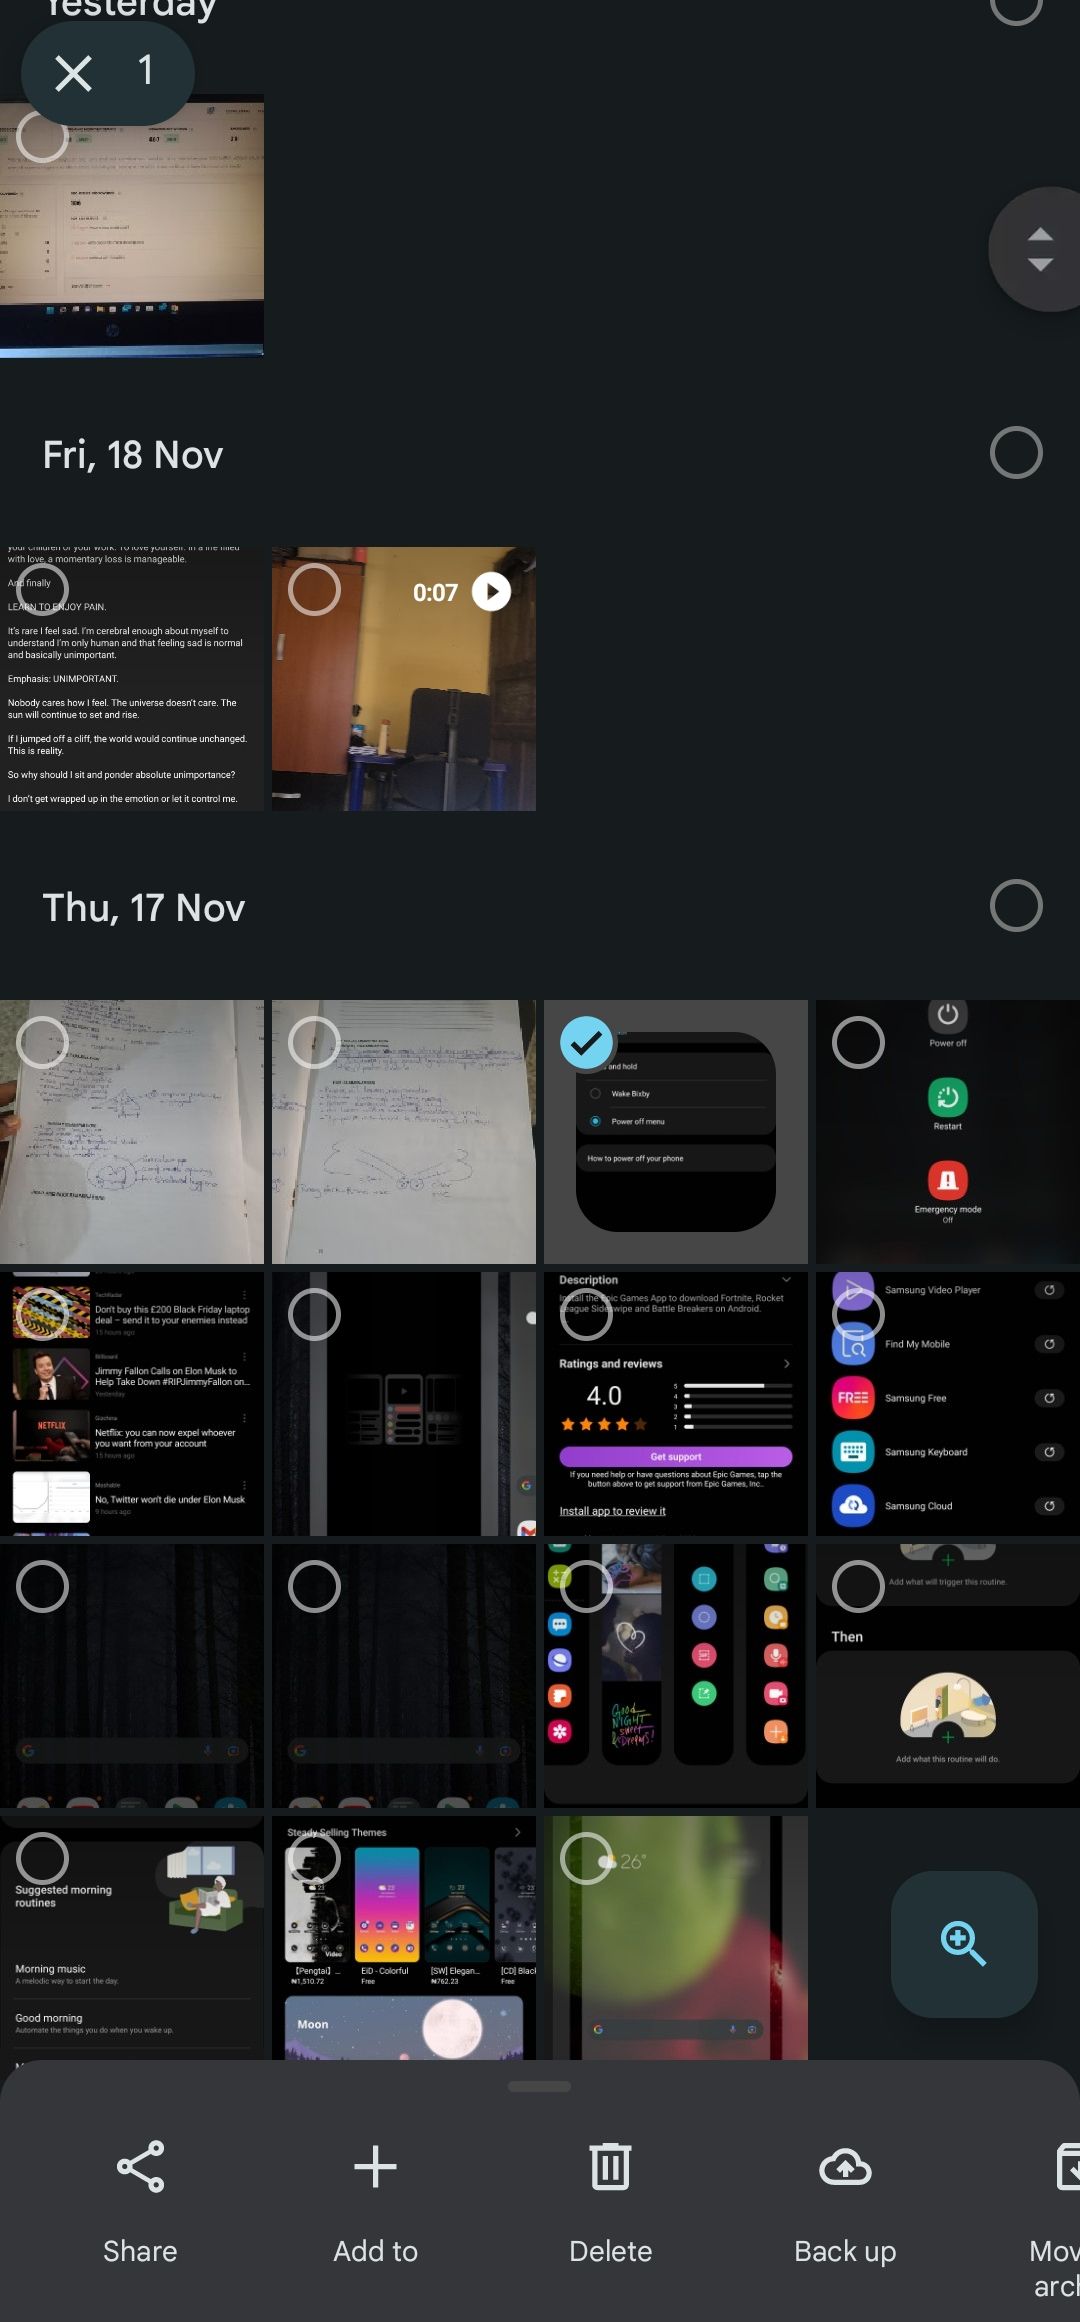
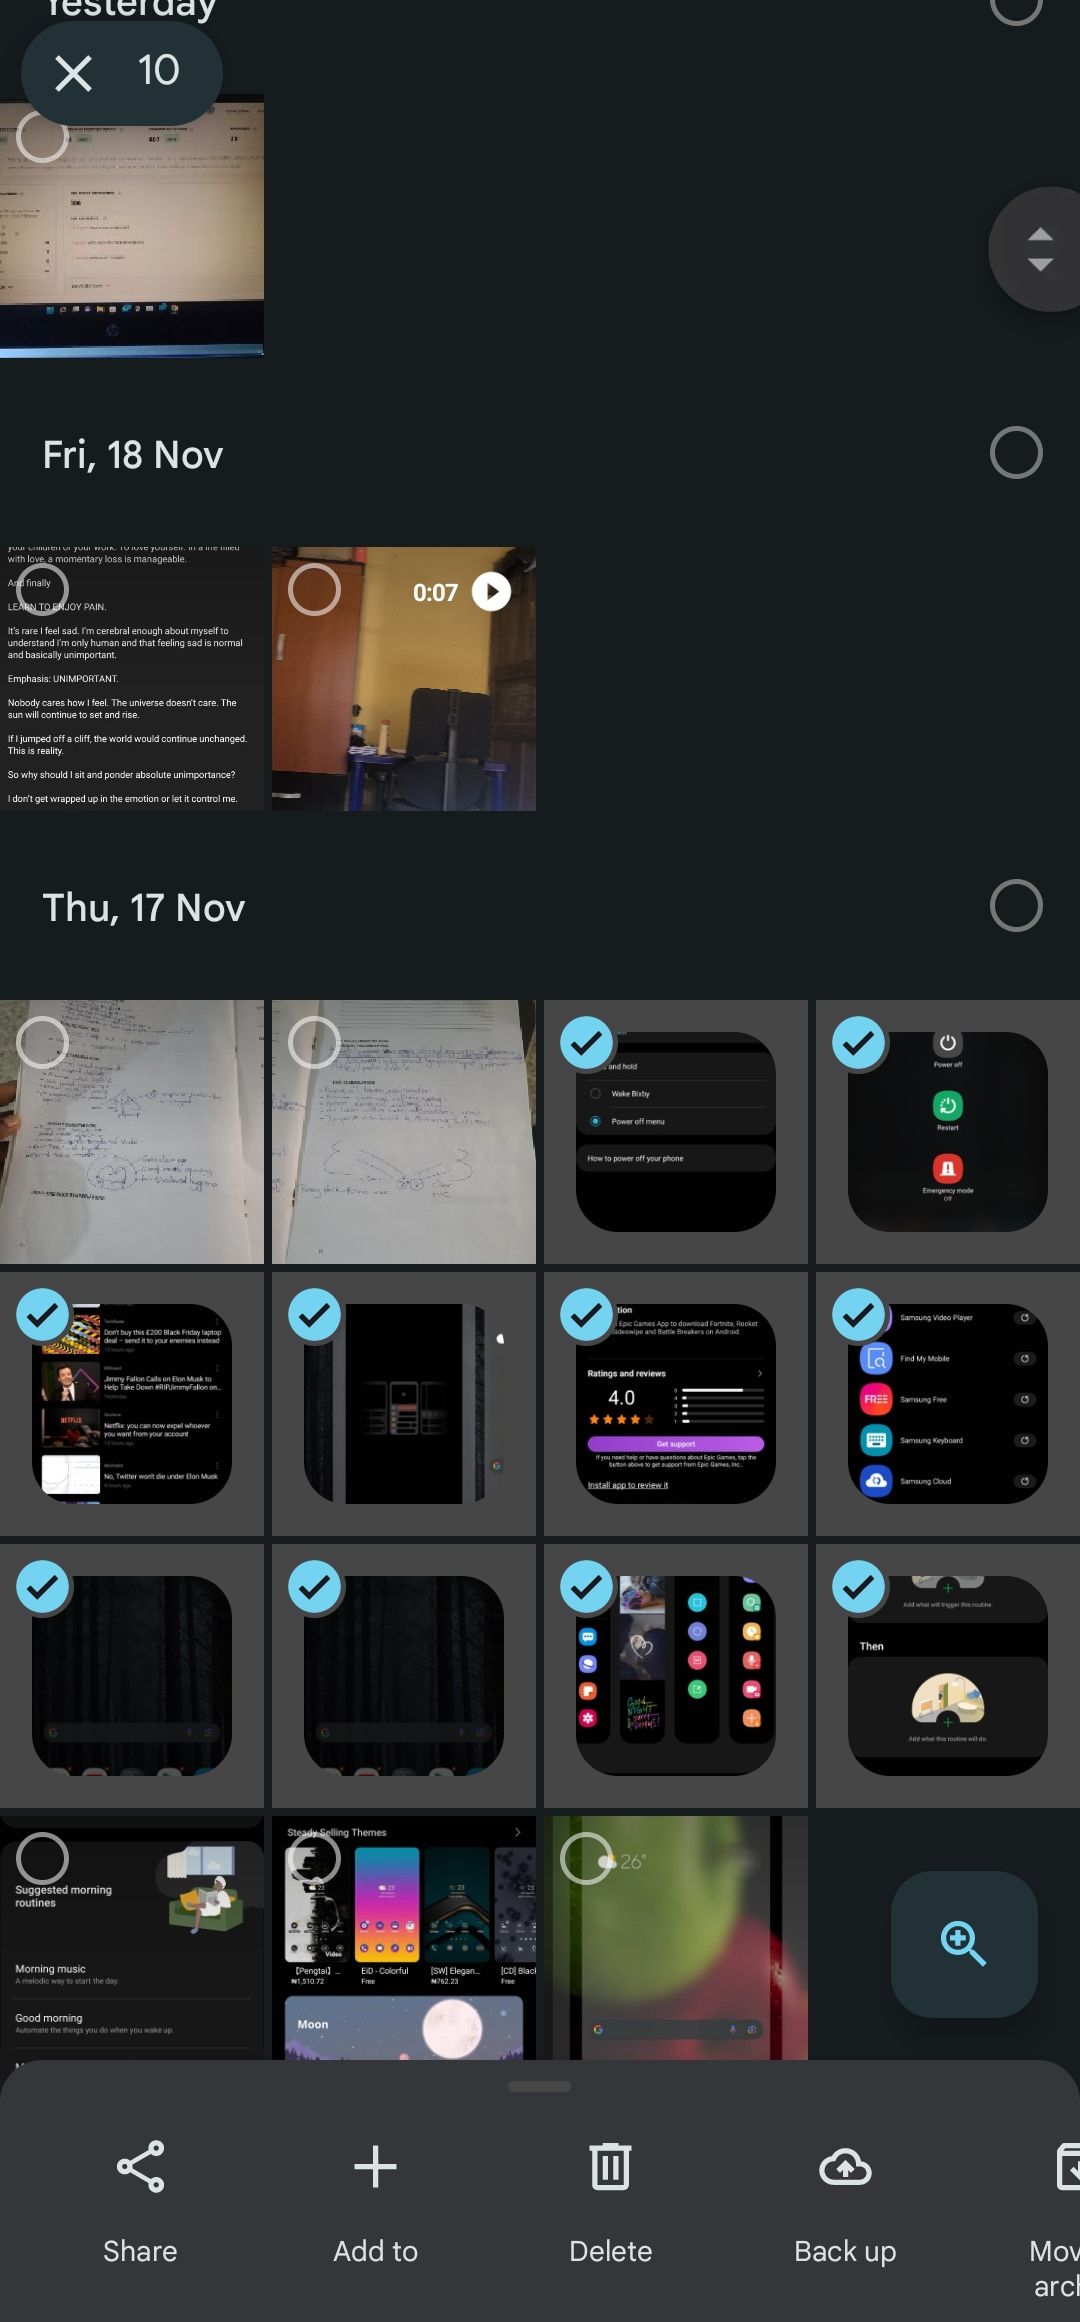
- Tap Delete beneath the trash can icon in the toolbar at the bottom. You're prompted to confirm that you want to move the images to the trash.
-
Click Allow.

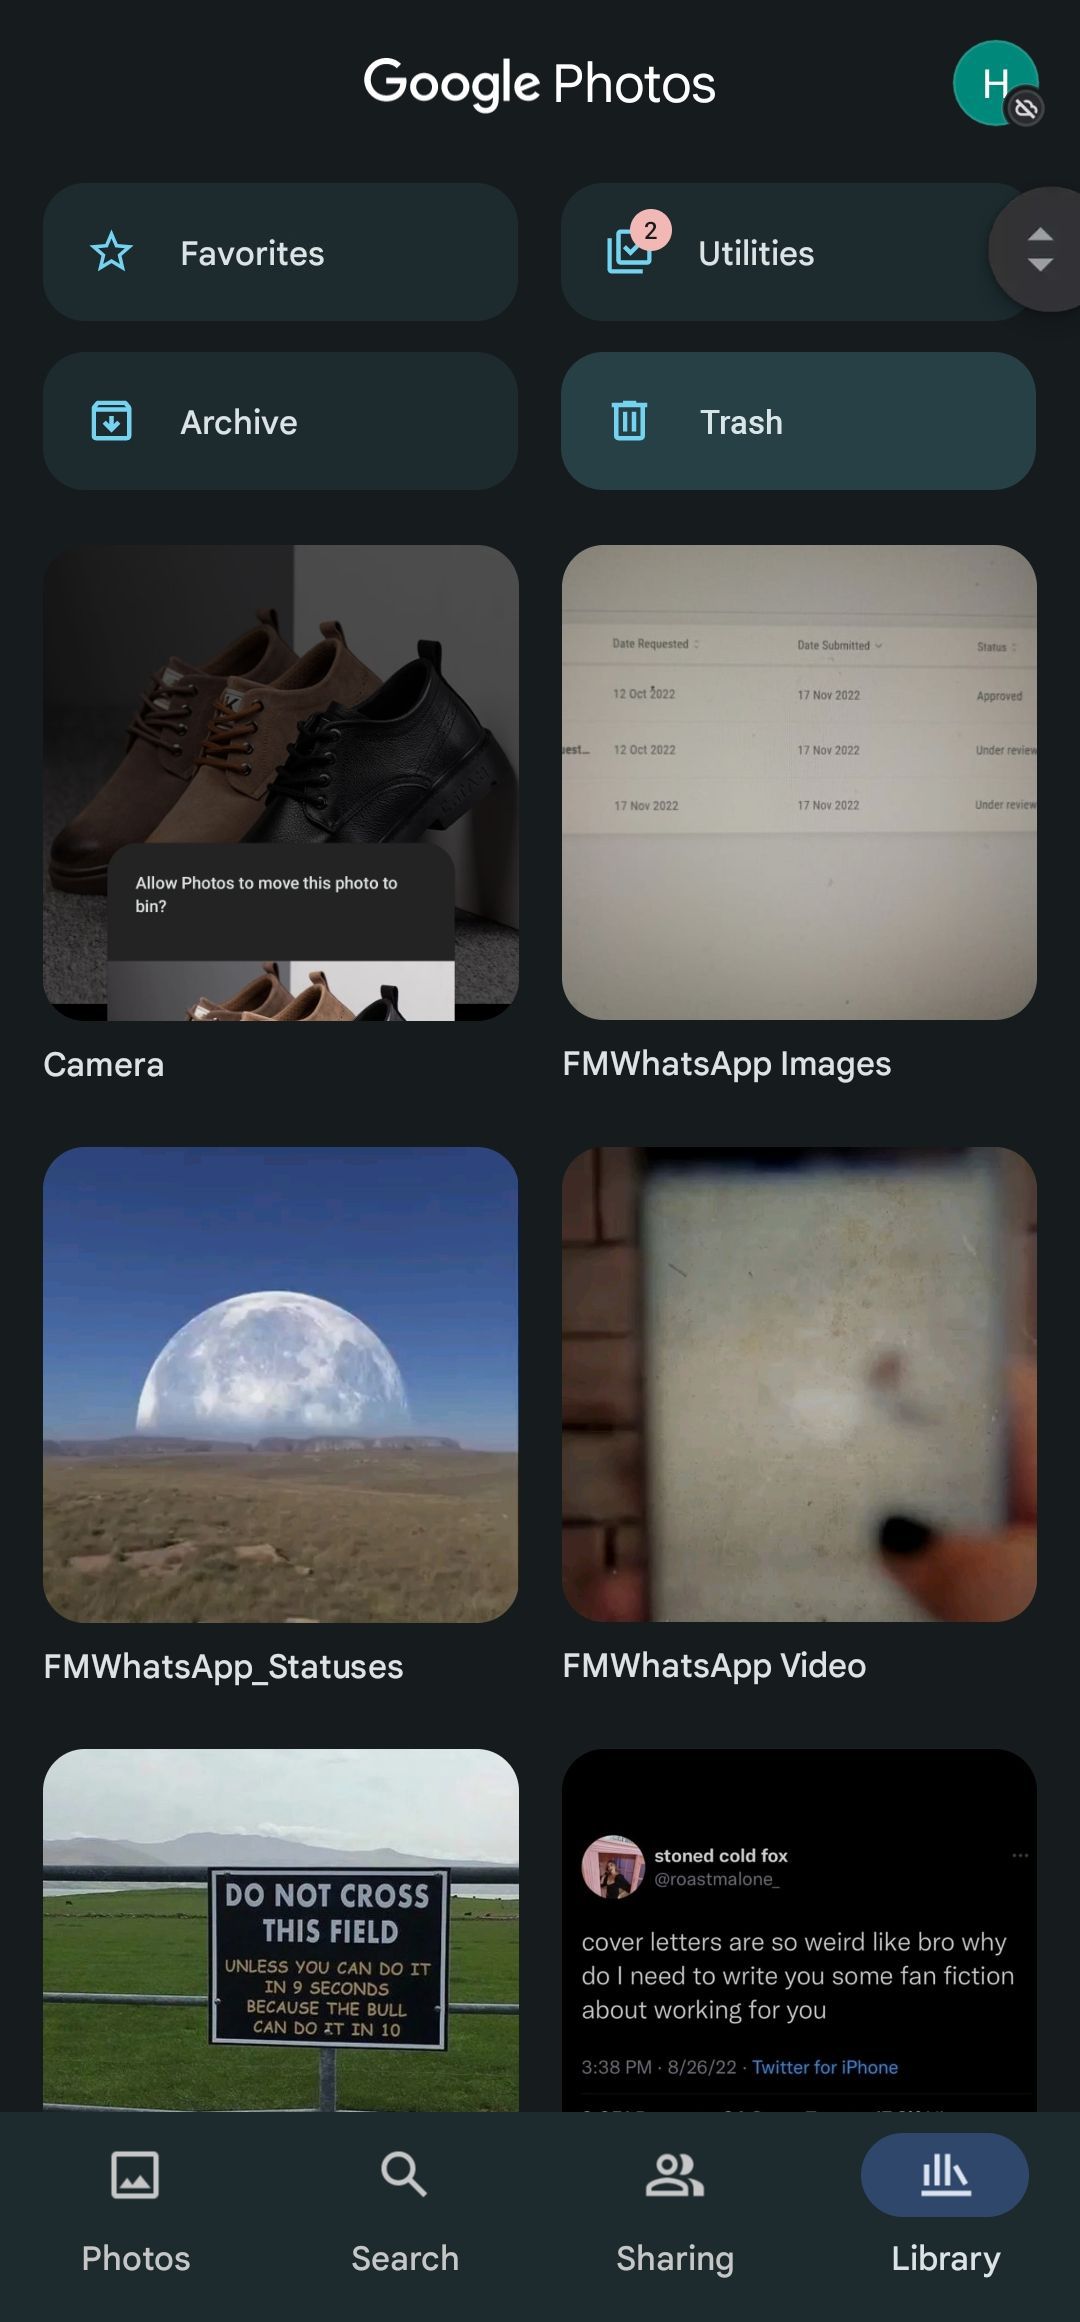
- Navigate to the Library section in the lower-right corner.
-
Tap the Trash button to see all the trashed photos.
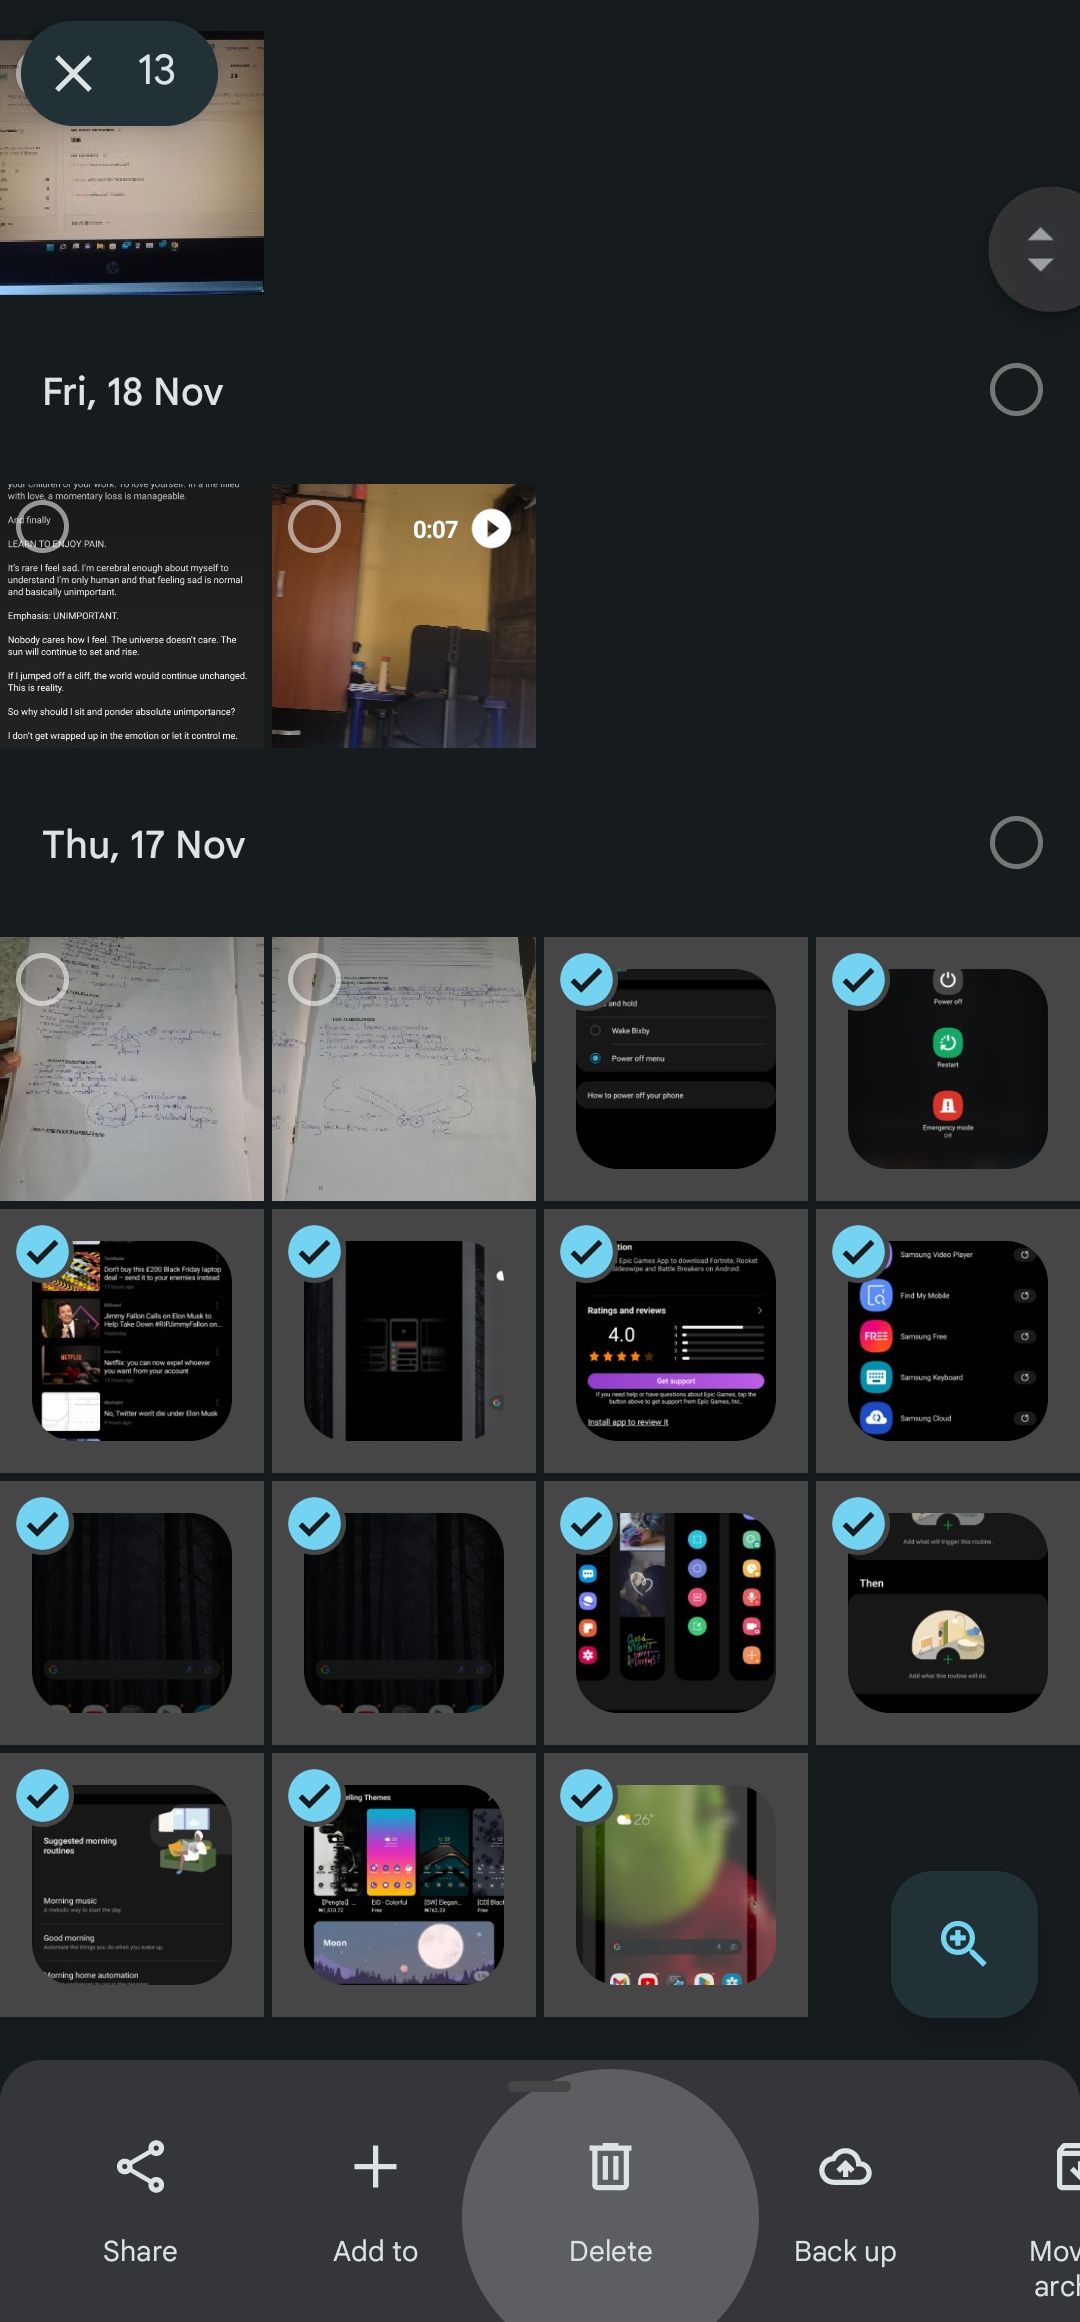
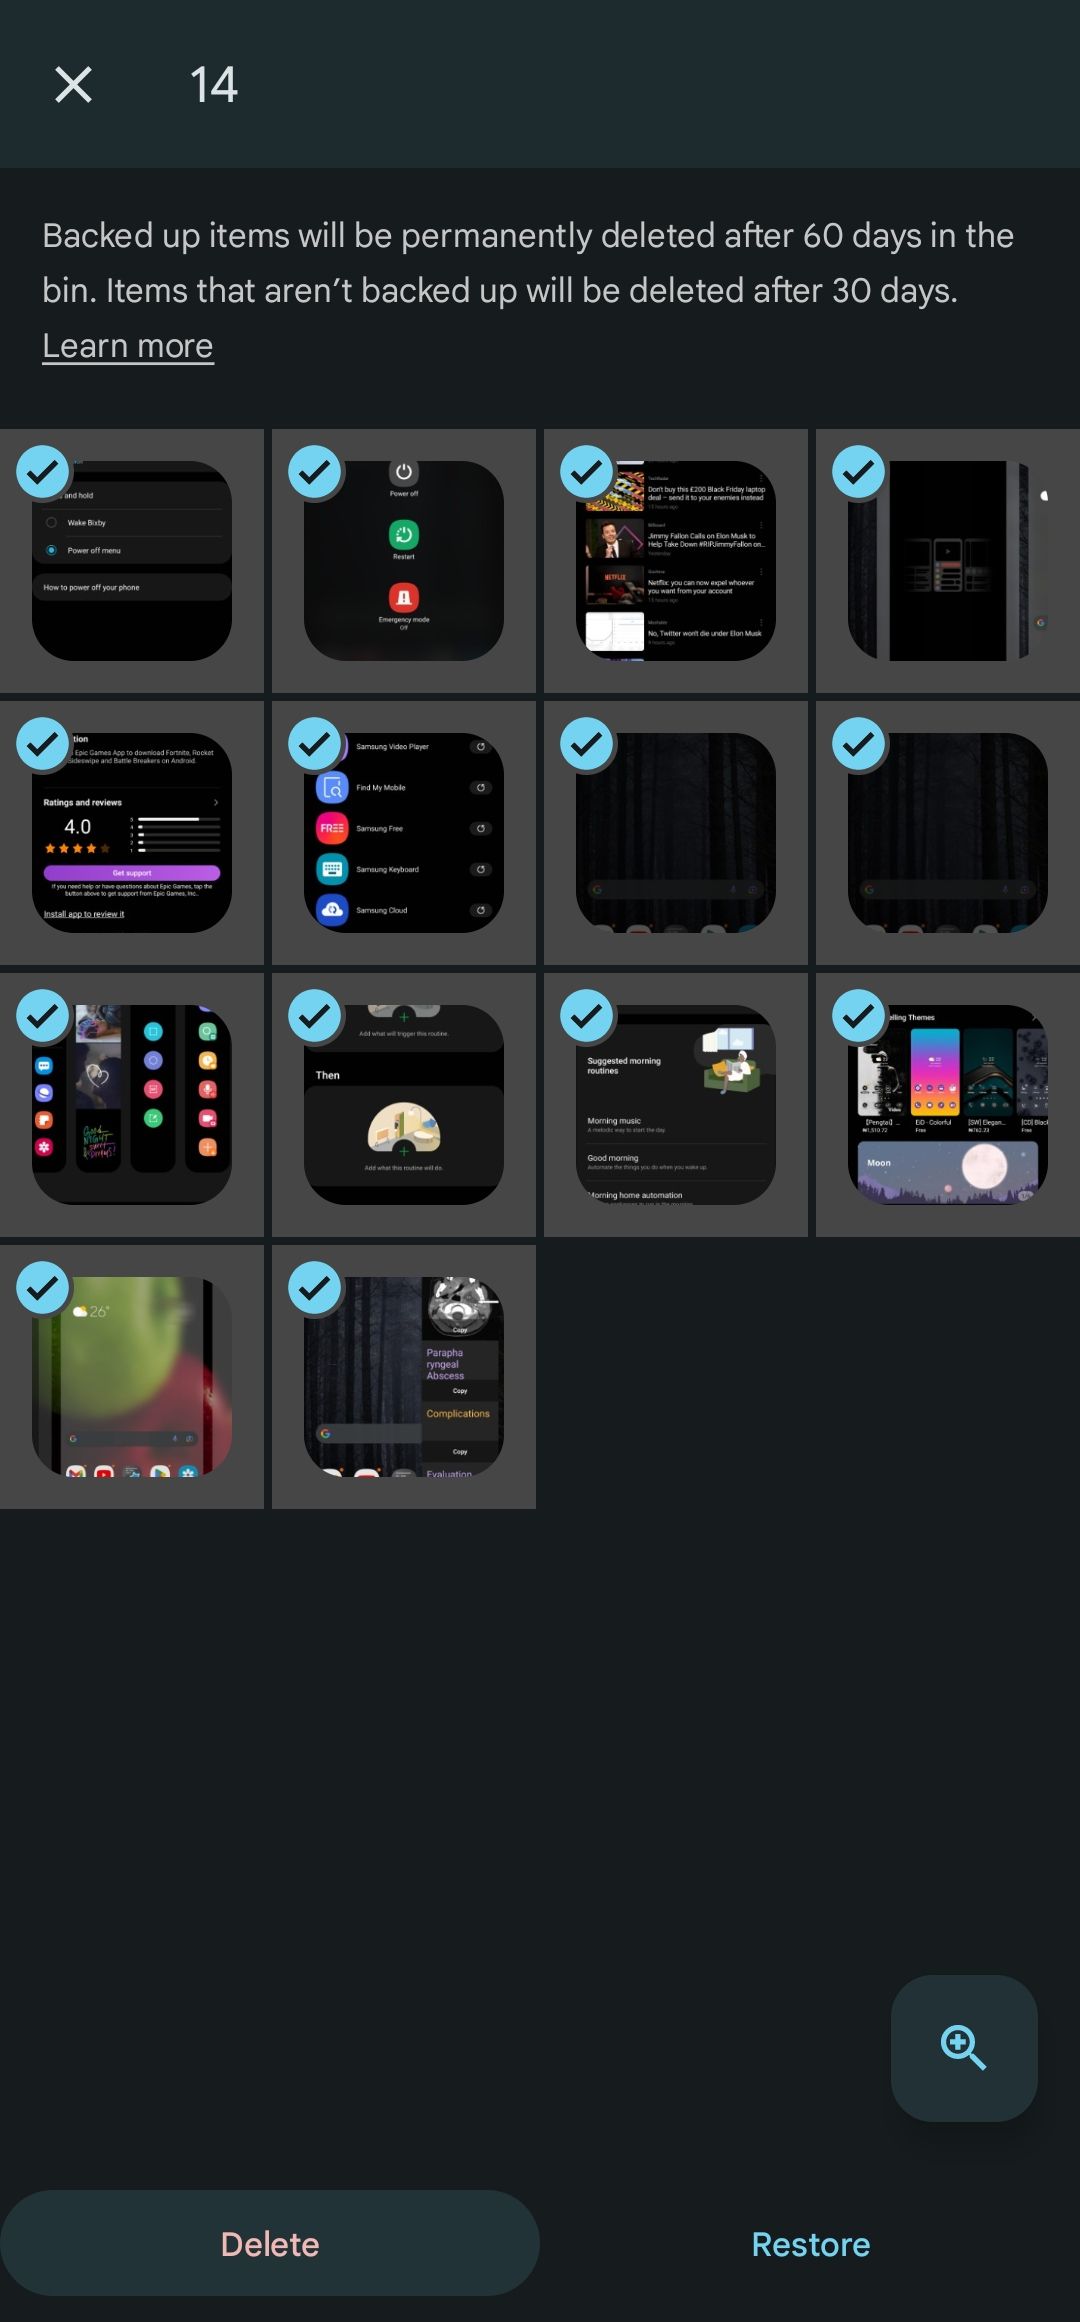
- Locate the photos you deleted and select them. You can speed up the process by tapping and holding the first one and then sliding your fingers across the other images you want to delete permanently.
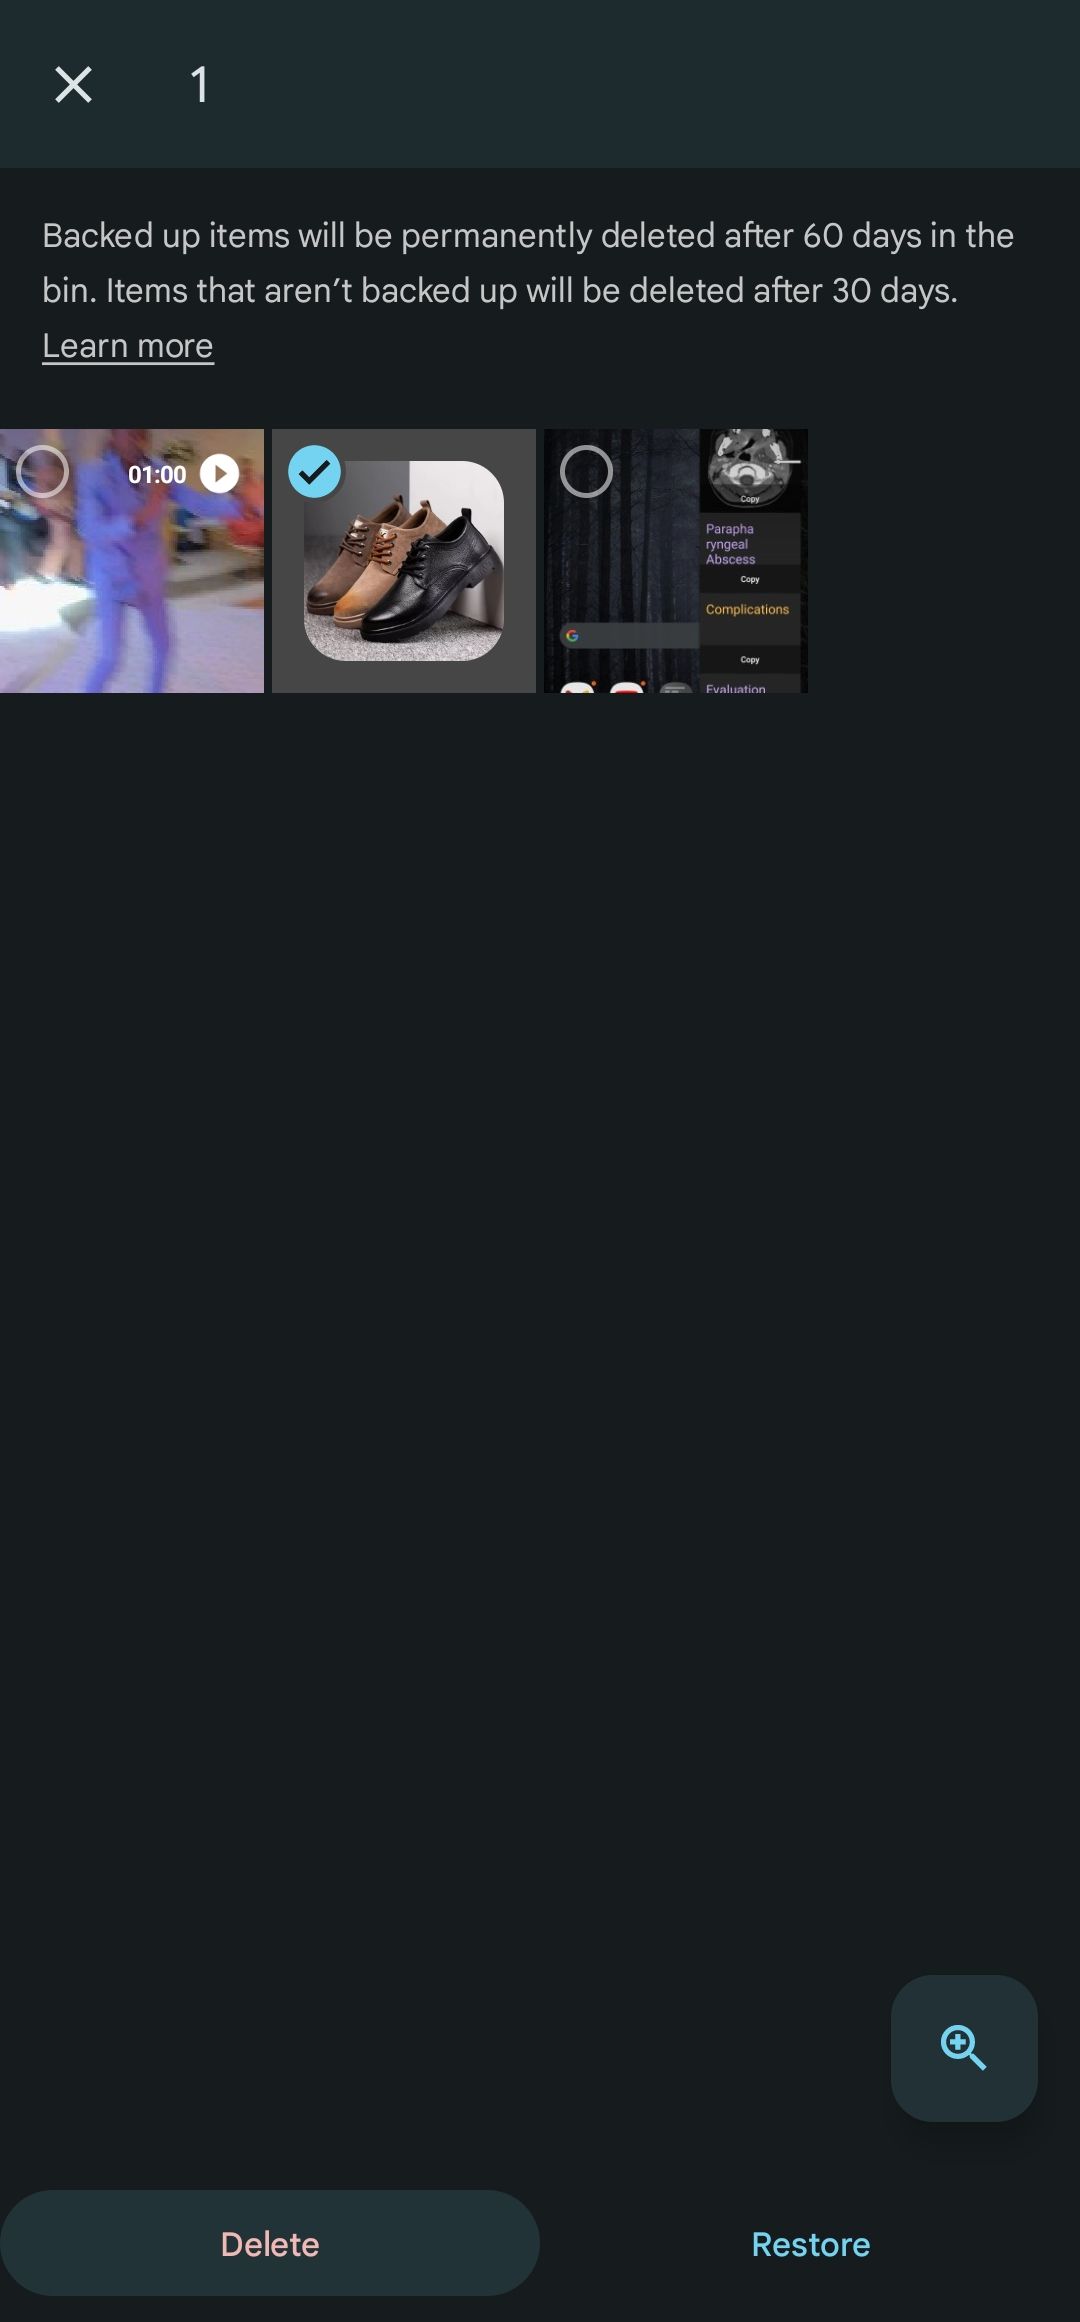
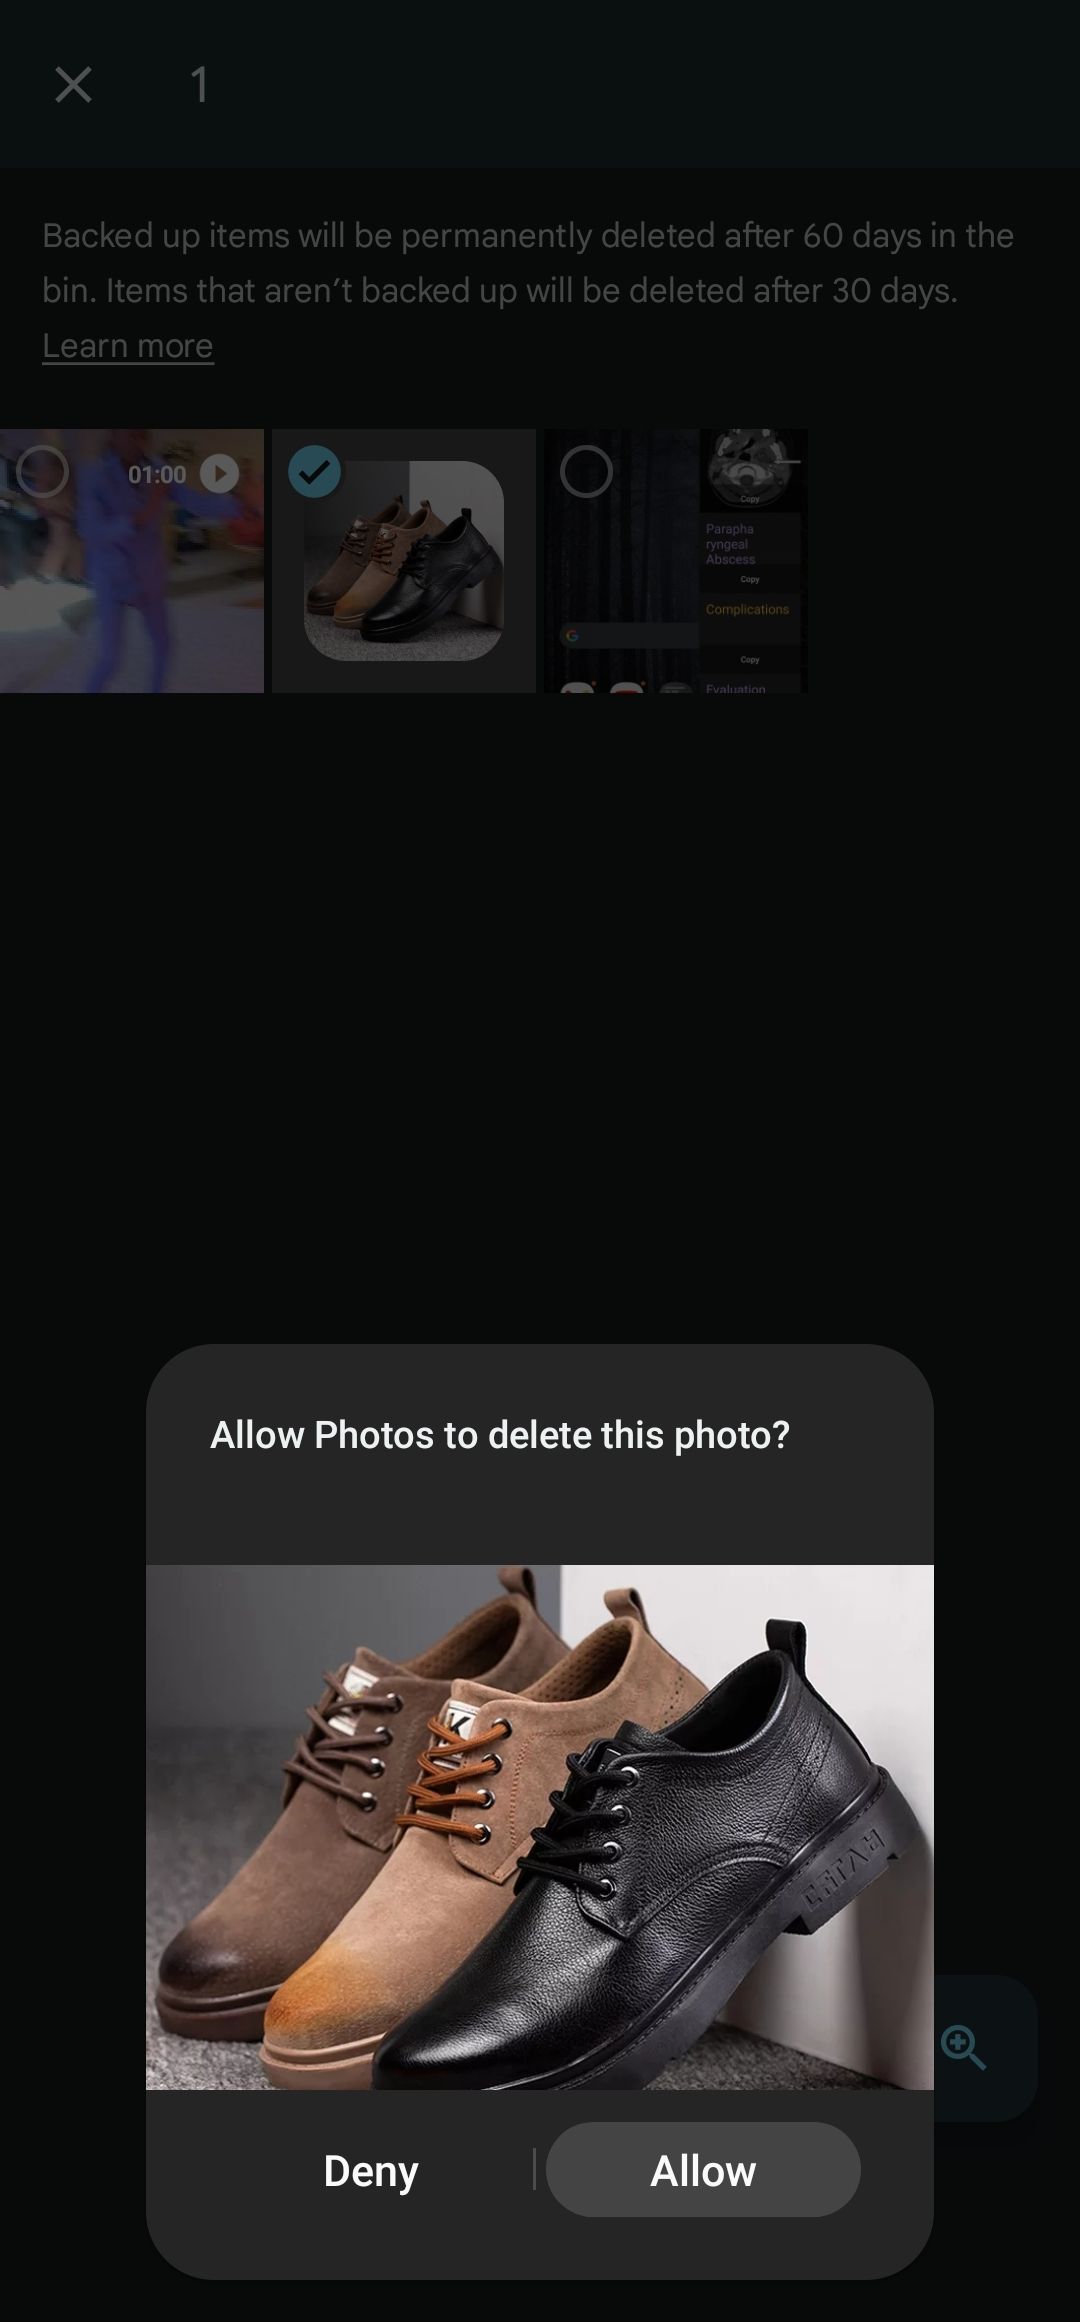
- Tap the Delete button in the lower-left corner.
-
Touch Allow to confirm that you want to delete the selected items permanently. You can also empty the bin using the ⋮ icon in the upper-right corner.


Follow similar steps to delete several pictures simultaneously on the iOS or web app.
How to delete pictures from a Google Photos album
If you created an album in Google Photos, you can delete individual pictures from it without removing the entire album.
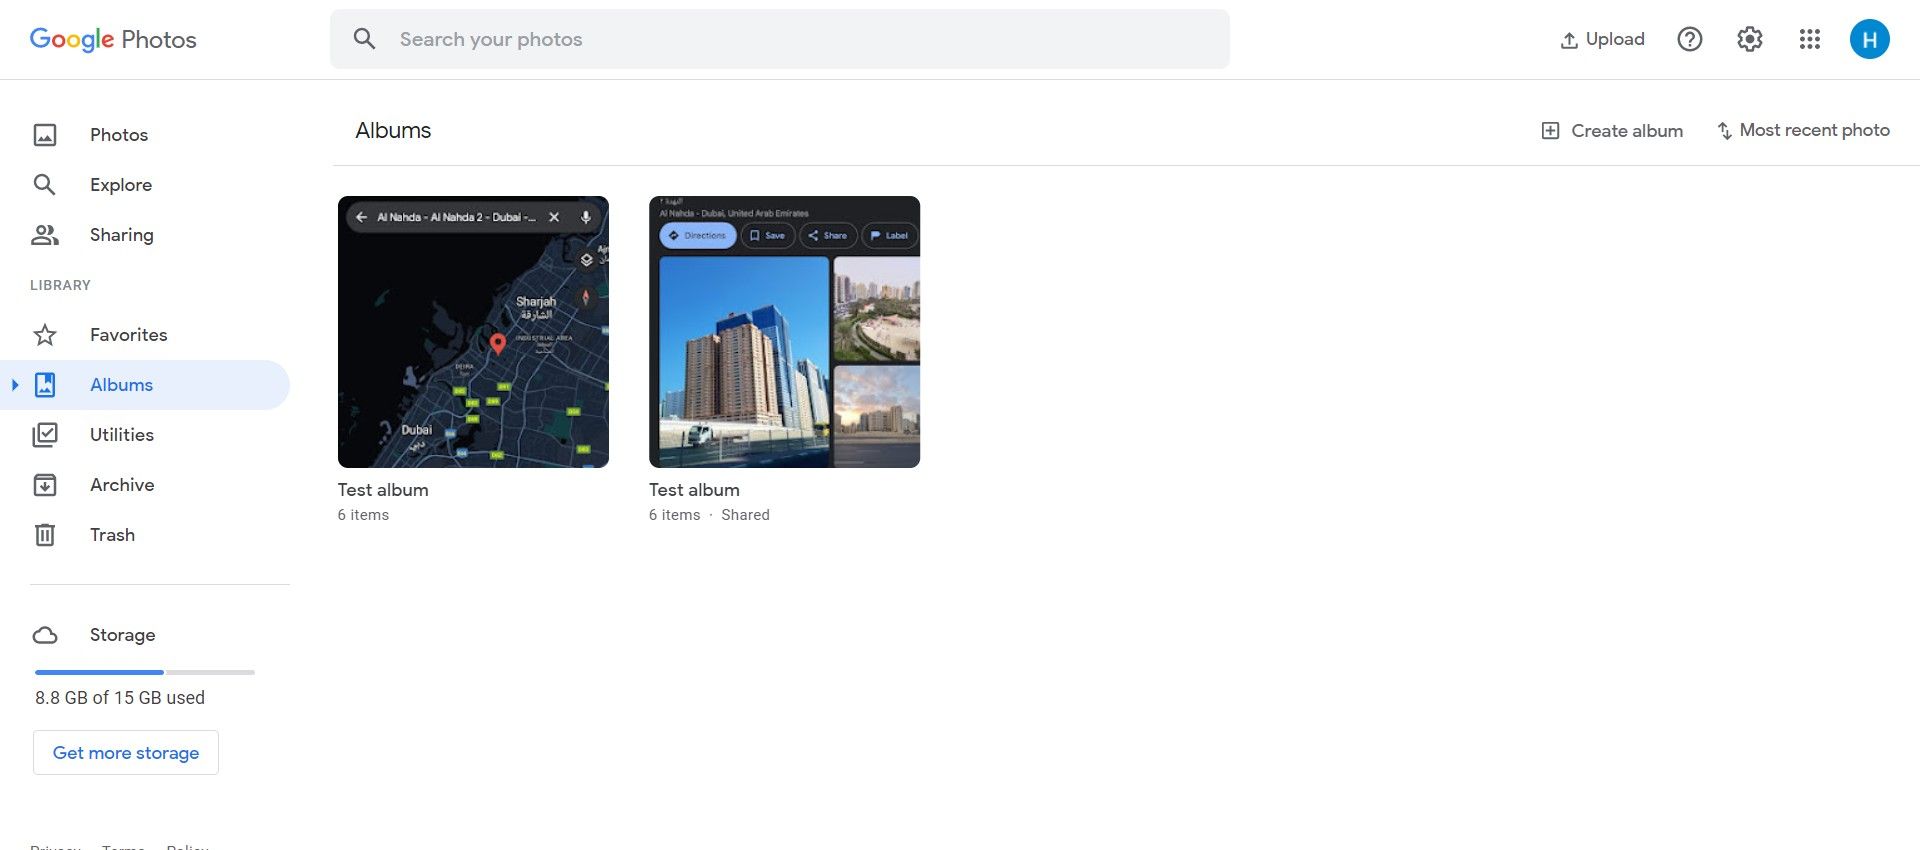
Deleting album pictures using the web app
- Go to photos.google.com.
- Navigate to Albums on the left sidebar.
-
Select an album to open it.
-
Click the picture you wish to remove.
-
Go to More options in the upper-right corner of the screen.
-
Select Move to trash from the options.


Deleting album pictures using the mobile app
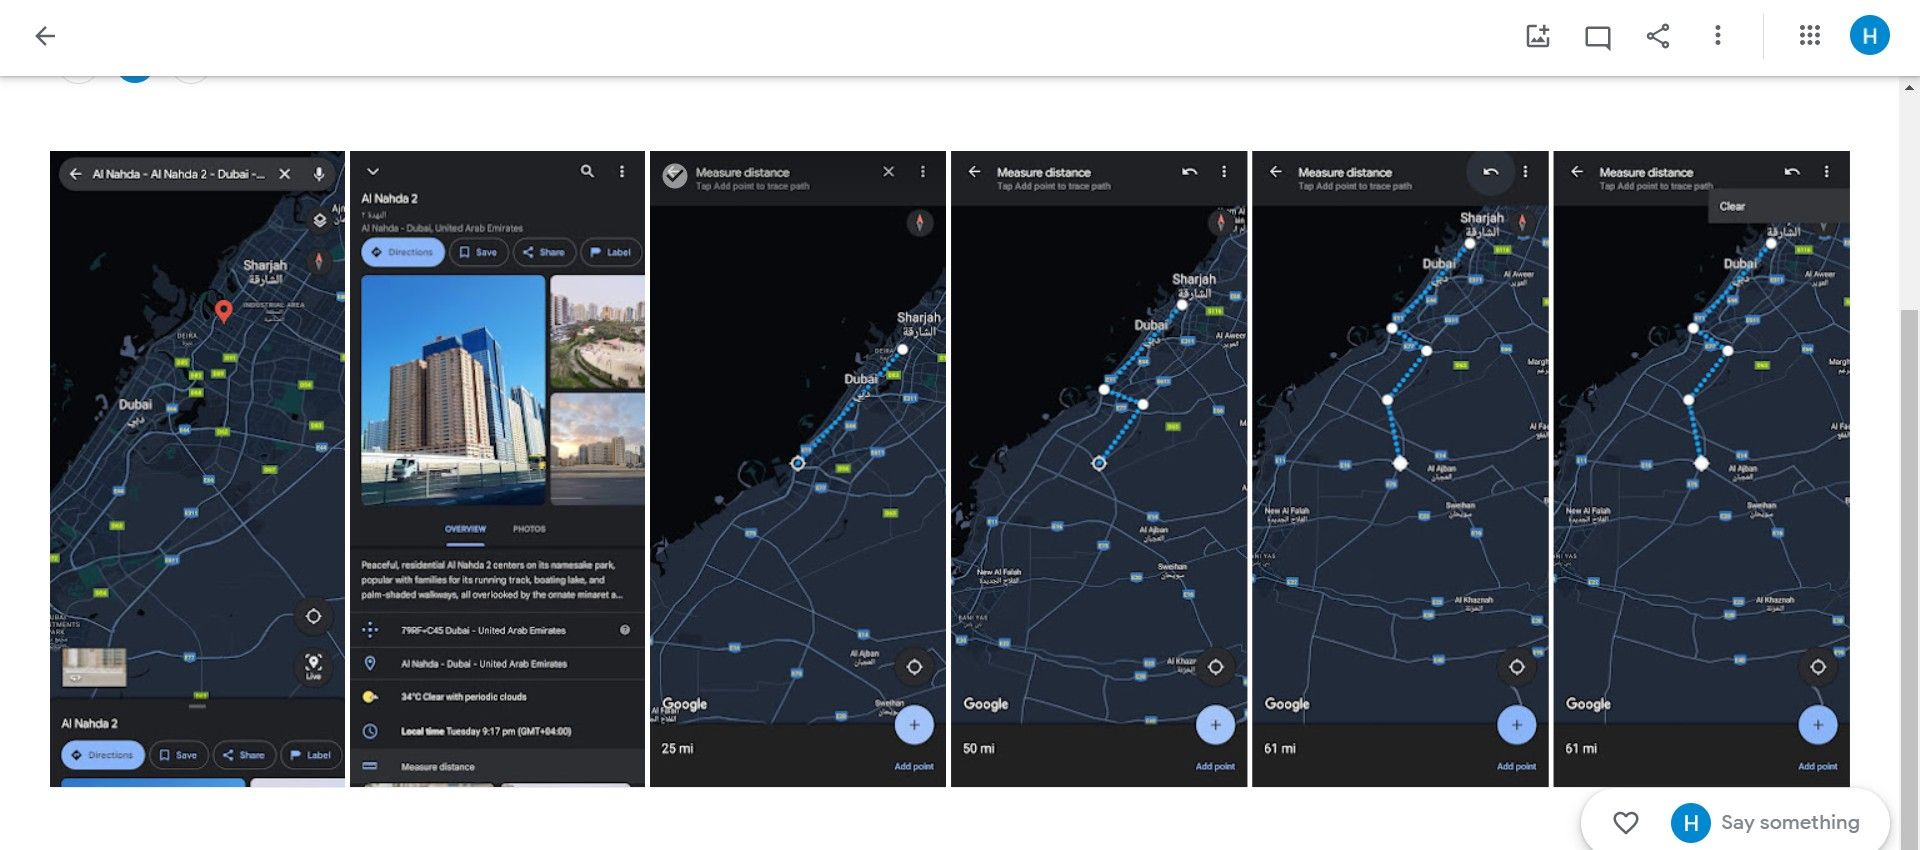
Deleting a picture from your Google Photos album on the mobile app isn't as straightforward, but it's not too complicated.
- Open an album and select the photo you want to delete.
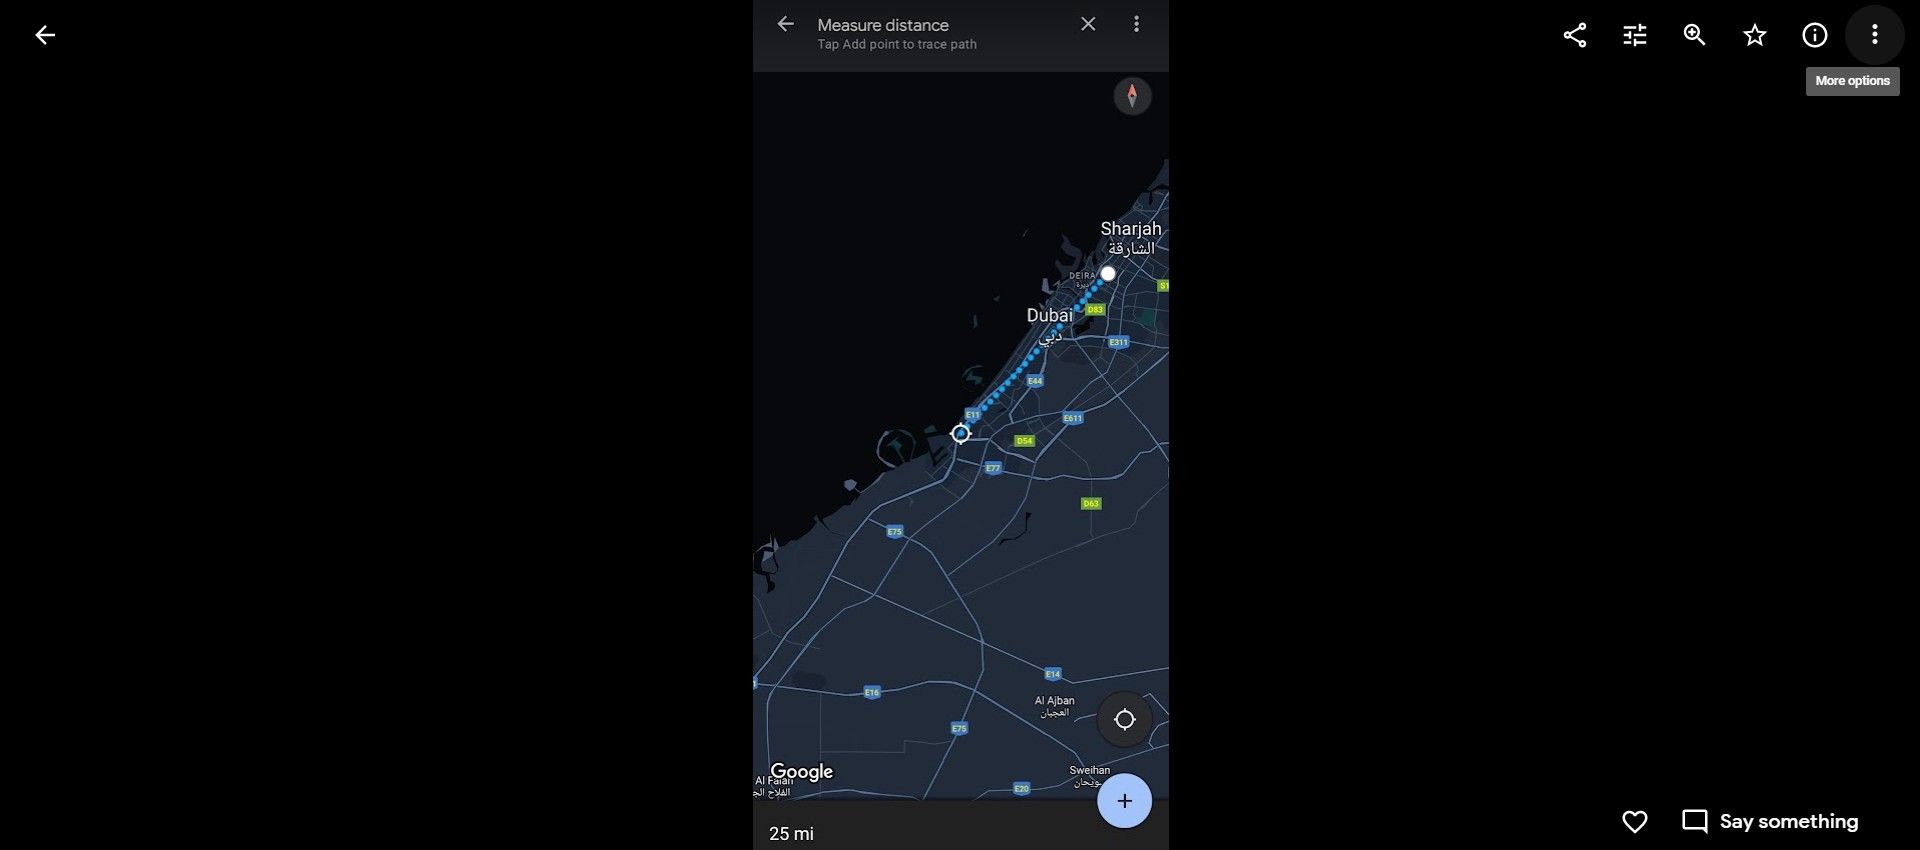
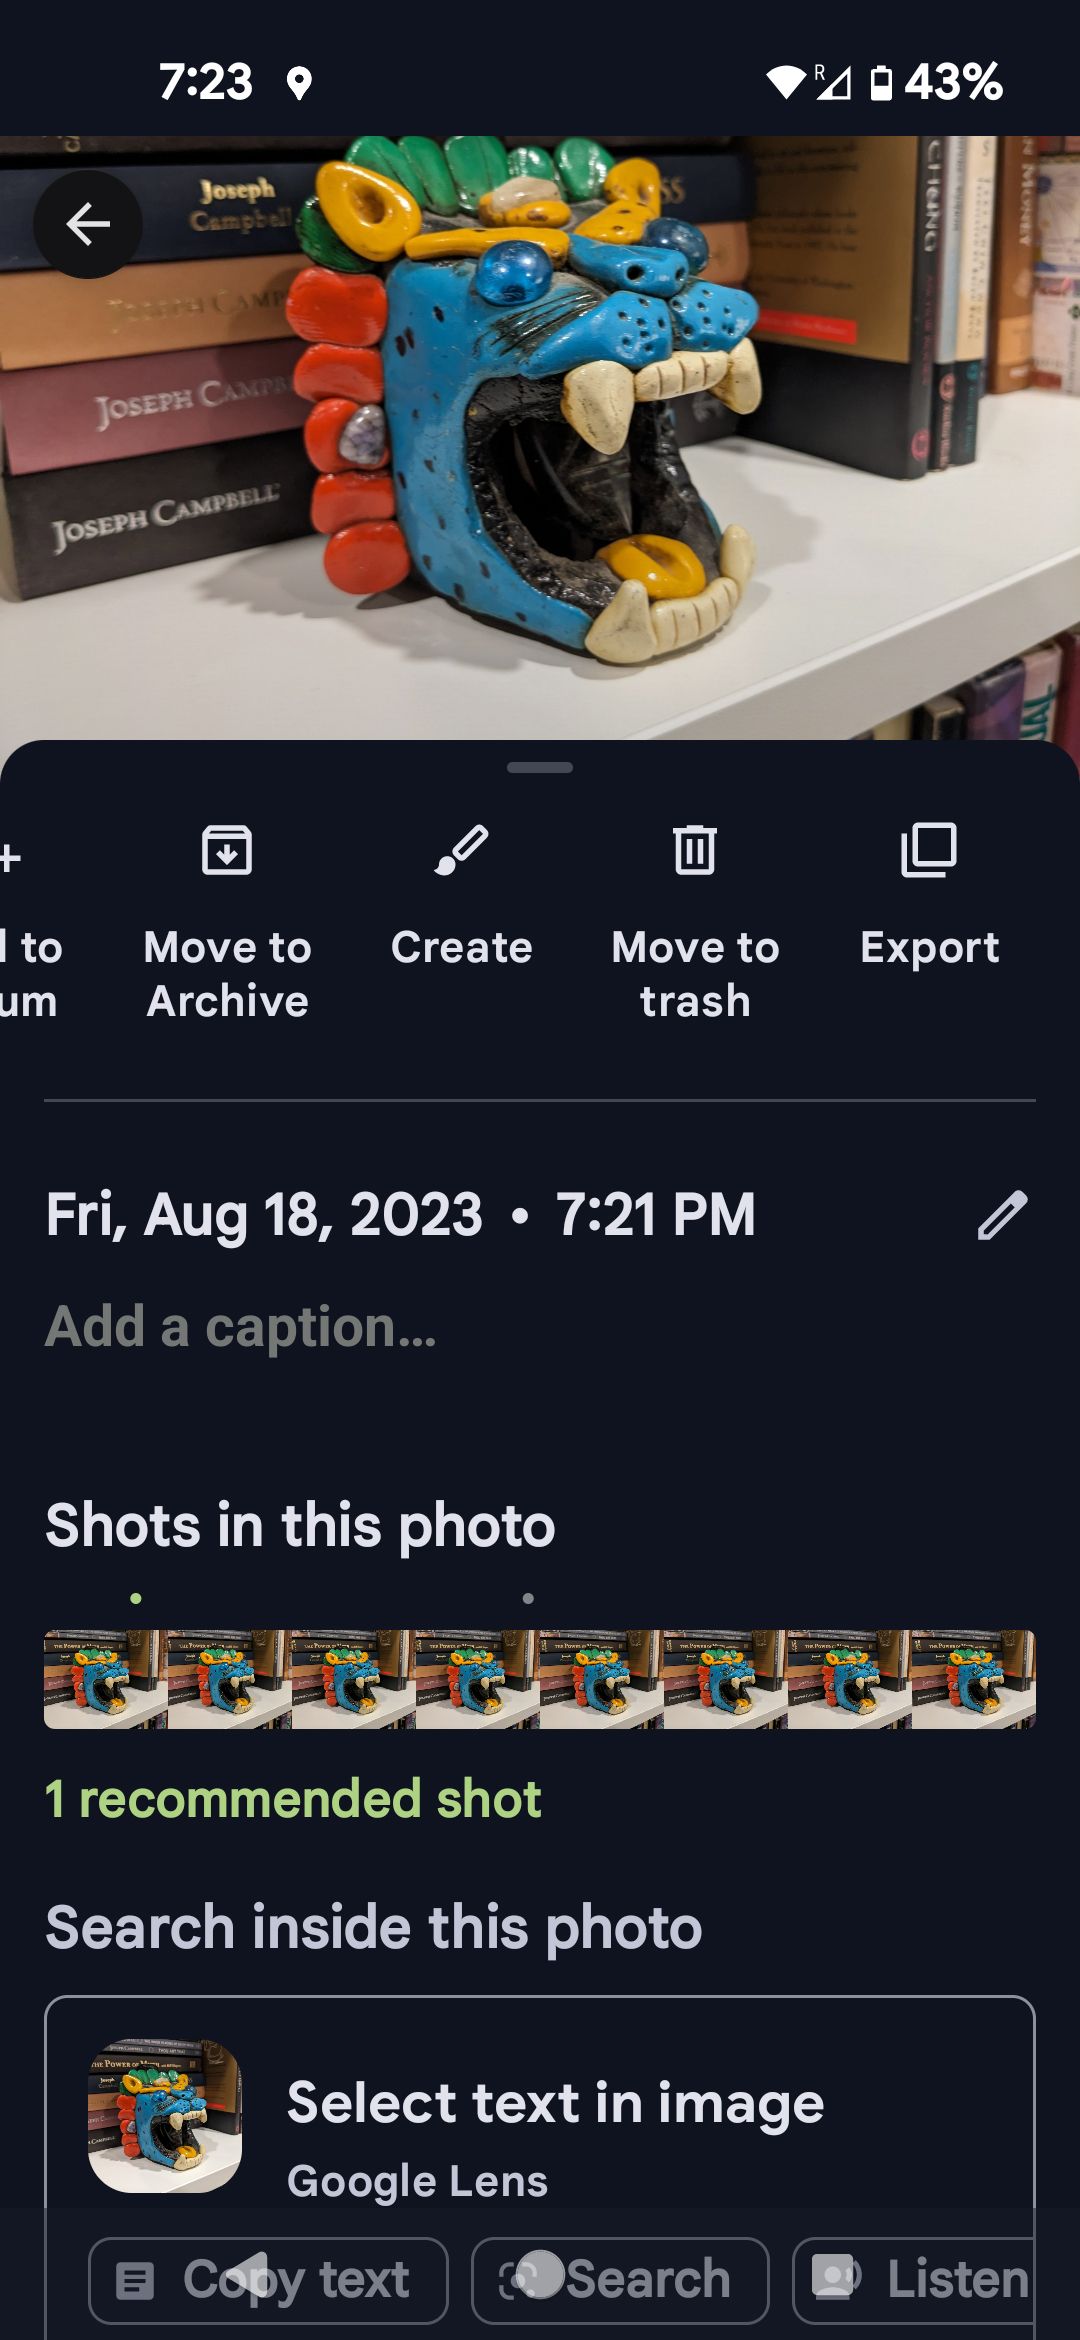
- Either tap the ⋮ icon in the upper-right corner or swipe up on the screen to bring up more options.
-
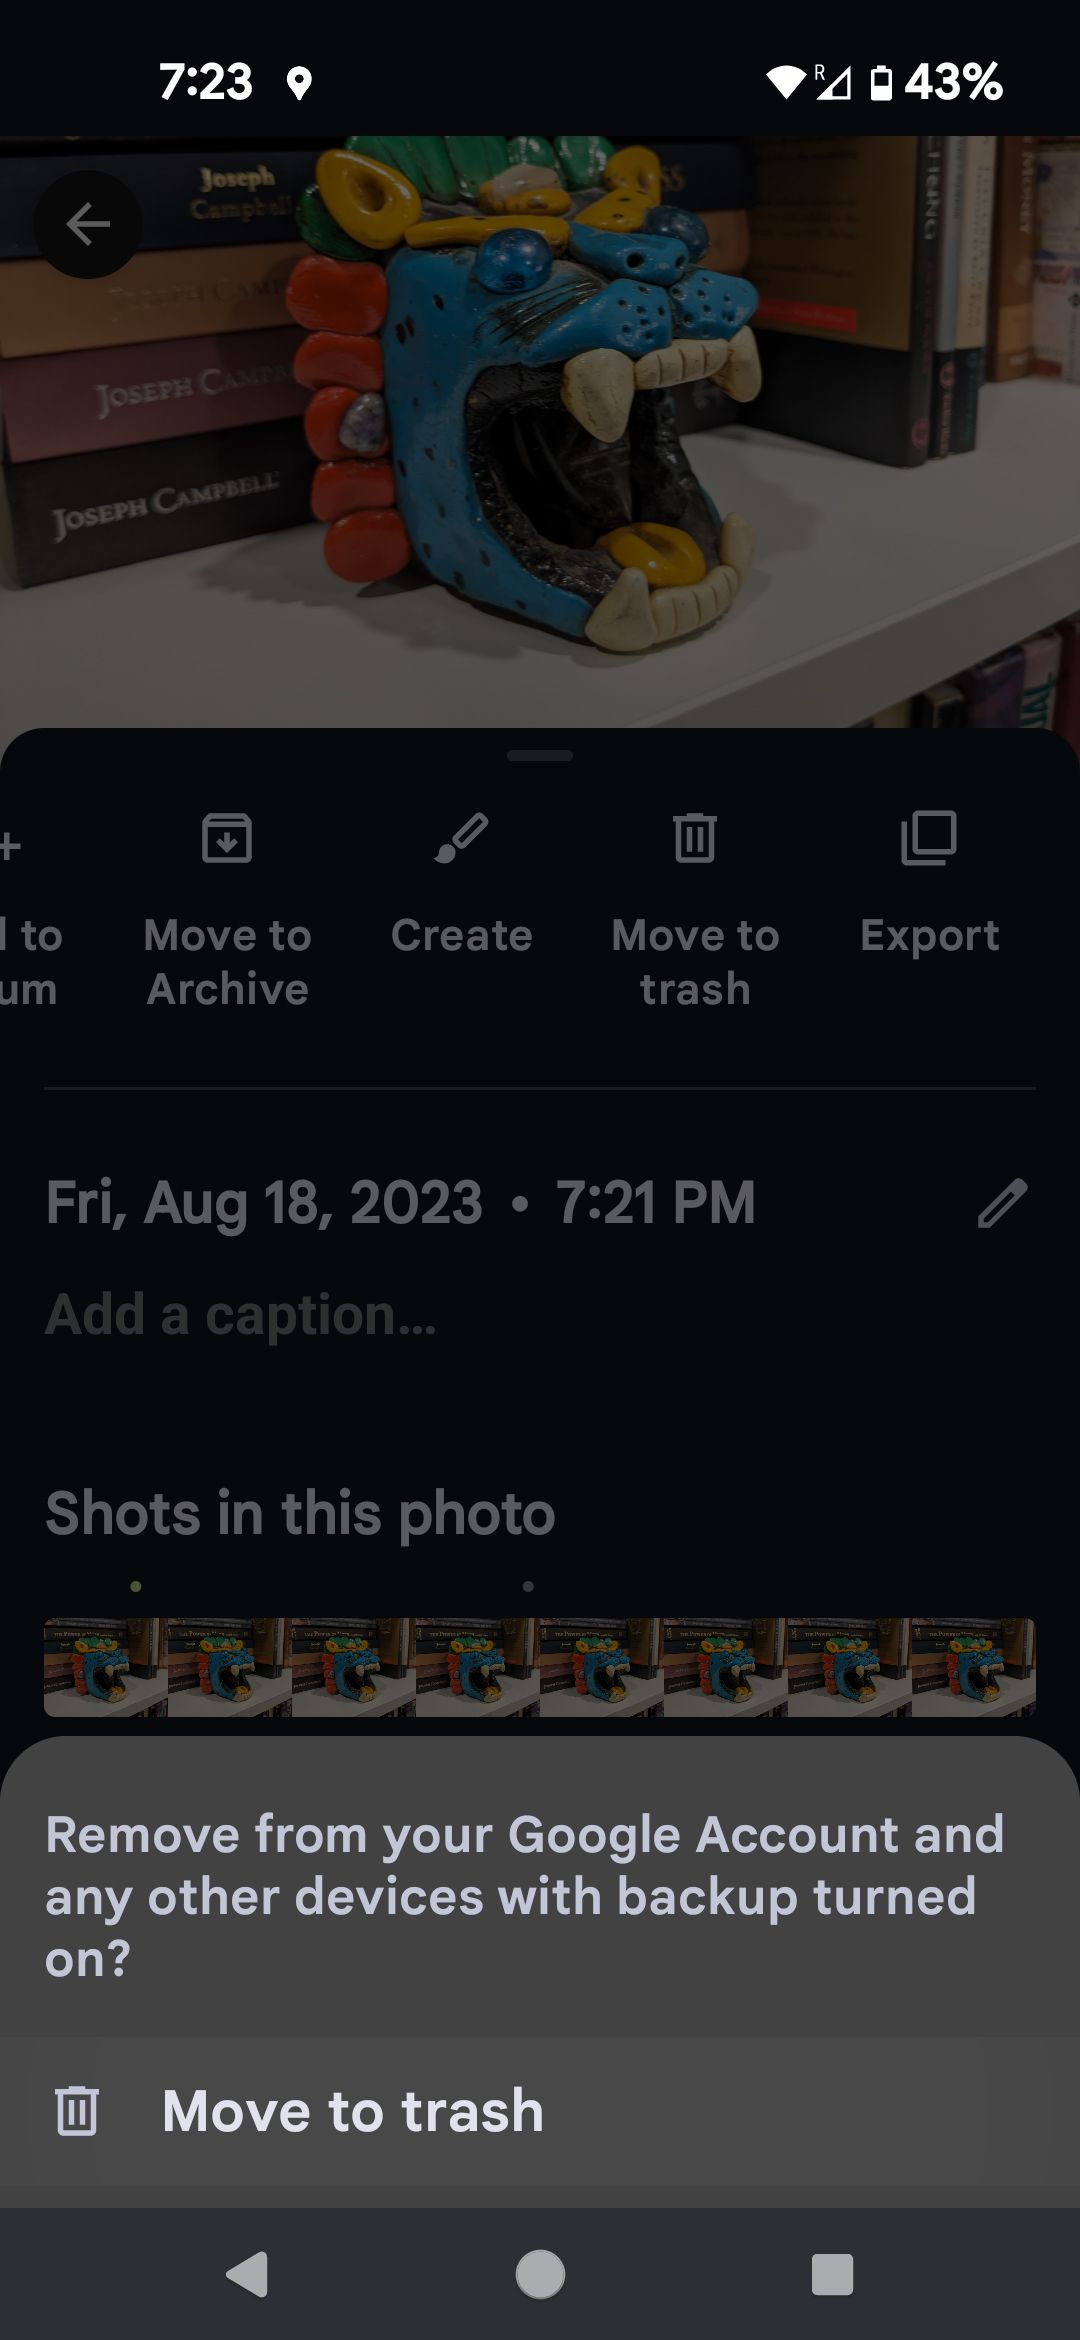
Swipe the ribbon menu beneath the photo to the left and tap on the Move to trash option.

-
Select Move to trash from the menu that pops up from the bottom of the screen to confirm your choice.


How to archive pictures on Google Photos
You don't always have to delete your photos outright. For example, if you don't want specific pictures to be shown in the Google Photos gallery, you can hide them by moving them to the Archive. Here's how:
Archive pictures on the mobile app
- Launch Google Photos.
- Select the image you wish to hide.
-
Tap More options (the ⋮ button) in the upper-right corner of the screen. A menu with several buttons slides out. Alternatively, swipe up to reveal the menu.
-
Select Move to archive.
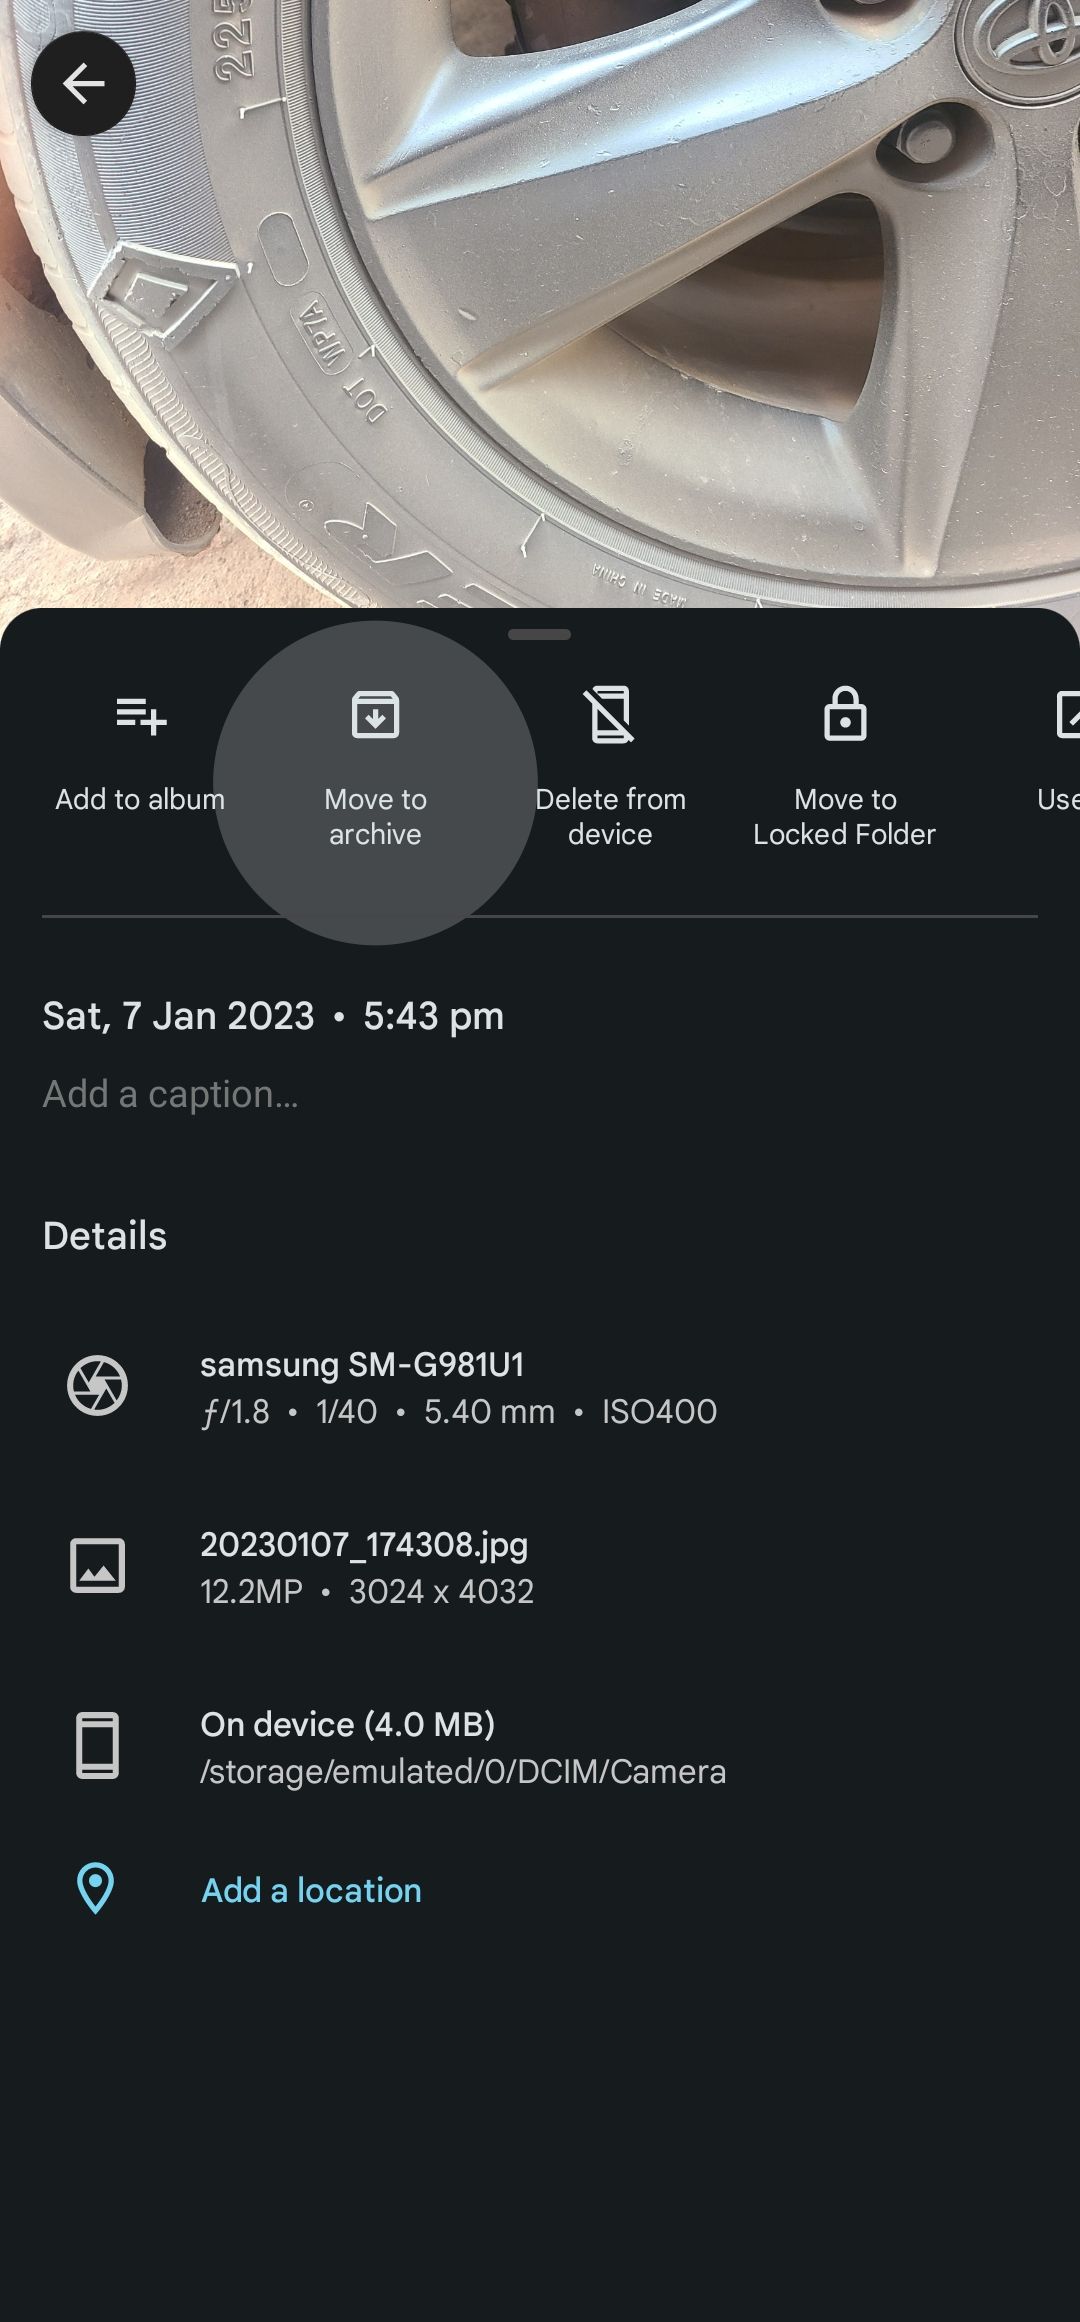


The picture moves to the Archive folder and stops appearing in your gallery. However, you'll still see it in any album you previously added it to and in the search results.
Move pictures to the archive on the web app
- Go to photos.google.com.
-
Select the picture you want to hide.
-
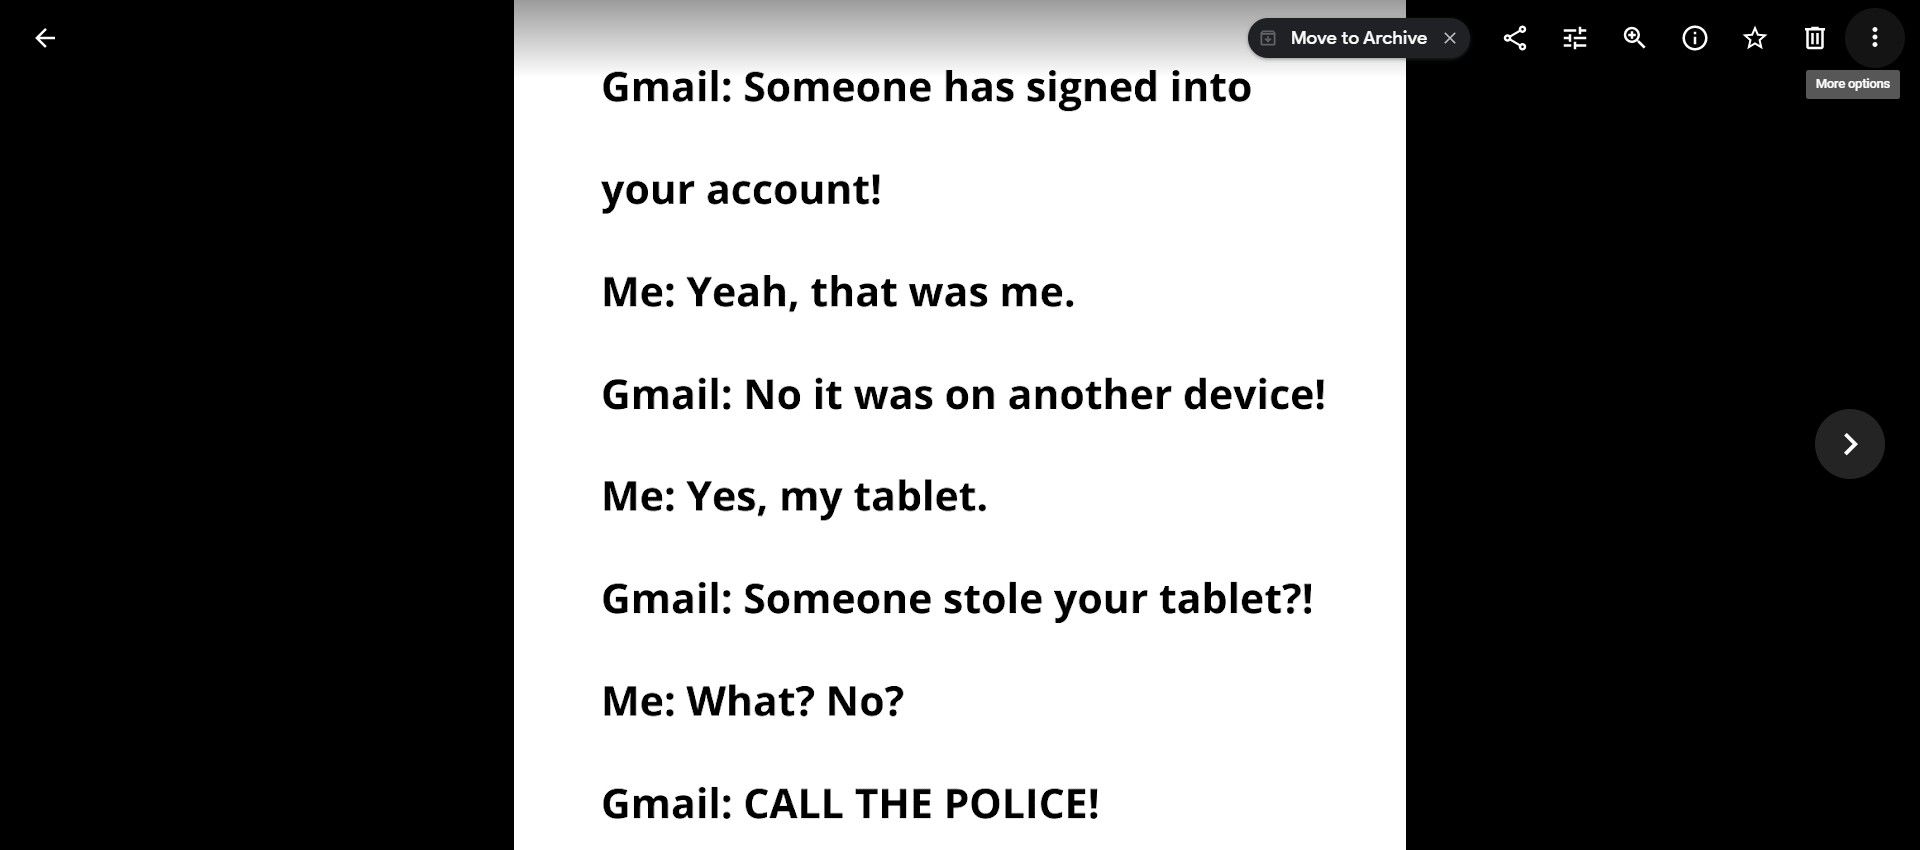
Click More options (the ⋮ button) in the upper-right corner of the display.
-
Select Archive. You can also use the shortcut Shift+A. The photo moves to the Archive folder.


You can access the Archive folder by navigating to Archive under the Library tab. You'll find this on the left sidebar of the web app and the lower-right corner of the screen on the mobile app. From here, you can follow the same steps above to unarchive the photo. You can also delete it using the trash button in the upper-right corner of the screen.
Archived photos are only hidden from your main gallery and continue to take up storage space.
Manage your Google Photos storage like a pro
Google only allows you to store 15GB of data across Gmail, Google Photos, and Google Drive. That means that the junk you have in your Gmail and Google Drive competes for space with your Photos, so you may also want to look there to see if you can make some space. If you feel like splurging $2 a month, you can upgrade your storage to 100GB shared across five accounts, which also unlocks some new photo editing features and access to Google One VPN.
If you're not in the market for cloud storage, permanently deleting old pics is a good first step toward cleaning up your Google Photos feed. After you get rid of those old photos, check out some ways to make your Google Photos feed more manageable.