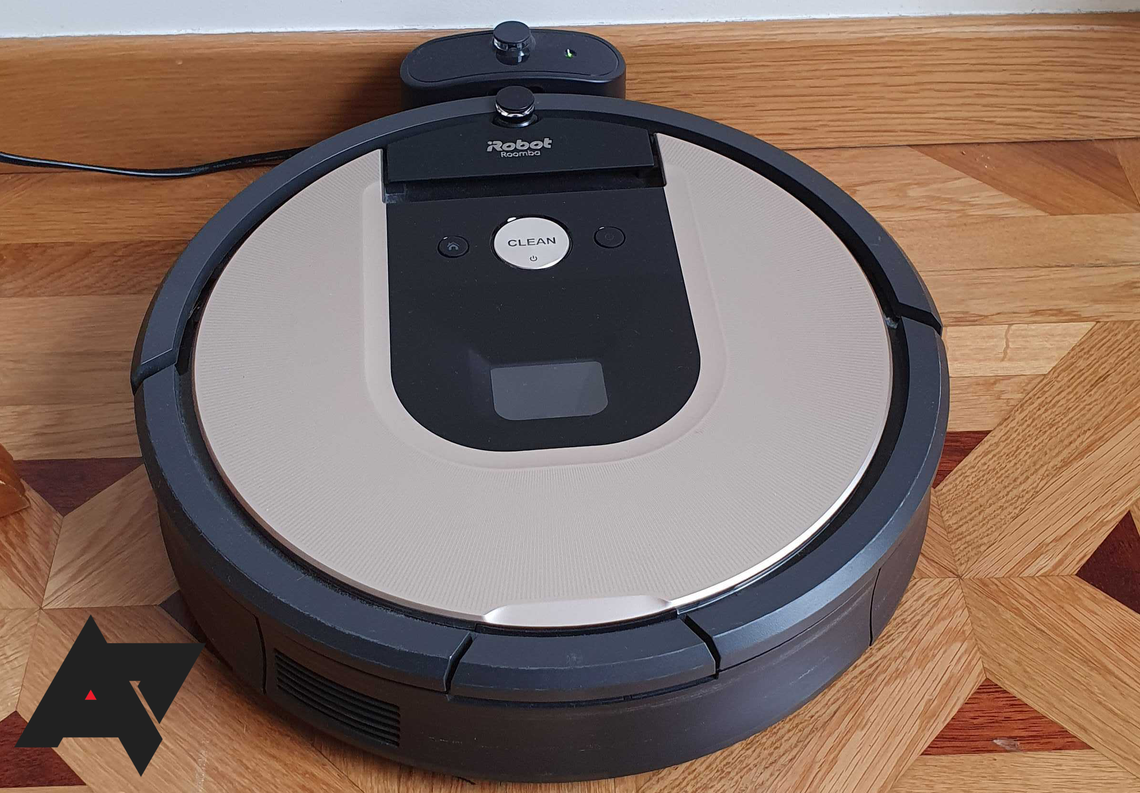
Until recently, iRobot's Roomba vacuum cleaners were the leading ones on the market. Even though they've been surpassed by advanced models like the Roborock S8 Pro Ultra and Dreame L30 Ultra, they're still reliable devices. Whether you have an older Roomba or a modern one with a self-emptying dock, keeping them clean and well-maintained is essential to maximize their lifespan and ensure the cleaning results remain consistent.
This guide focuses on iRobot's Roomba lineup because of its popularity. Still, these tips apply to most robot vacuums, no matter which brand. Don't hesitate to follow them and clean up your robot vacuum often to keep it in pristine condition, even after years of intensive use.
Emptying and cleaning the dustbin
If your smart vacuum doesn't have a self-emptying dustbin, empty it after each use. It's alright if you forget to do it occasionally, as the bin is big enough for a second run. Doing it daily ensures it won't be full in the middle of a job.
-
Press the release button on the bin to pull it out.
- Open the bin door and empty the bin's contents by shaking it over the trash.
- Remove the filter and gently tap it against the trash container a few times to remove excess dust and debris.
-
Wipe inside the dustbin occasionally with a wet cloth to remove dust and debris. You can also wash it under lukewarm water to remove dust. Never put it in the dishwasher. Let it fully dry before placing it in the Roomba.
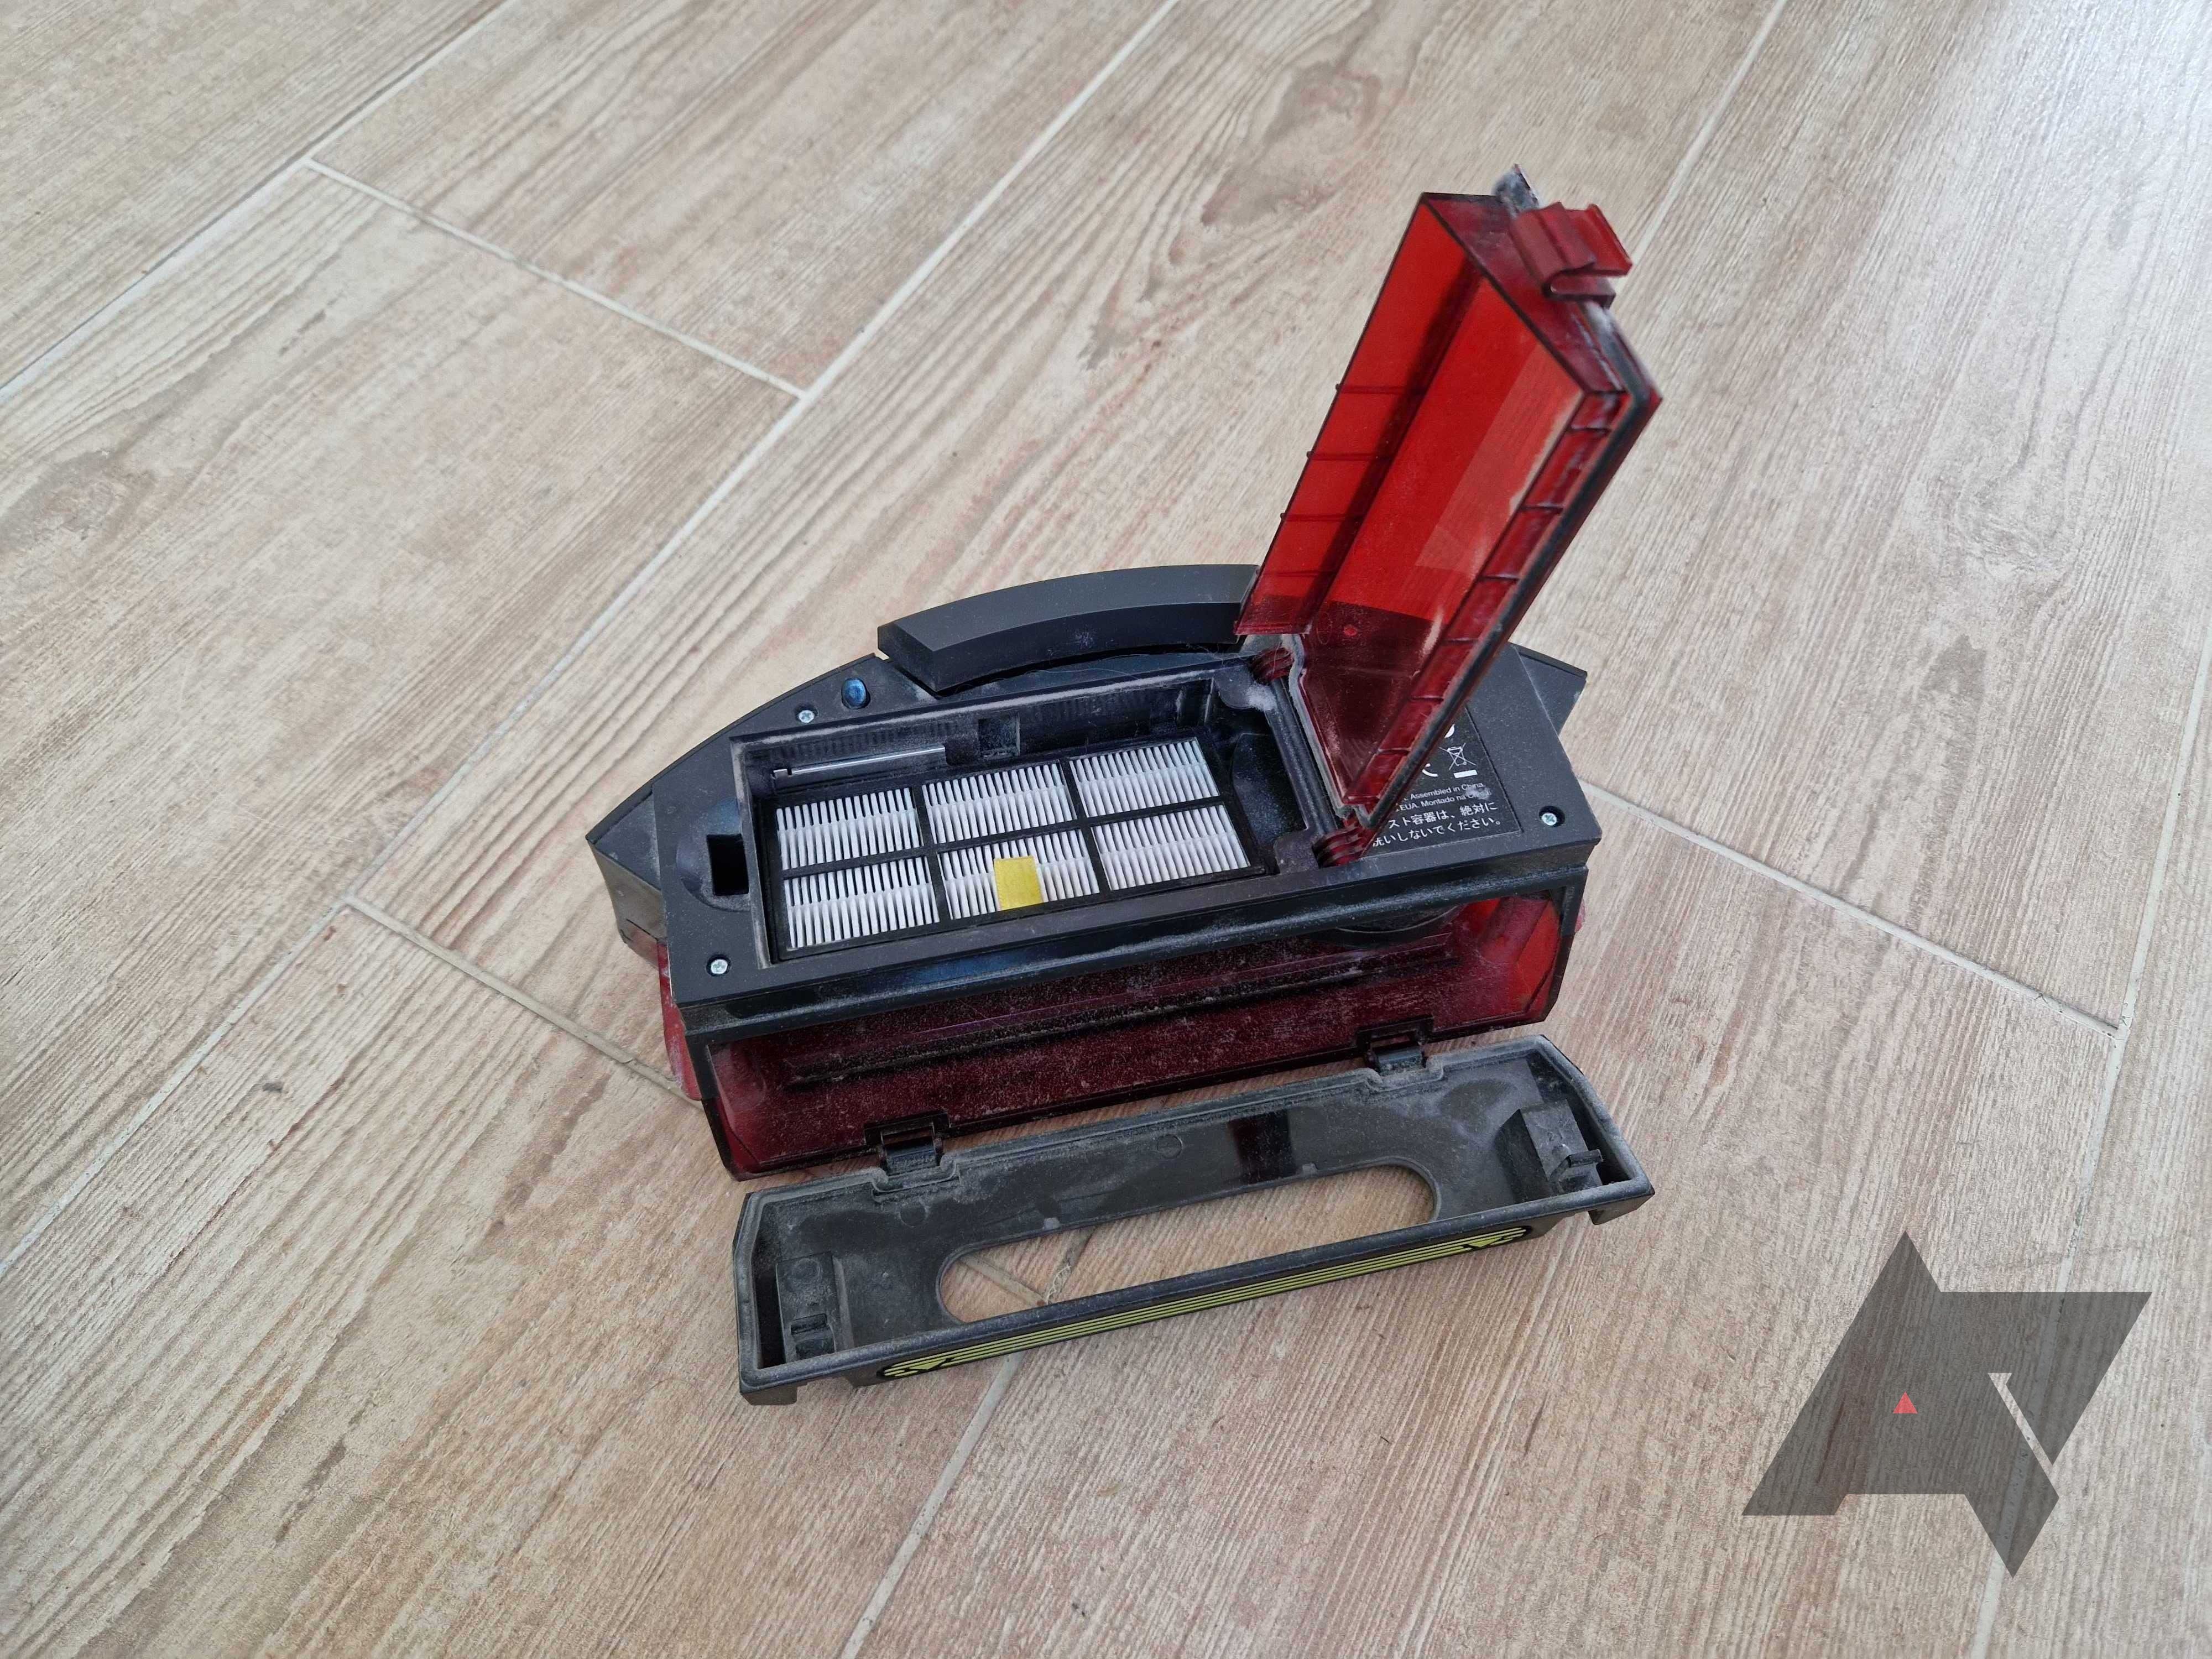
- When you're done, place the filter and the dustbin back by sliding them into your Roomba.


Replace the filter every two months for the best cleaning results. Don't wash it. It isn't designed to come into contact with water. Buy a new one and discard the old one.
If you have a self-emptying Roomba with a dock, throw away the full dust bag and replace it with a new and empty one. If odors come out of the dock when your Roomba empties itself or it makes an unusual sound, change the dust bag.
To change the dust bag, open the dust bag compartment cover on the station, remove the full bag, and replace it with a new one. Discard the full bag instead of trying to empty it, as there's a chance you'll damage the seals or puncture it, which results in dust leaks and diminished performance.
Cleaning the wheels
A Roomba uses wheels to move around. The two big side wheels aren't easily removable, but the front caster wheel can be quickly cleaned and replaced.
- Firmly pull on the wheel to remove it.
-
Remove debris from the wheel well and the wheel.
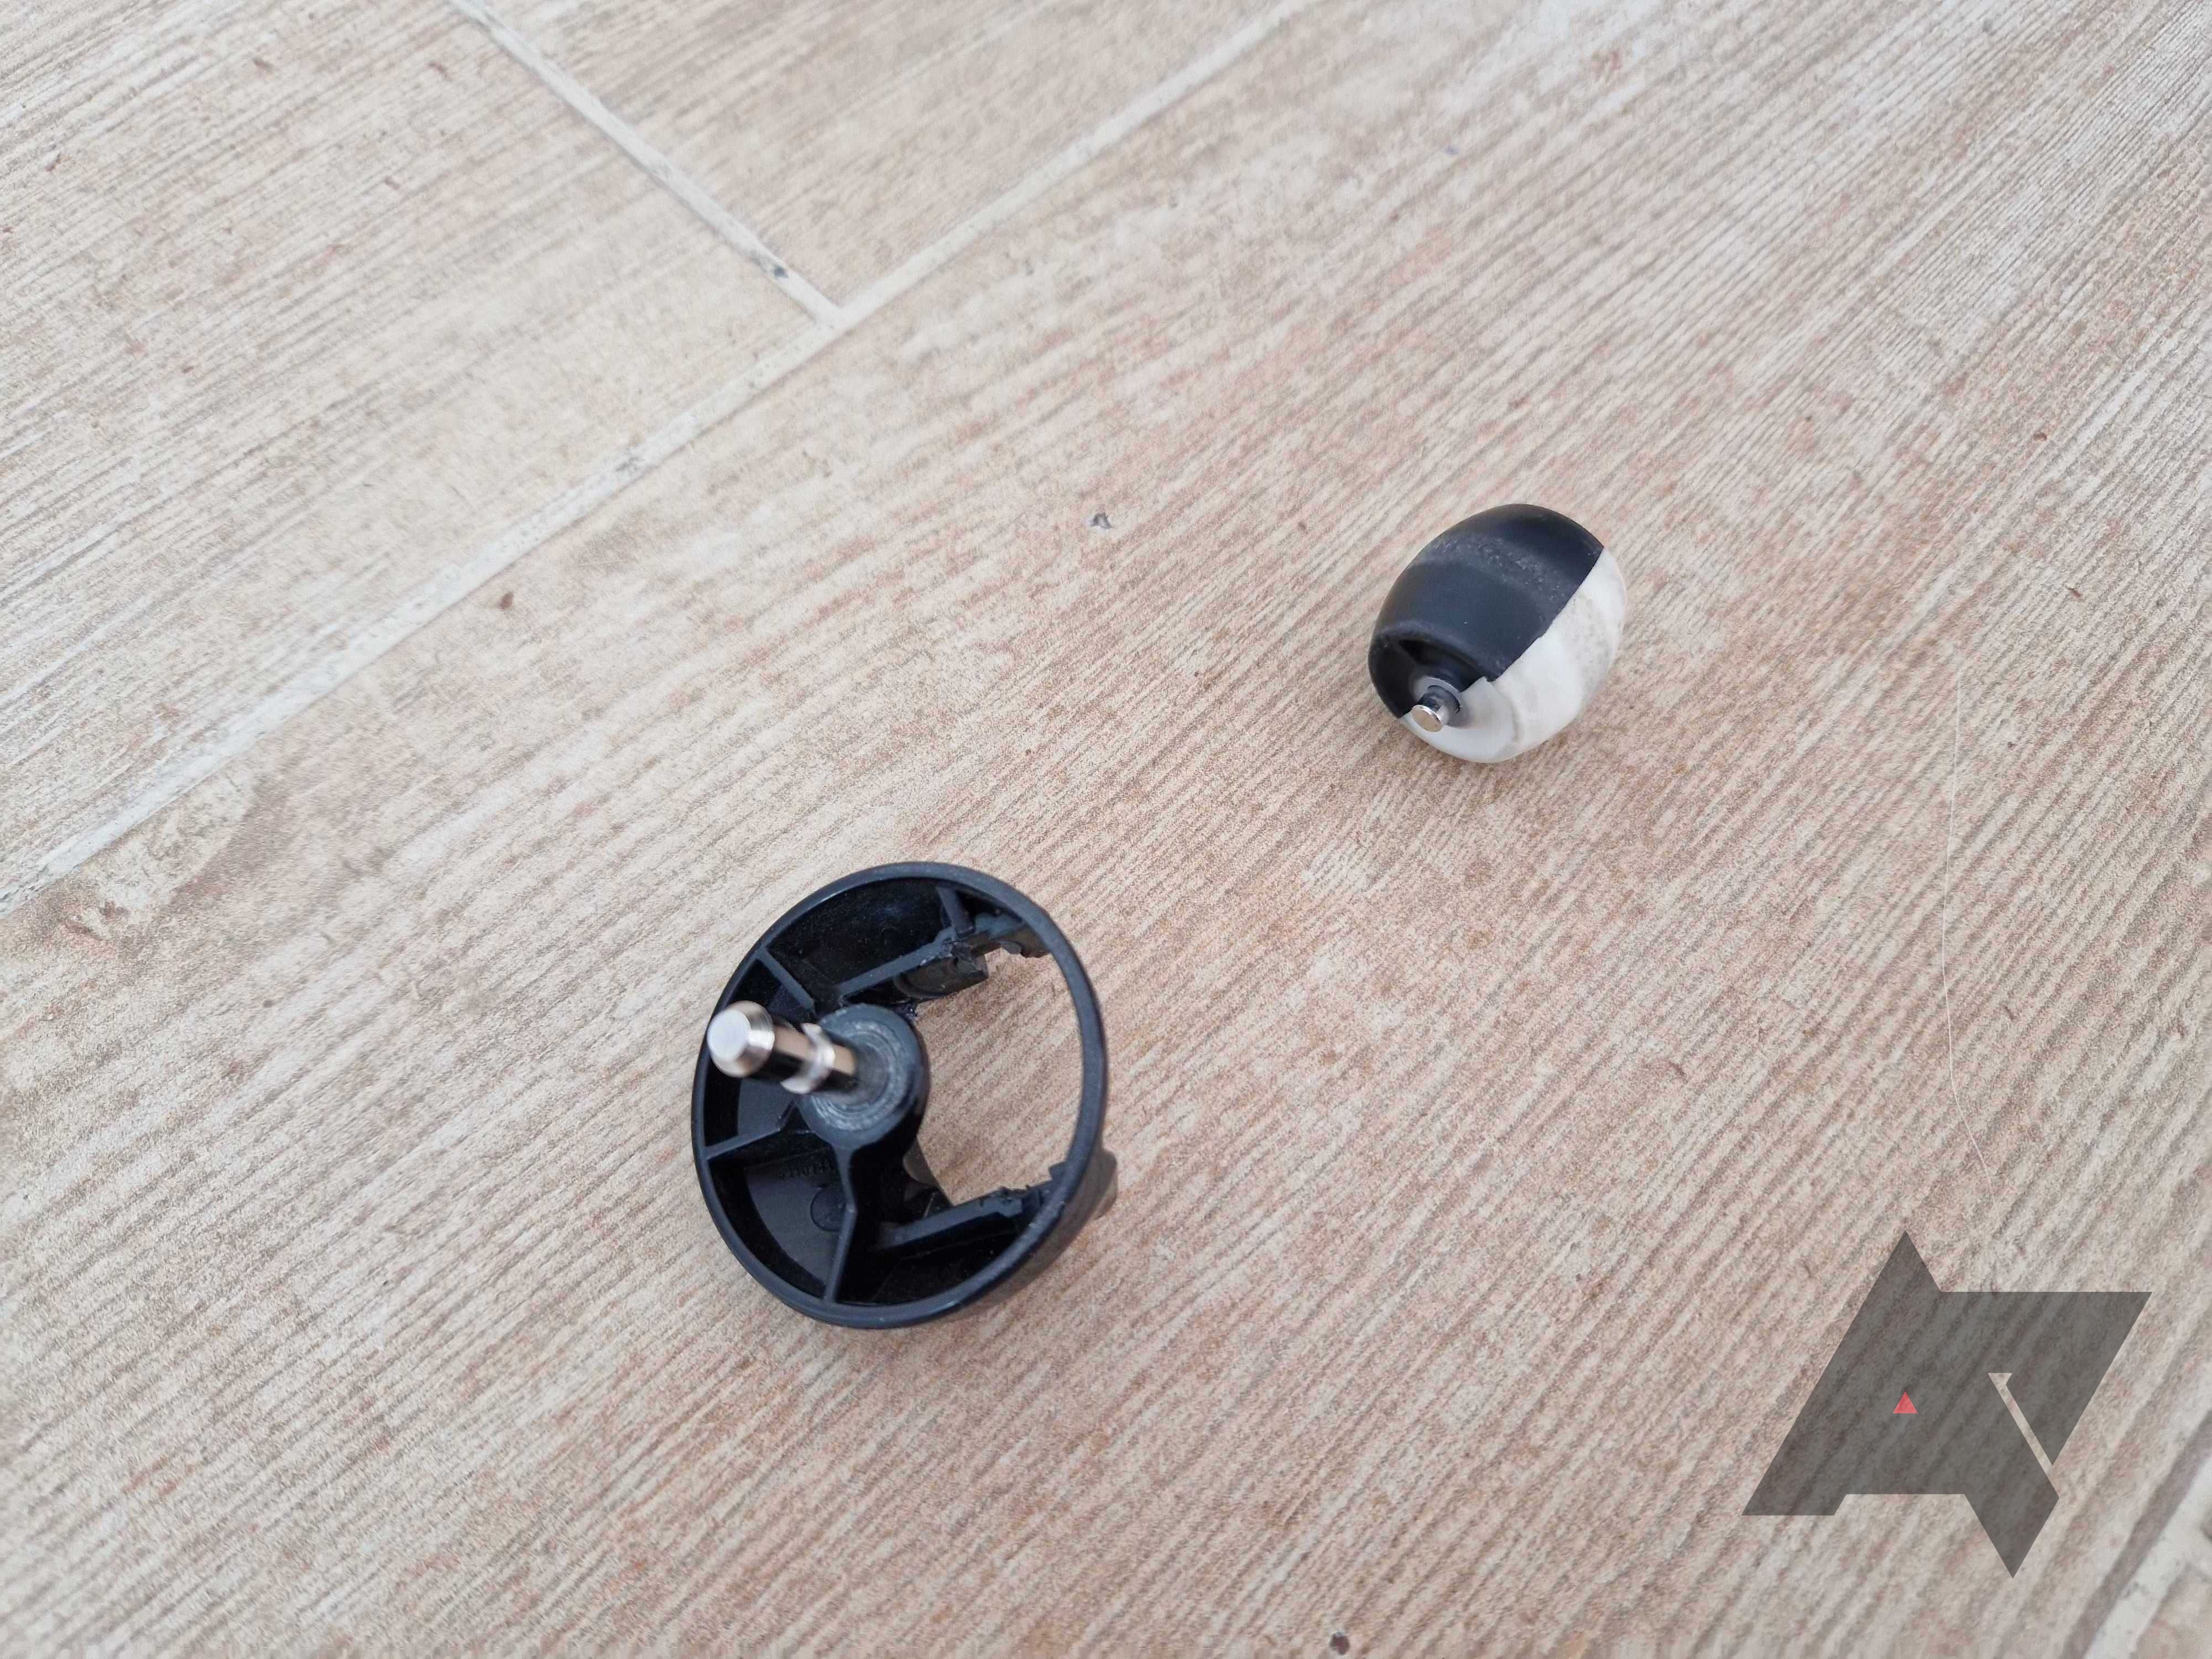
- Snap the wheel and the plastic casing together and put them back on the Roomba.
- Gently wipe the side wheels with a damp cloth to remove excess dust and debris.

Cleaning the brushes and debris extractors
Some people forget to clear debris from their brushes, which leads to poor cleaning results. This is especially important if you have a pet or loose hair in your house. These hairs tend to get caught in the robot's wheels and brushes, preventing them from moving correctly. Clearing hair and dust from the brushes is easy.
- Gently turn your Roomba upside down and place it on a flat surface.
-
Press the small tabs on the cleaning head module door to open it.
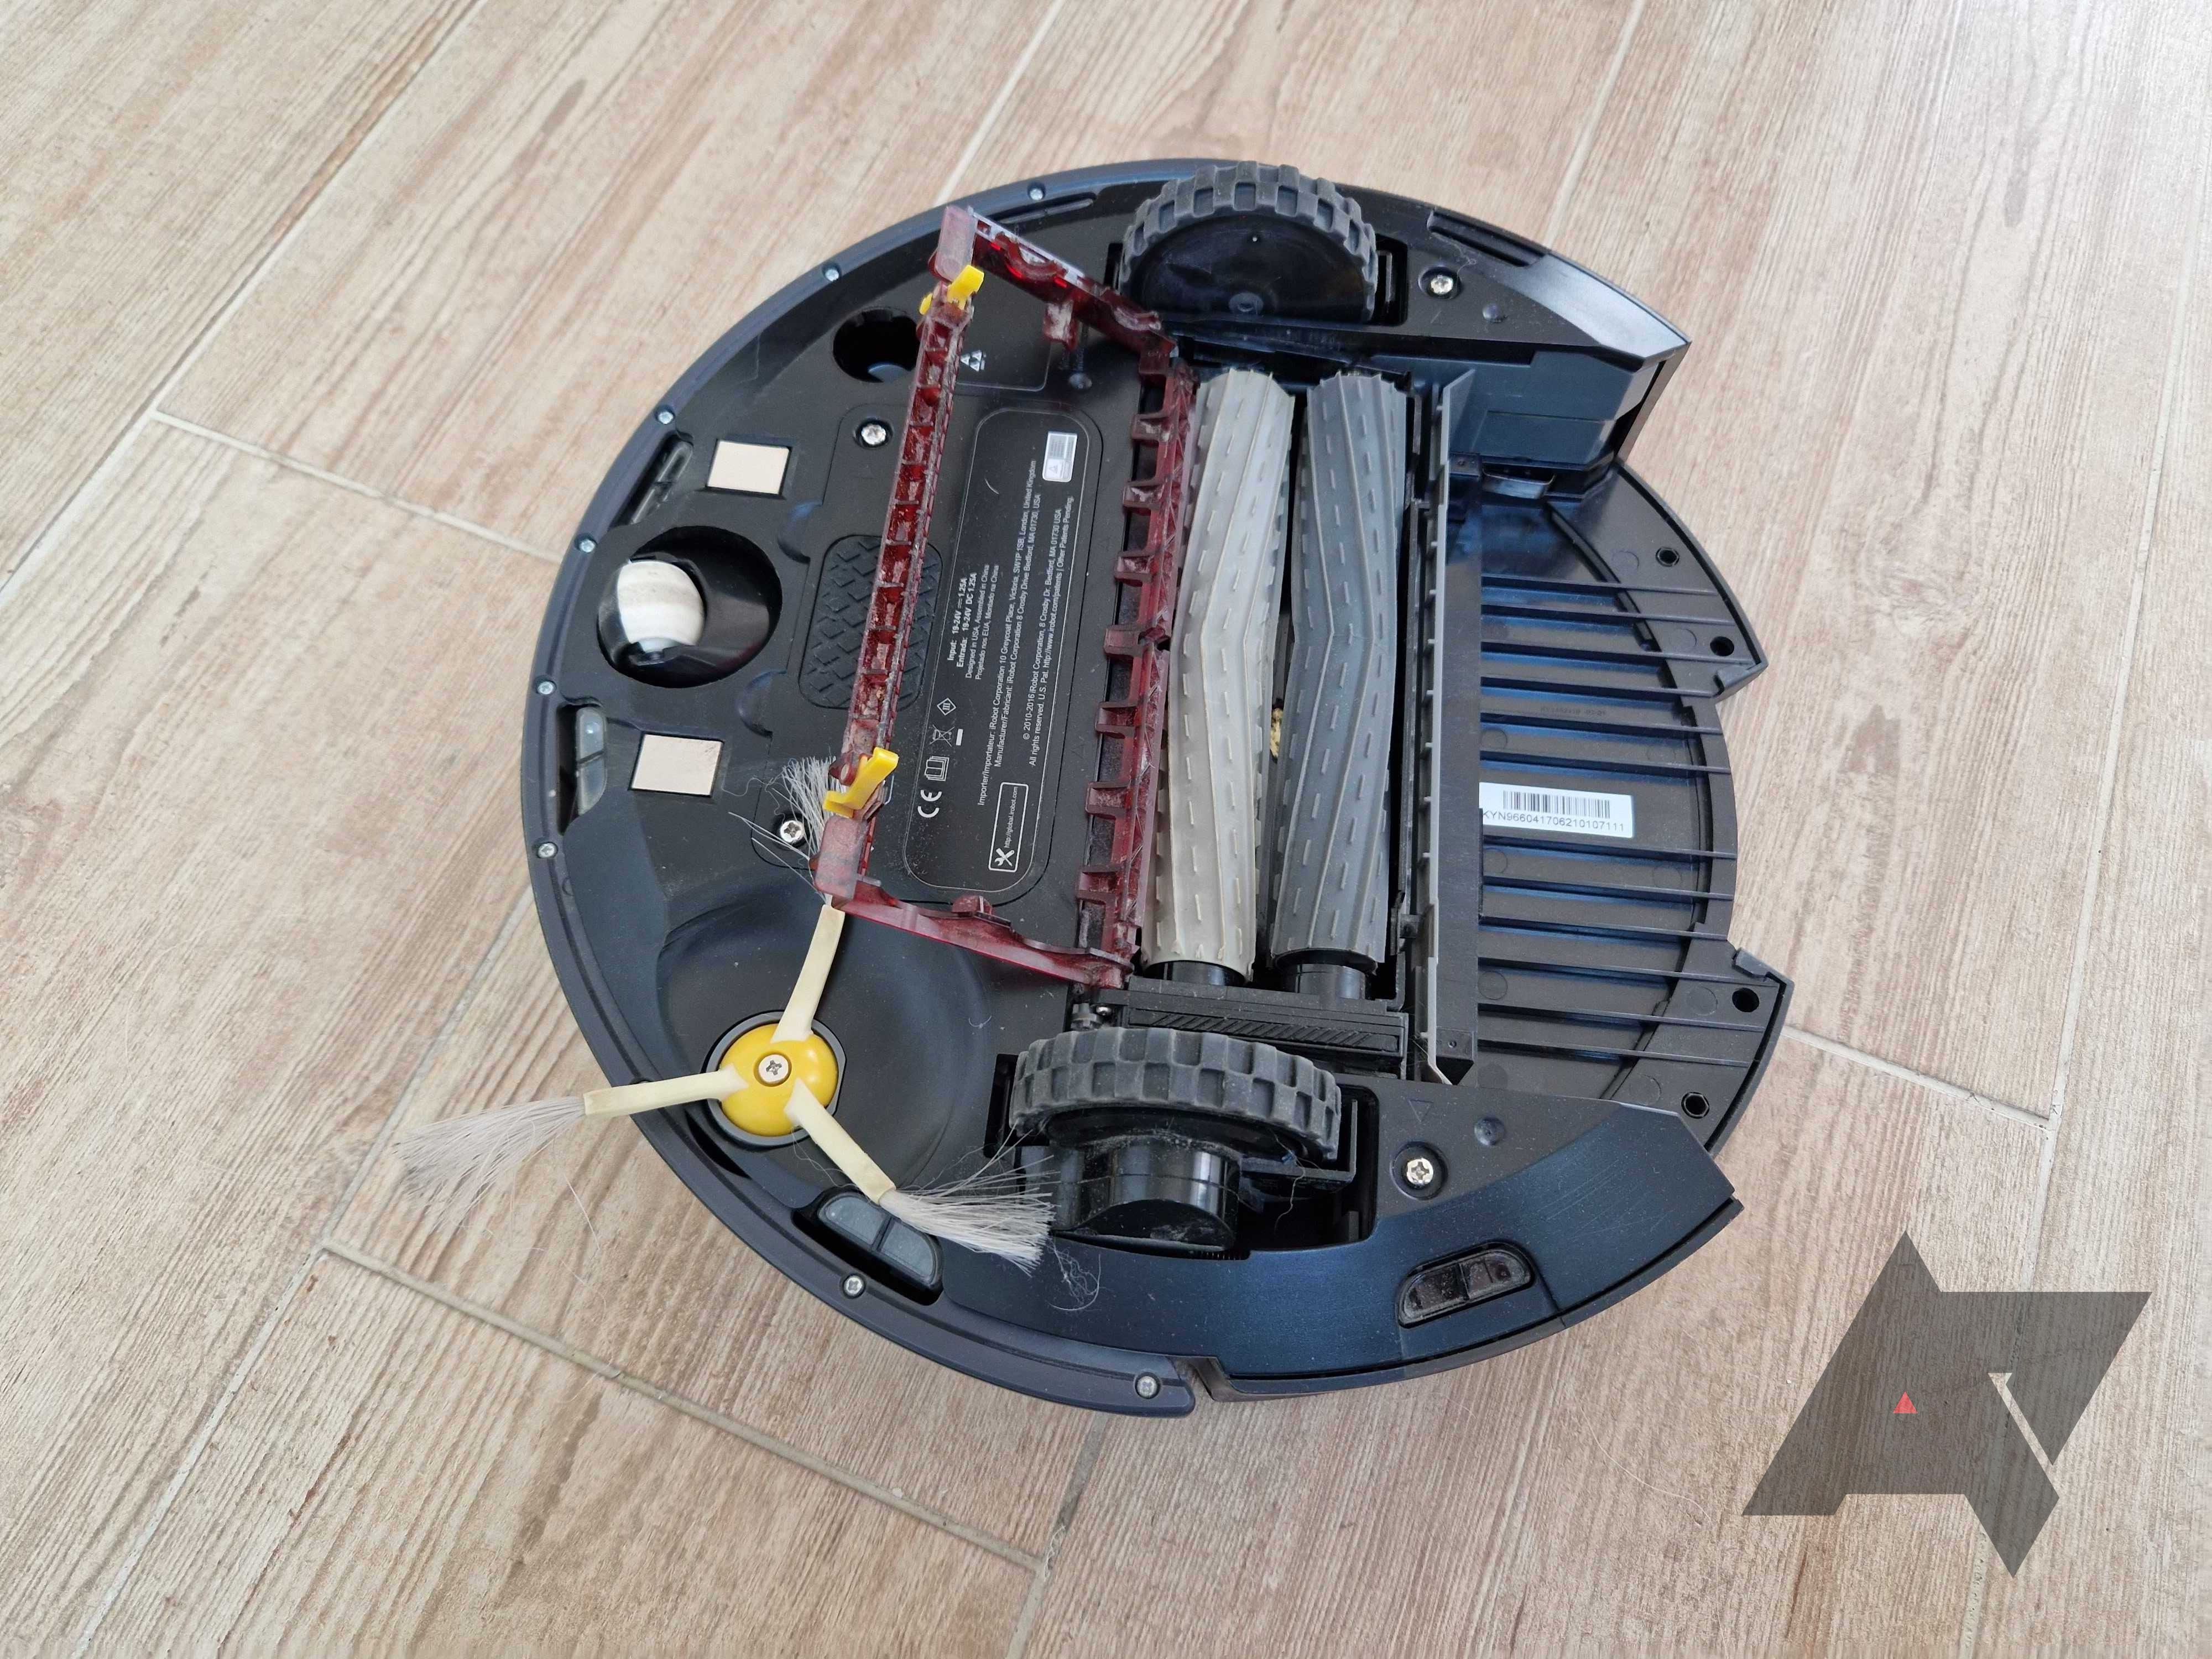
- Gently pull the brushes to remove them and clear out any dust and debris you see.
-
Pull on the bearings on the side to separate them from the brush. If you struggle to remove them, use a small screwdriver to gently lift them and separate them from the rest of the brush.
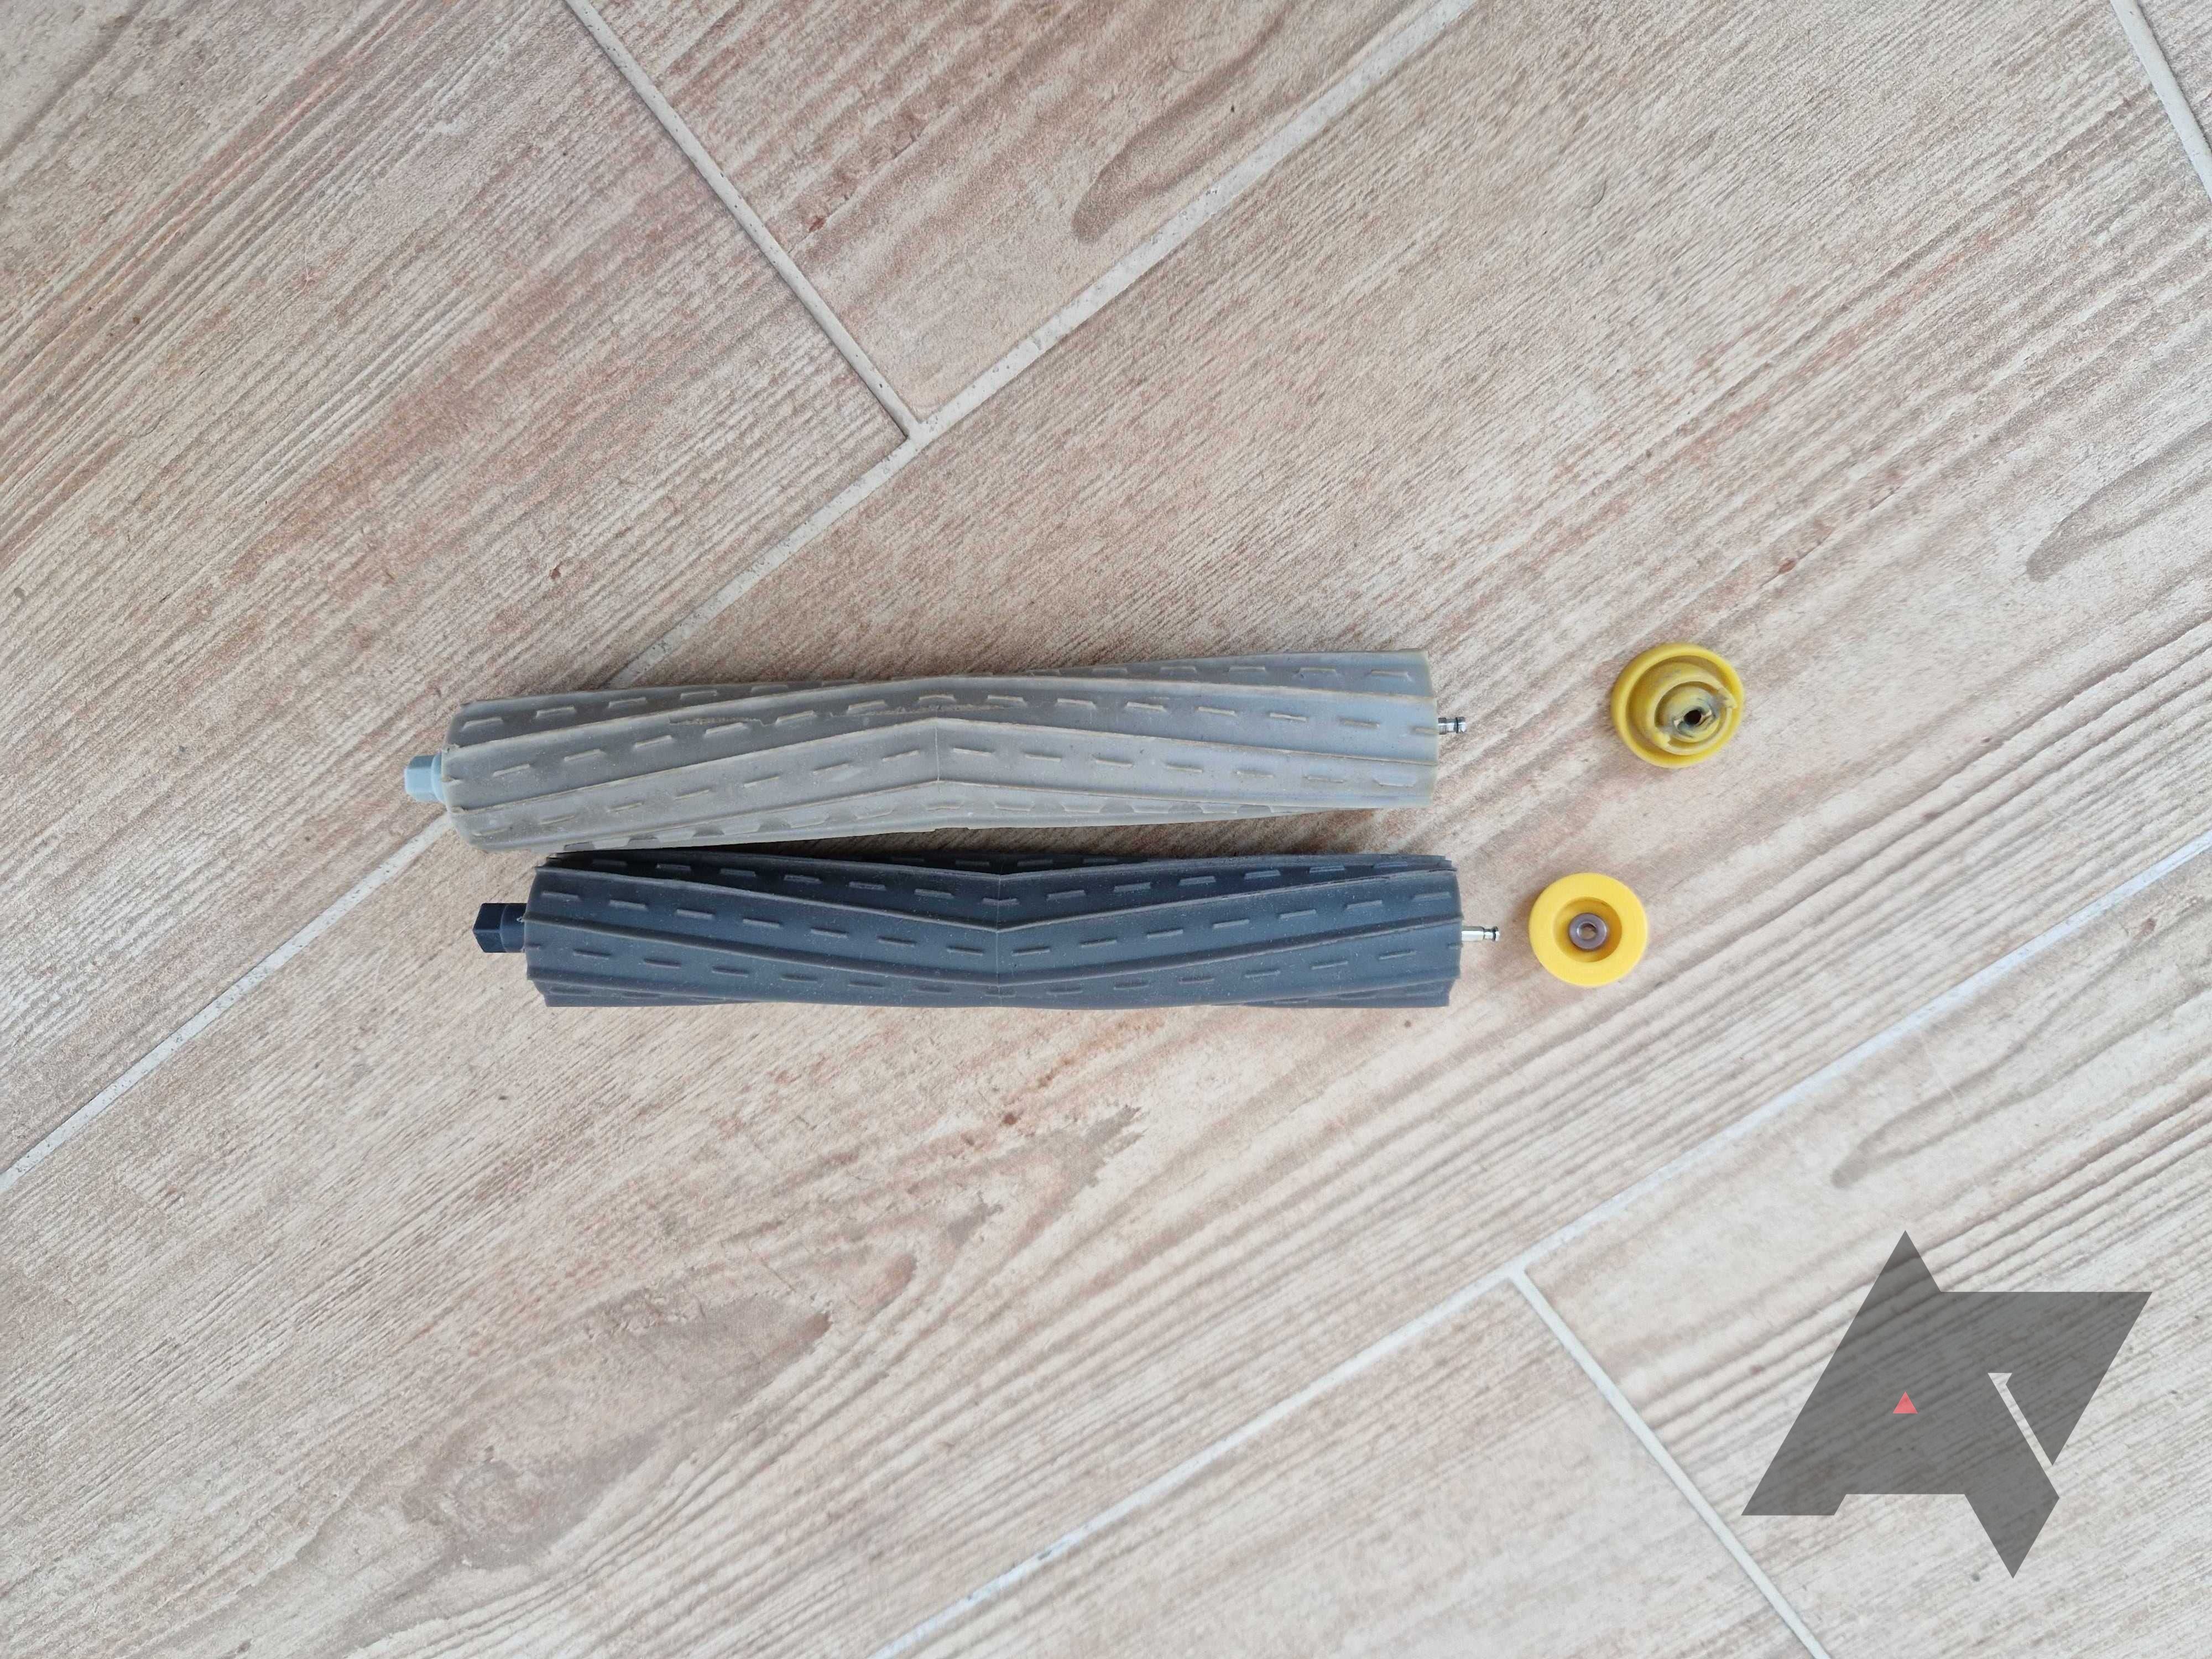
- Remove any hair stuck on the brushes and the bearings.
- Place the bearings back on the brushes.
- Before putting the brushes back, remove the dustbin and check that the vacuum path is clear and that debris or dust isn't blocking the way.
- Place the brushes back in by matching their shapes with the pegs on the Roomba.
- Close the door and make sure it's latched before putting your Roomba on the floor.
- Reinstall the dustbin.


Your Roomba also features an edge-sweeping brush, which needs to be replaced once in a while. Even if it looks good, use a screwdriver to remove it and clear any hair and dust before reinstalling it, as these may prevent it from spinning normally.
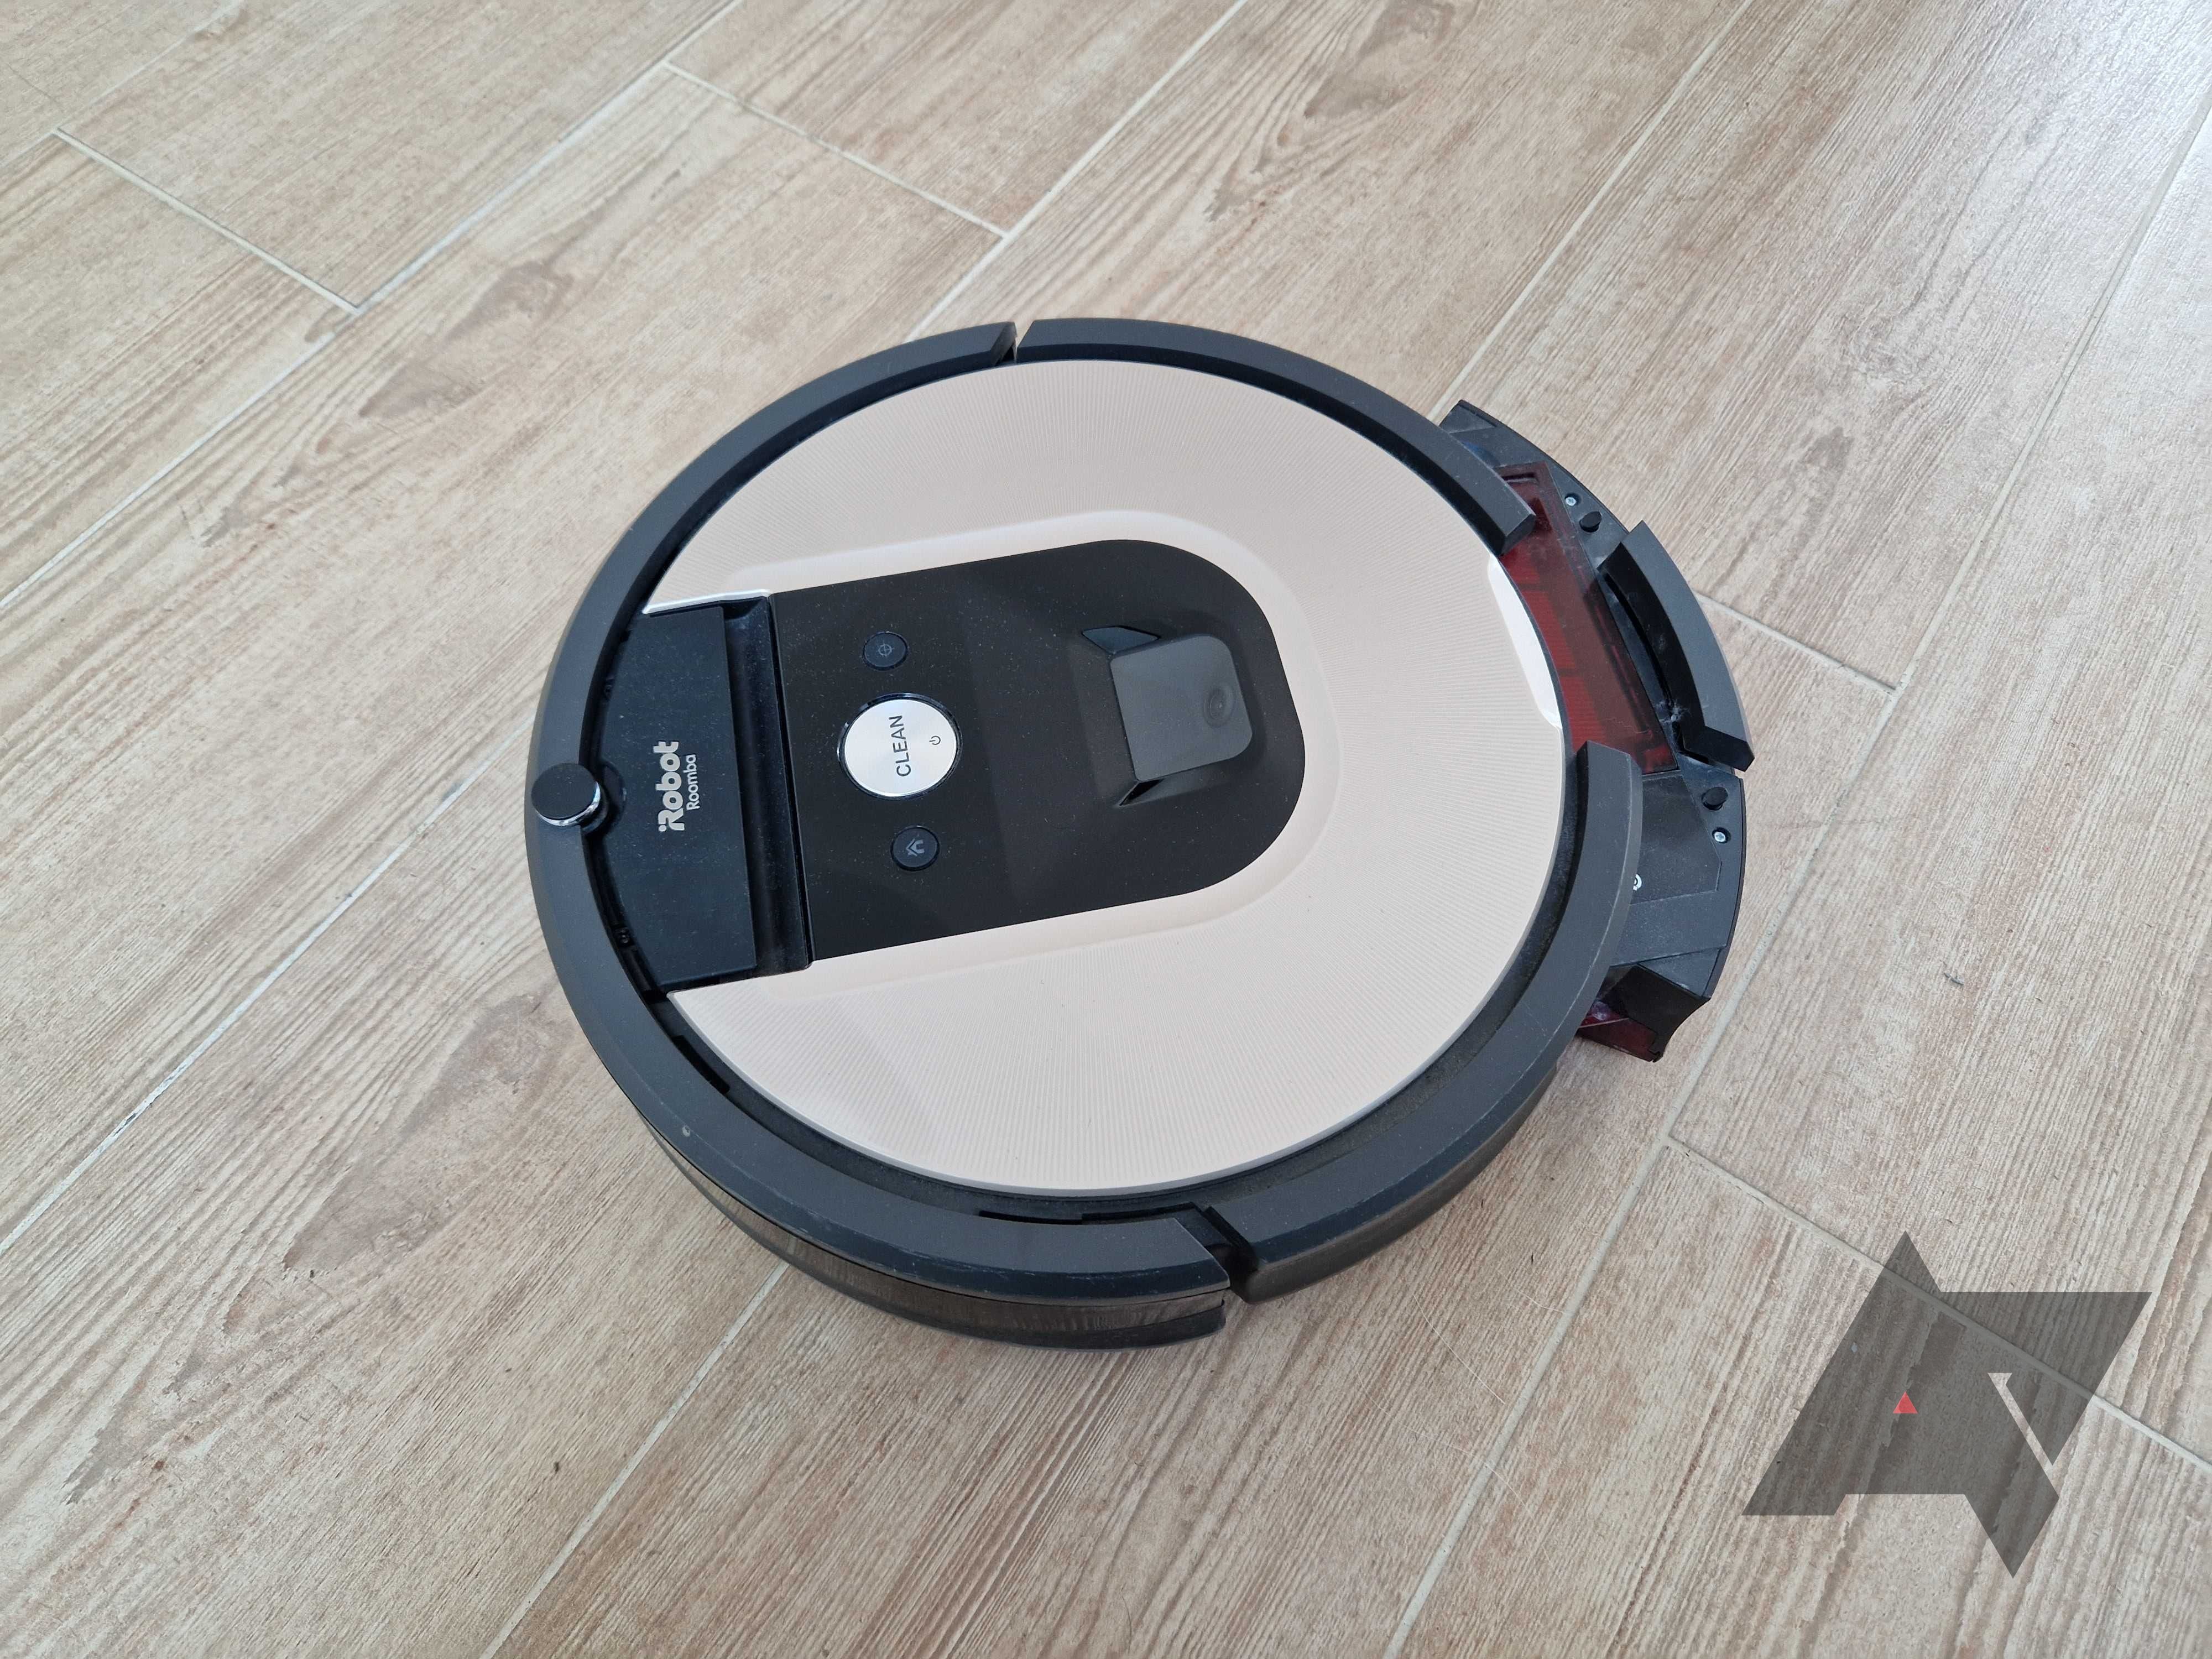
Cleaning the sensors
A Roomba is packed with sensors that help it find its way and detect when it's time to empty the dustbin. These must be clear of debris and dust, or they'll send false notifications to you and impair your robot's performance. They're easy to clean.
- Dampen a clean cloth with a few drops of rubbing alcohol.
- Gently wipe the sensors located underneath the Roomba, as well as the charging pins.
- Wipe them with another dry cloth immediately.
- Remove the dustbin, open it, and gently wipe the sensors with the damp cloth and then with the dry one.
A well-maintained Roomba can live for years
Caring for your Roomba takes minimal effort versus the results it yields. It helps your vacuum last longer and improves your cleaning results. Removing debris and dust from your robot and replacing its components when needed ensure it's in perfect condition to work optimally. On top of regular maintenance and case, check your app's notifications, as they remind you when to replace a part of your robot.
With these tips, you can keep your smart vacuum up and running efficiently. These tips also address false notification issues and poor cleaning performance, as you'll clear the residual dust and debris that trigger them.
Most Roomba smart vacuums are compatible with Google Assistant. Now that you know how to keep it in pristine condition, link it to your phone and smart speakers and make vacuuming less of a chore.