Alexa is Amazon's personal digital assistant, which lets you use your voice to control some of the easiest smart home devices available. It powers Amazon's Echo line of smart speakers and is included in devices made by other manufacturers, such as Sonos. If you use an Alexa-powered device, you might know your voice interactions are recorded and saved by default.
Your voice recordings are stored on your Amazon account until you manually delete them. This guide shows you how to access your saved Alexa voice recordings and remove them.
Does Alexa record and listen to everything you say?
Some might consider the idea of smart home speakers always listening in the background as problematic or an invasion of privacy. We ask these devices personal questions throughout the day, and you want to know that your data isn't mishandled.
Since voice recordings can contain private information about you and your family, they must stay between you and your devices and no one else. At the same time, you should be aware of what Amazon does with your voice recordings and how they handle your saved data in the cloud.
Amazon is transparent and straightforward about its privacy policy for Amazon Echo devices that use Alexa. First, your Alexa-powered devices don't always listen since they only wake with your chosen wake word. You don't have to randomly save private conversations to your account. It only sends data to the cloud after initiating the wake word by default. When your device starts listening and you ask it to do something, that audio clip is sent to Amazon's cloud to process your request. From there, it's saved to your Amazon account for viewing later.
What does Amazon do with your Alexa voice recordings?
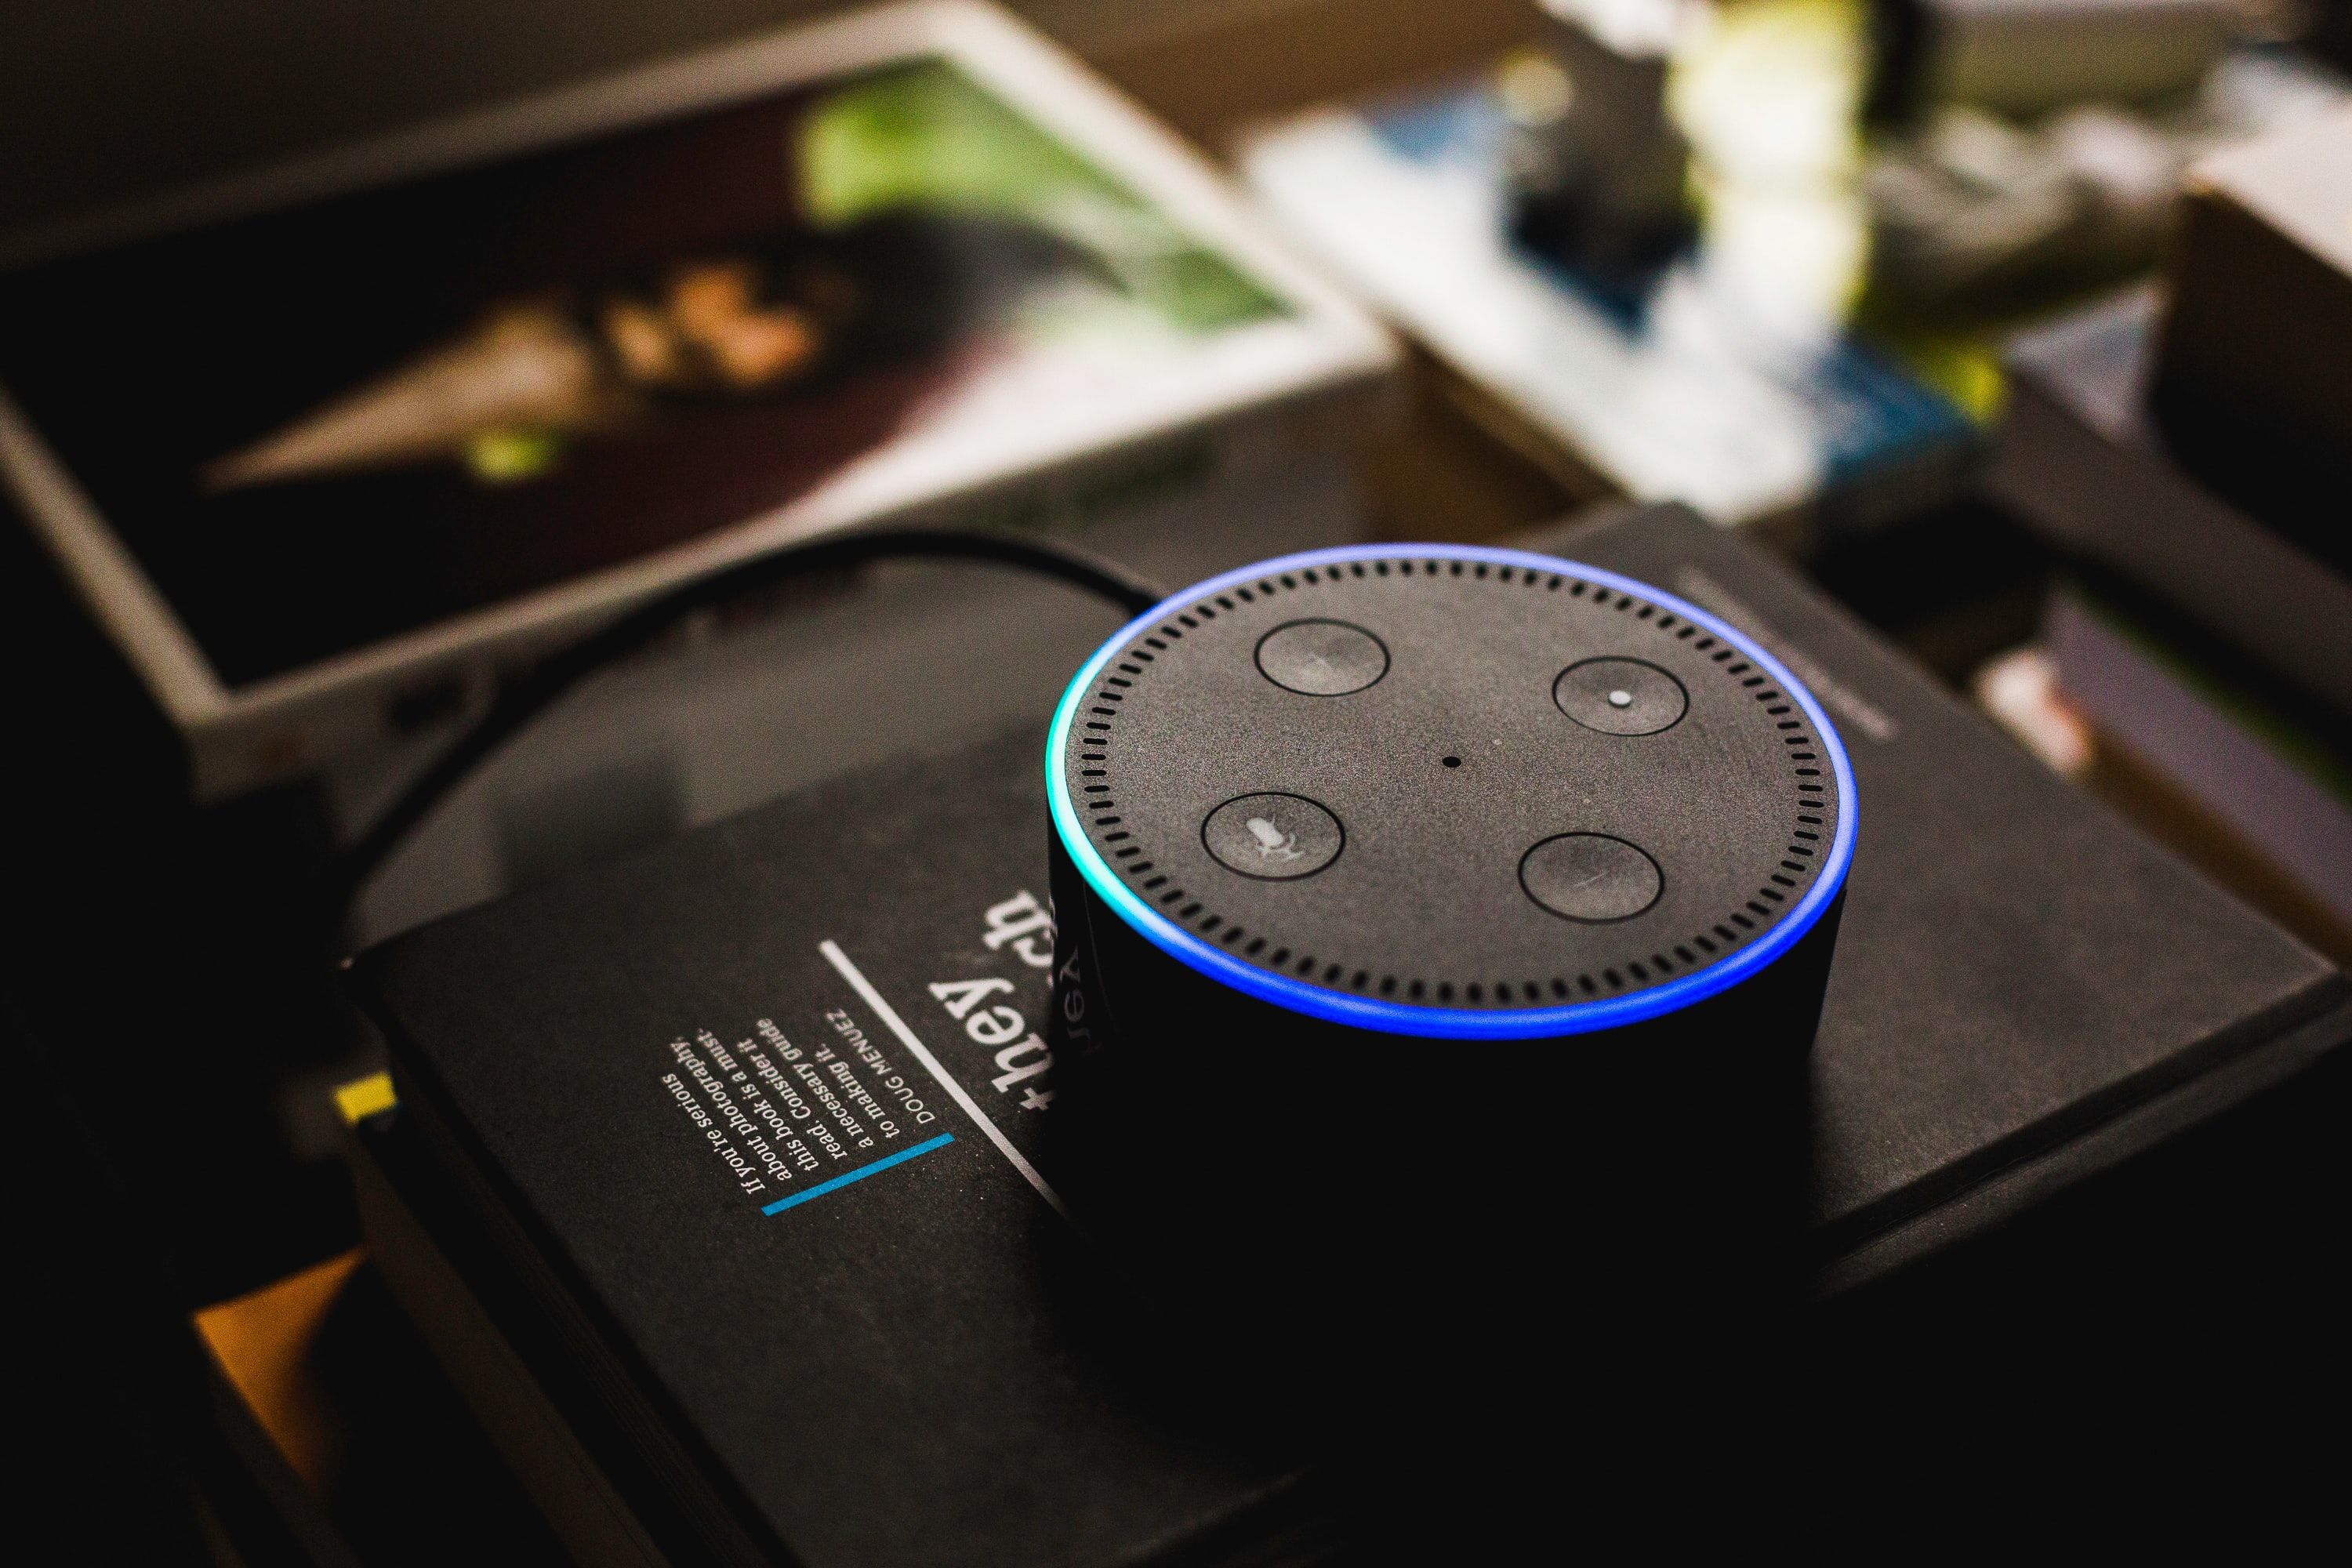
Amazon Echo smart speakers and displays light up when listening for and processing voice commands. All Amazon Echo smart devices have a physical microphone button you can turn off when you don't want the device to pick up your conversation.
Amazon uses your saved voice recordings to train Alexa's speech recognition to enhance its voice assistant product. It practices what is known as supervised machine learning, which allows Amazon to review small audio samples to ensure accuracy for Alexa's training.
Amazon states it has various safeguards to protect your privacy during these controlled audio reviews, so you should be safe here. Still, you're in charge of your voice recordings and how they are saved to your account. You can opt out of the feature if you don't like the idea of Amazon using your data for any reason.
Choosing not to save the audio to your Amazon account means your experience might differ slightly. Keeping some voice recordings can help Alexa better understand and process your requests in the future.
How to delete your voice recordings using the Alexa app
The Alexa app on your smartphone helps you manage the settings for your Echo devices. It has everything you need, from changing Alexa's voice to picking a new default music service. You can also set up multiple user profiles, making your Echo devices more personal for each family member.
Deleting one or multiple voice recordings from your Amazon account is simple. To get started, check out the following steps.
Locate your Alexa Privacy settings in the Amazon Alexa app
- Download the Amazon Alexa app if necessary, then open it to the main screen.
- Sign in to your Amazon account with the appropriate email address and password.
- Tap the More tab in the lower-right corner, then go to Settings.
- Go to Alexa Privacy and tap the Review Voice History section.
Select and delete the voice recordings of your choosing from the app
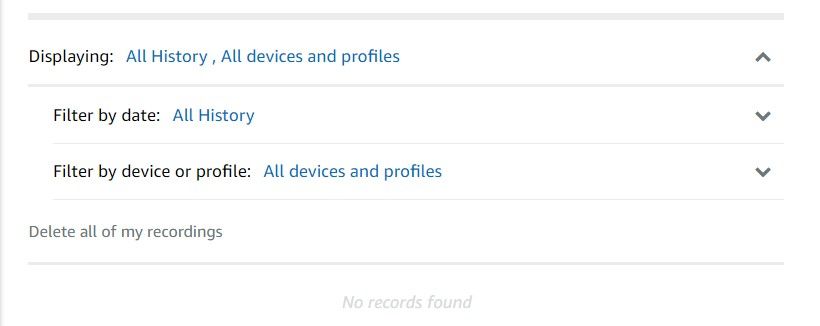
- Tap the Displaying drop-down menu, then go to Filter by date.
- Choose the date range you want to remove the voice recording. Select the All History option to remove all voice recordings at once.
- Tap Filter by device or profile.
- Select each device and profile you want to remove the voice recordings from. Select the All devices and profiles option to remove all voice recordings from everywhere.
- Tap Delete all of my recordings, then review the Delete Displayed Recordings popup.
- Tap the Delete button to continue.
- The selected voice recordings are removed from your account.
How to delete your voice recordings using the Alexa Voice History on your web browser
You can manage most of your voice settings from the web if you don't want to use the Amazon Alexa app on your smartphone. The instructions are similar but with fewer clicks required.
Sign in to your Amazon account and sort through your recordings
- Visit the official Alexa Voice History page in your favorite web browser.
-
Sign in to your Amazon account with the appropriate email address and password.
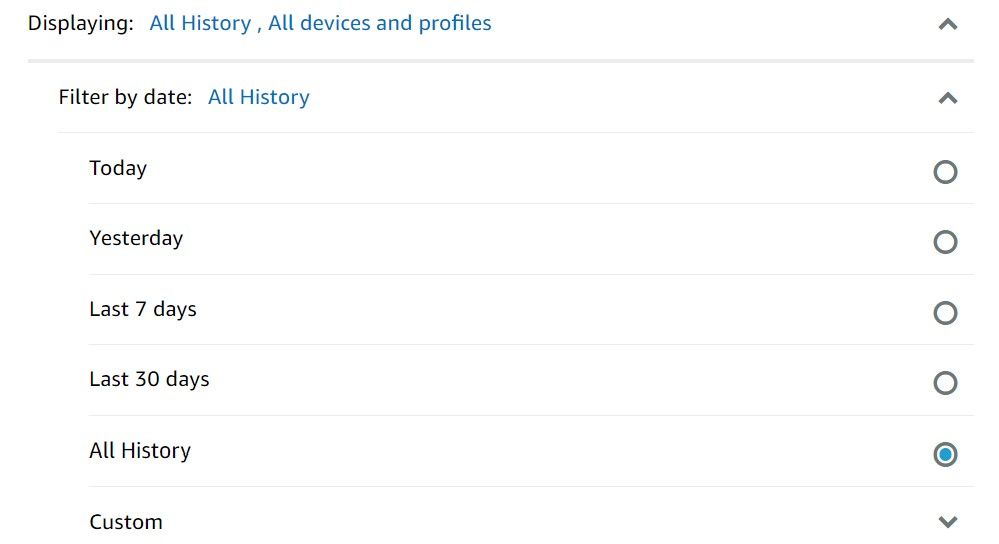
- Select the Displaying drop-down menu and go to Filter by date.
-
Choose the date range for which you want to remove the voice recording. To remove all voice recordings, select the All History option.
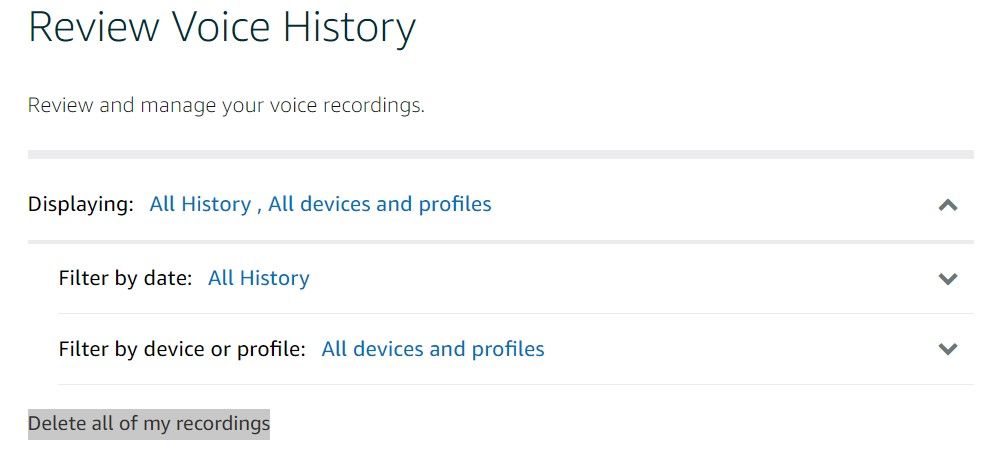
- Tap Filter by device or profile.
-
Select each device and profile you want to remove the voice recordings from. Select the All devices and profiles option to remove all voice recordings from everywhere.
Select and delete the voice recordings to remove from Amazon's servers.
-
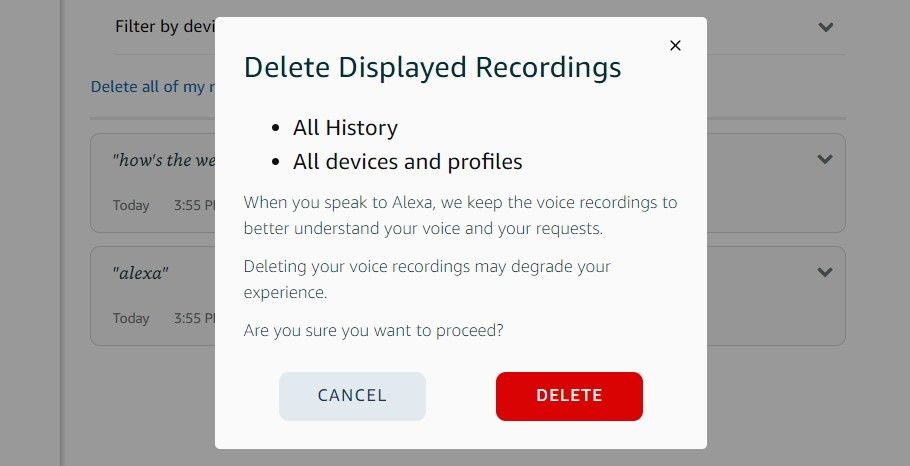
Tap Delete all of my recordings and then review the Delete Displayed Recordings popup.
-
Tap the Delete button to continue.
-
The selected voice recordings are removed from your account.
Auto-delete your Alexa recordings by voice and set up automatic deletion
Now that you've removed your old Alexa voice recordings, you can automate the removal process with a few quick taps. Knowing these recordings will be deleted without any effort in the future can simplify your life. After you set it, it takes care of itself from here on out. No more worrying about manually deleting voice recordings.
Check out the following steps to set an auto-delete schedule for Alexa voice recordings.
From the Alexa app
- Open the Amazon Alexa app to the main page.
- Tap the More tab in the lower-right corner and go to Settings.
- Tap Alexa Privacy, then select the Manage Your Alexa Data section.
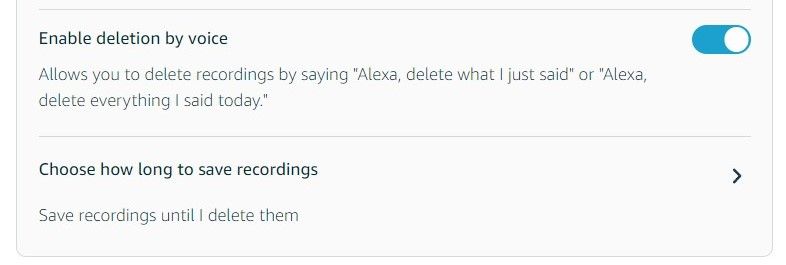
- Turn on the Enable deletion by voice option before continuing. This allows you to tell your Amazon Echo device to forget what it heard on the spot, which is helpful for short voice sessions.
- Tap the Choose how long to save recordings arrow on the right.
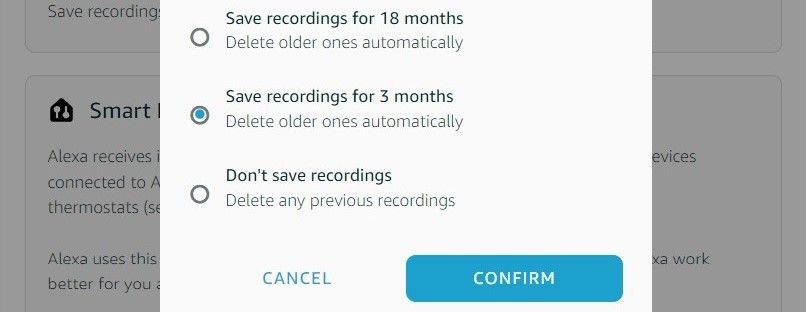
- Select Save recordings for 18 months or Save recordings for 3 months. Choose the Don't save recordings option to prevent voice recordings from being stored on your account. Amazon notes that it can take up to 36 hours for the changes to take effect.
- After choosing the option that works best for you, tap the Confirm button.
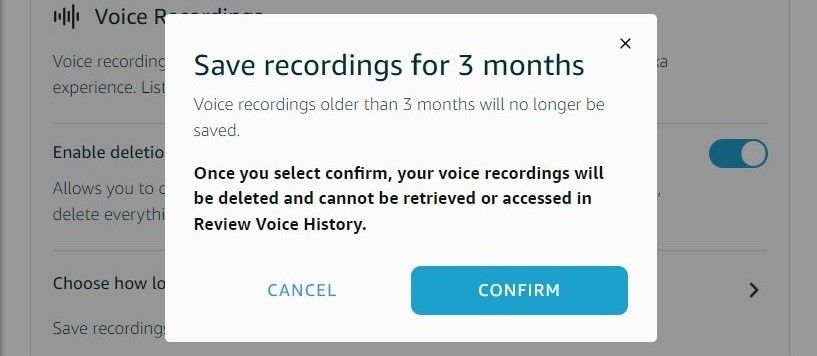
- A new message states that your messages aren't saved after the change.
- Tap Confirm to update your account settings.
From a desktop browser using the Manage Your Alexa Data page
- Visit the official Manage Your Alexa Data page in your favorite web browser.
- Sign in to your Amazon account if prompted.
- After logging in, turn on the Enable deletion by voice option before continuing. This allows you to tell your Amazon Echo device to forget what it heard on the spot, which is helpful for short voice sessions.
-
Click the Choose how long to save recordings arrow on the right.
- Select Save recordings for 18 months or Save recordings for 3 months, depending on your needs. You can also select the Don't save recordings option to prevent voice recordings from being stored on your account. Amazon notes that it can take up to 36 hours for the changes to take effect.
-
After choosing the option that works best for you, click the Confirm button.
- A new message states that your messages aren't saved after the change.
-
Select Confirm to update your account settings.
Keep your privacy in check without giving up on smart speakers
The Alexa-powered Amazon Echo speakers are great, but sometimes, they might not hear your voice correctly. If this happens to you, try some tips and tricks to help your Alexa devices understand you better. Alexa can do more than you think. For instance, you can set it up for emergency calls or use it in your car.

.jpg)
