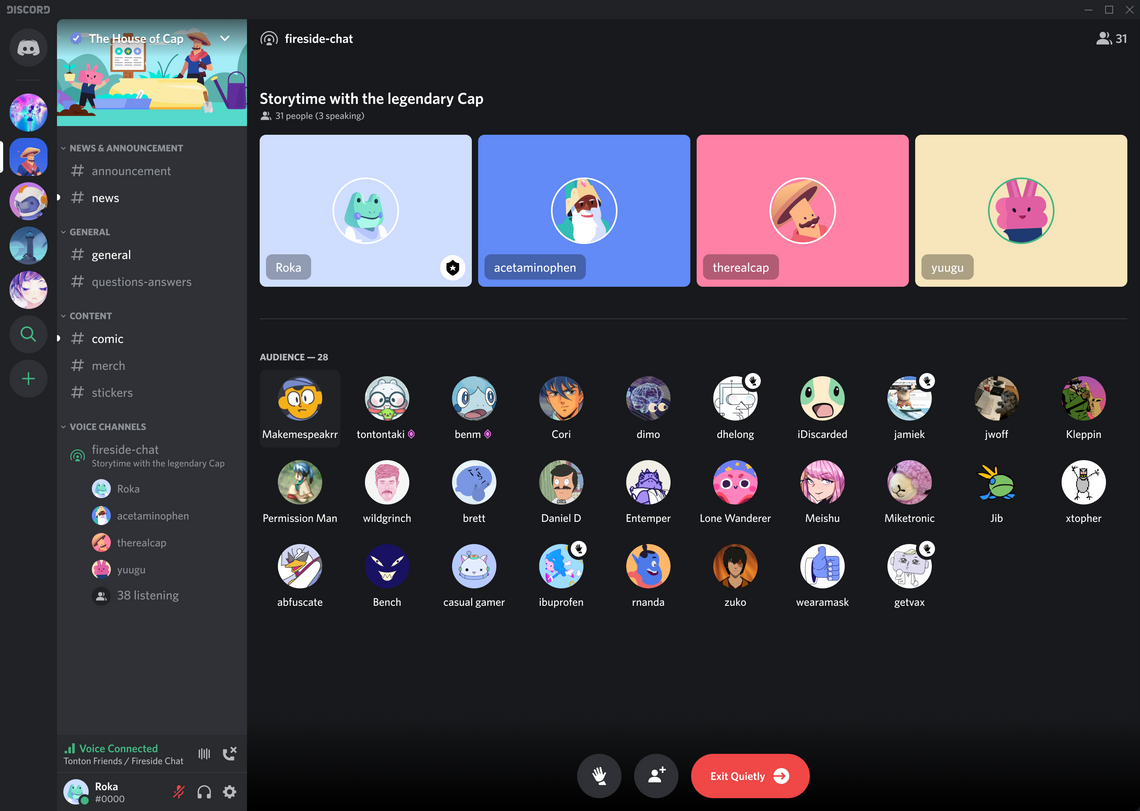
Discord is an invite-only online messaging platform where you can create a place to hang out and chat with friends or a dedicated fan community, like gaming or podcasts. Rather than trying to make your own messaging program from scratch, it's much easier to set up a Discord server and share the link with other users. The main goal here is to bring people together without jumping through a bunch of hoops and learning curves. In this guide, we'll go over how to quickly set up a Discord server and a few of the customization options it has to offer.
Is it safe to create your own Discord server?
The short answer is yes. Discord can be a safe and fun place to hang out online if managed responsibly. You're in charge of the rules and can choose who gets invited to join your server. You have even less to worry about if you're just using it privately with family and friends. It's highly doubtful that your loved ones will try to scam or send malicious links to others in the chat. As long as you fully know and trust the users you let into your server, you shouldn't have any issues going forward.
On the other hand, things are a bit different if you plan on building out a public server meant for a larger community. You'll likely be bringing in complete strangers who appear to like the same things you do; however, some might not always have good intentions when invited. Since Discord scammers are on the rise, there's an official page dedicated to scams and what to look out for. So whether you're hosting a server or joining one, you should be aware of potential threats and bad actors to help keep your data safe.
How to create a Discord account for your server
Before creating your server, you have to get a Discord account set up. The process is pretty simple, and you can get started by doing the following:
- Install the Discord app, then open it to continue the setup process.
- Press the Register button and enter your phone number or email address.
- Hit Next. Then you can input a Discord username and password you want to use for your account.
- Enter your date of birth, and then press the Create an account button to finish up here.


How to set up your new Discord server
Now that your account is all set and ready to do, you can work on creating your first Discord server. To do this, you can follow these steps:
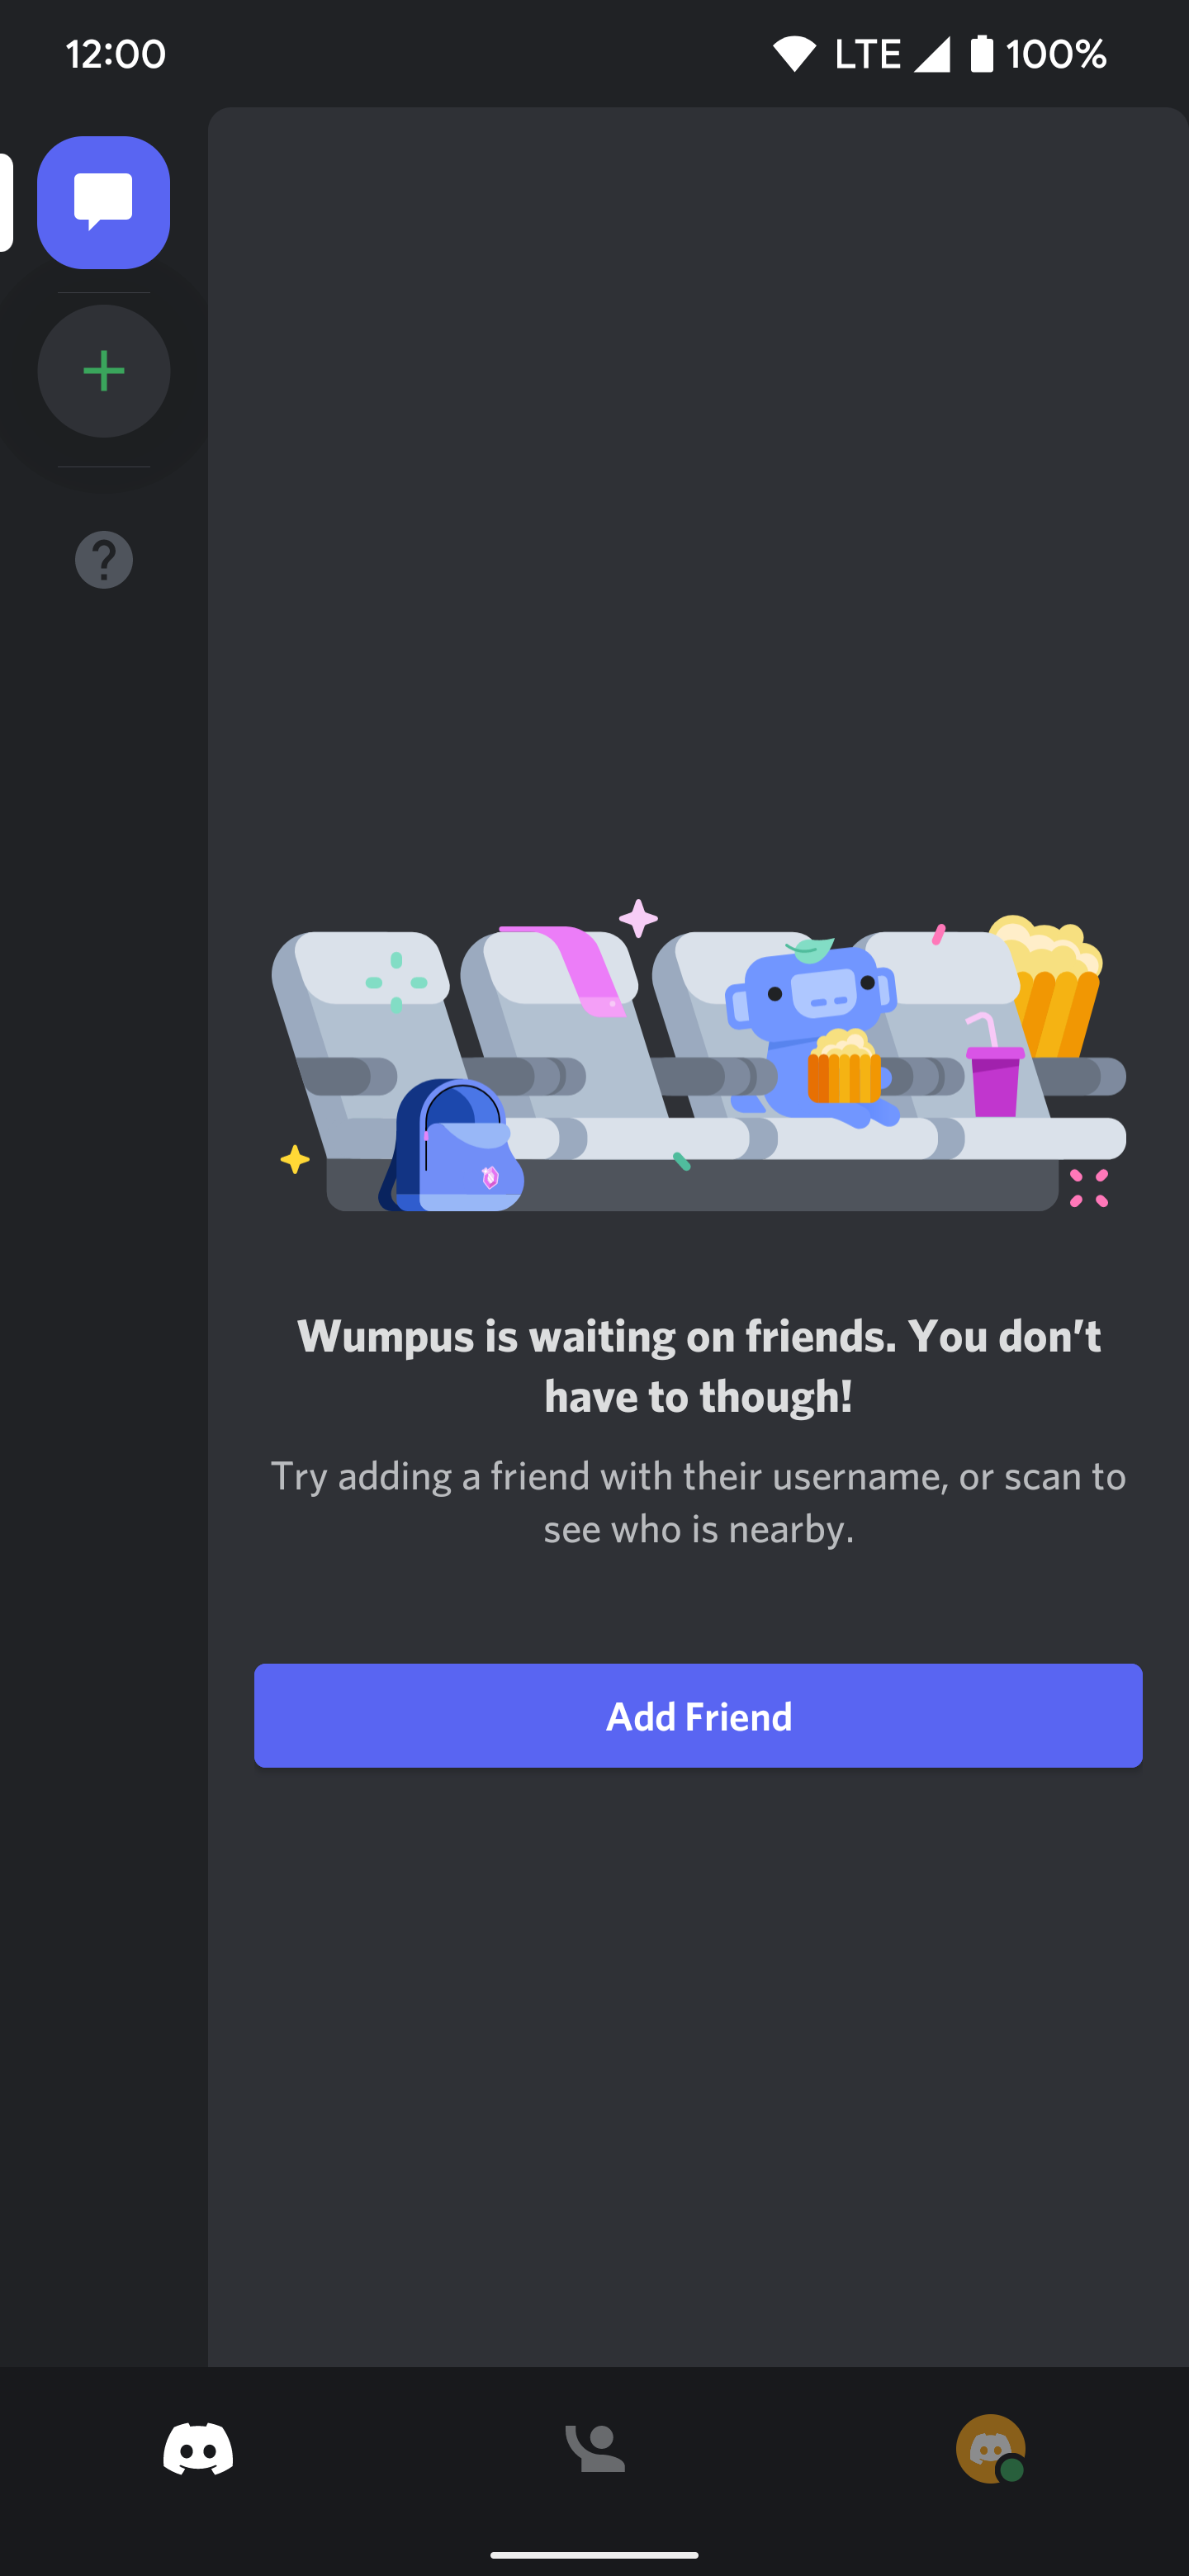
- From the main Discord app screen, tap the + button in the upper left corner.
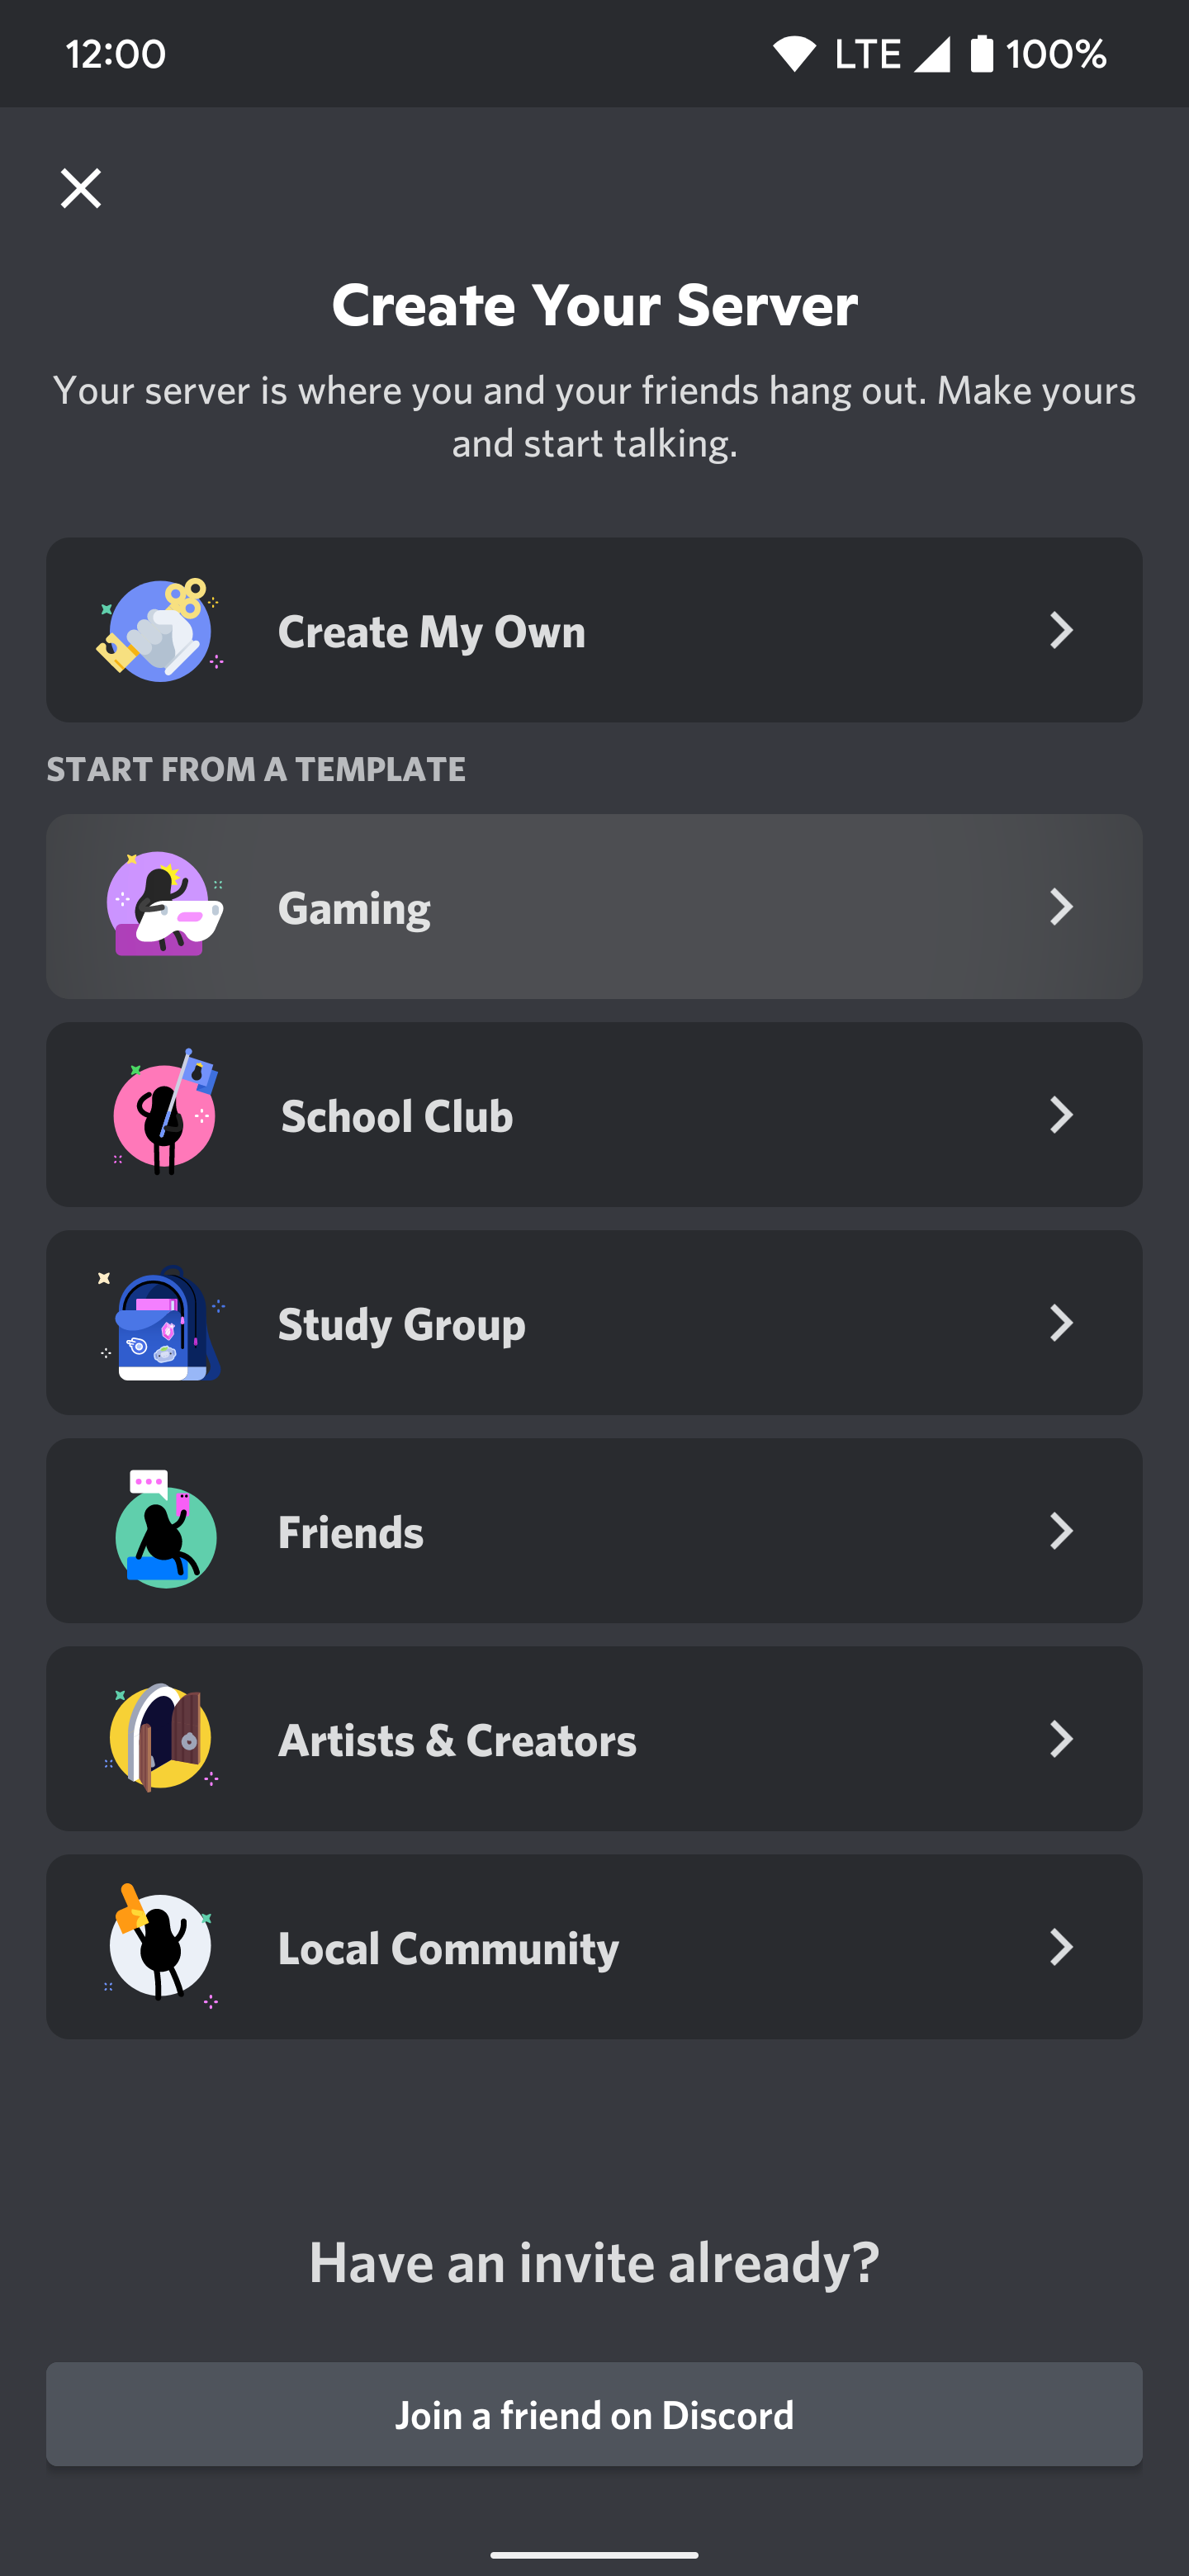
- You use the Create My Own option to start an entirely new server or use any of the templates as needed.
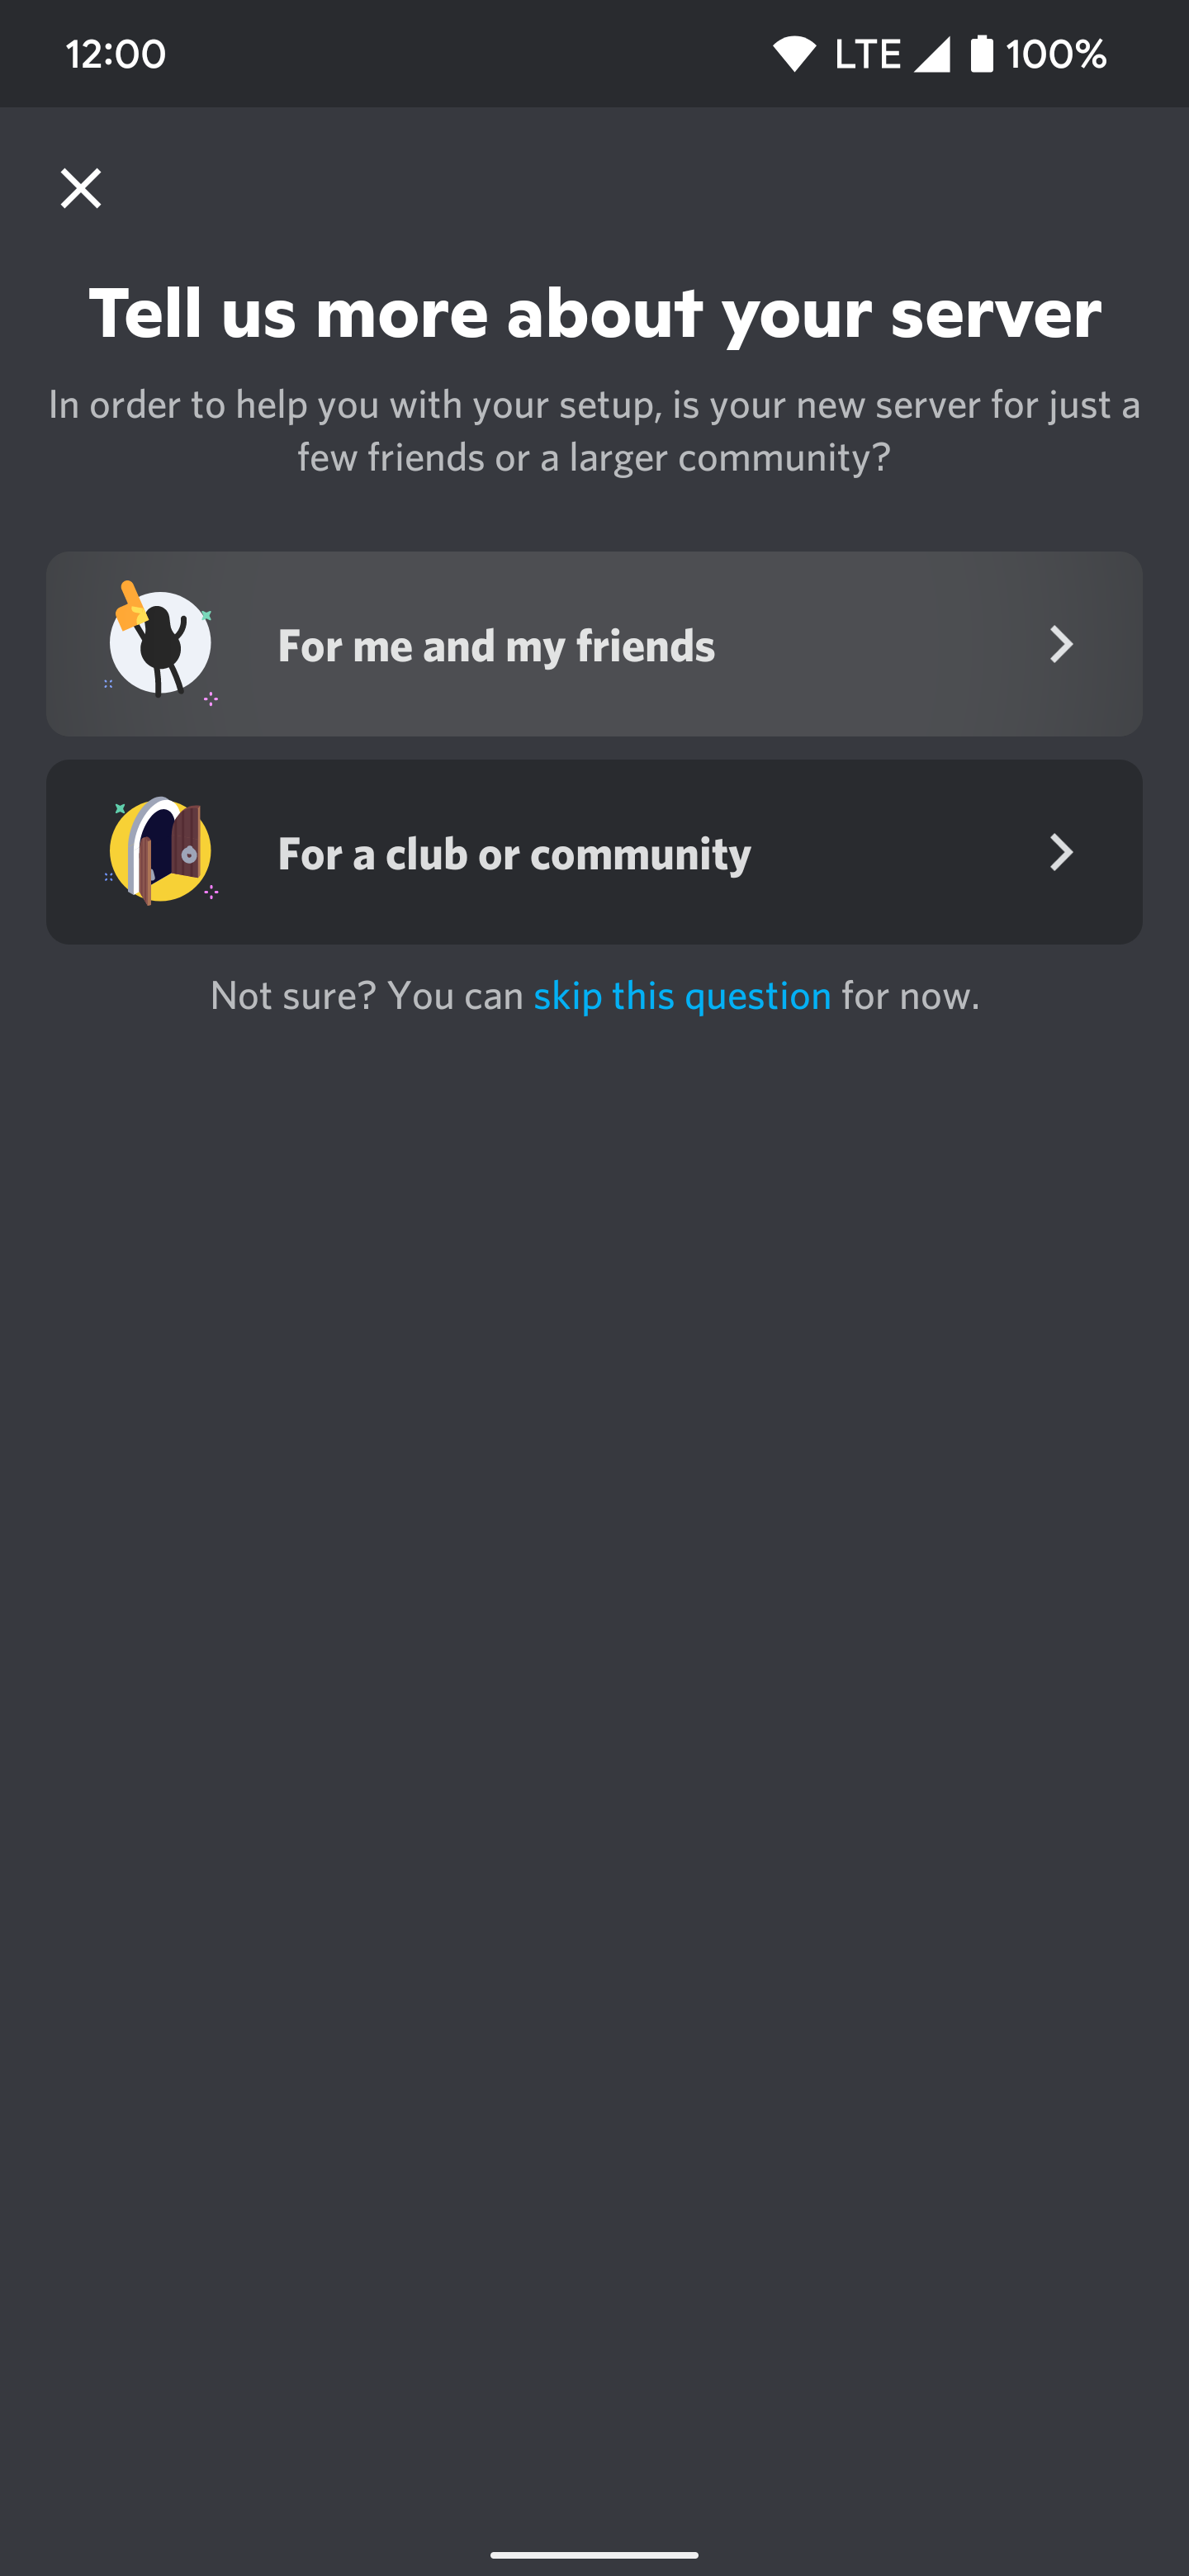
-
Decide if your Discord server is for a public community or you and your friends.
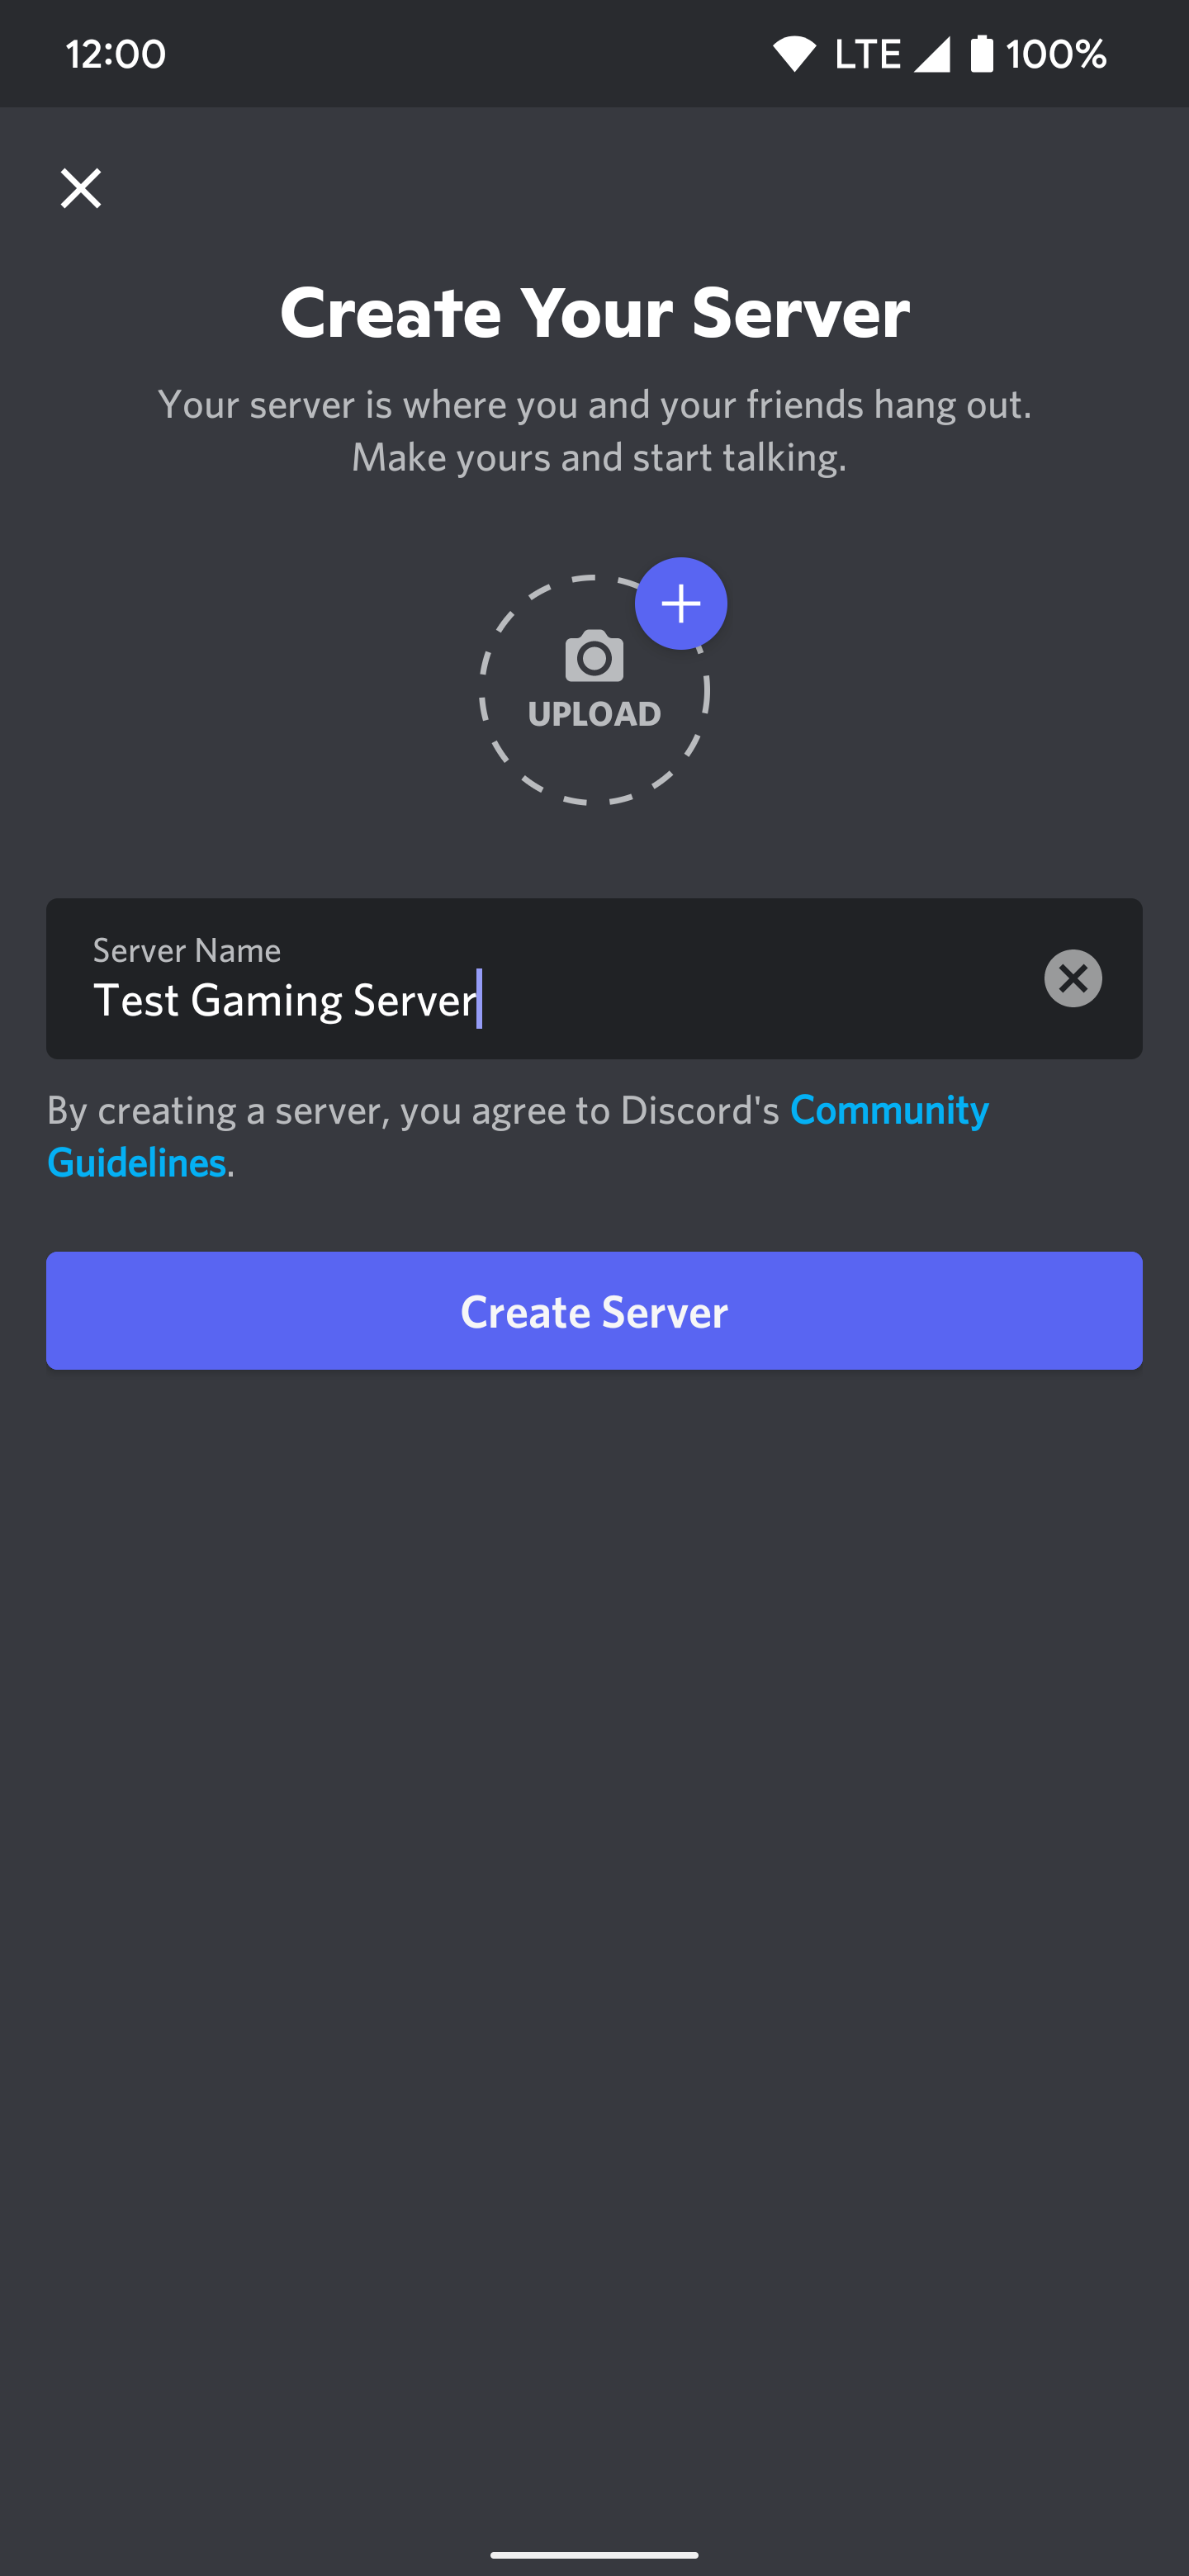
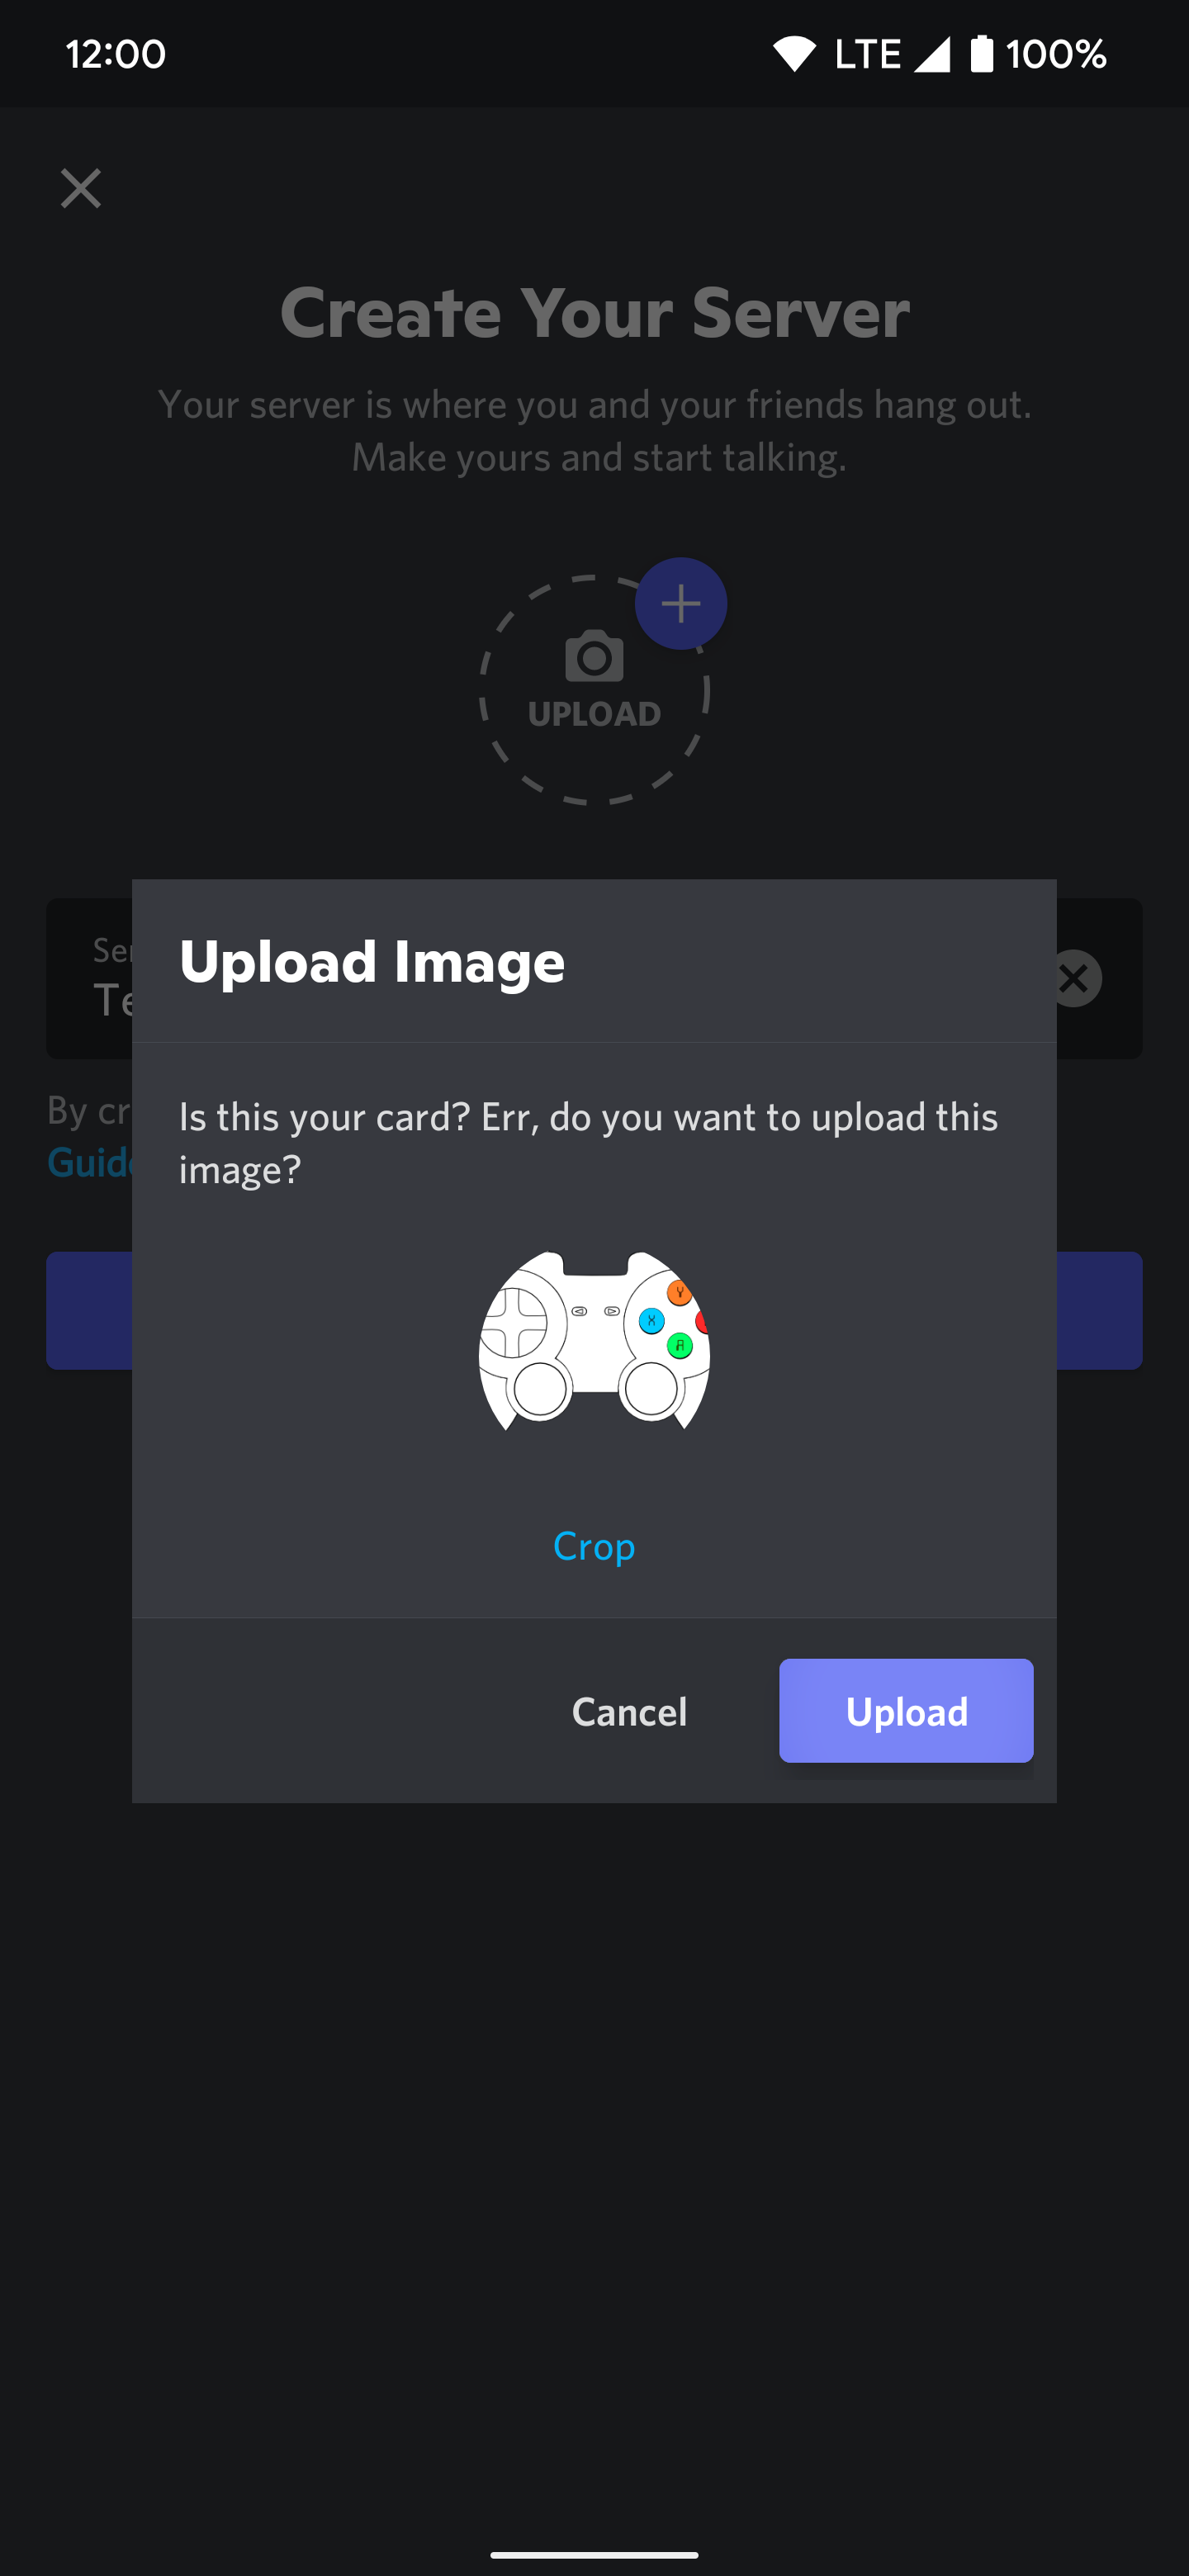
- Give your Discord server a name, then add a photo to make it easy to identify.
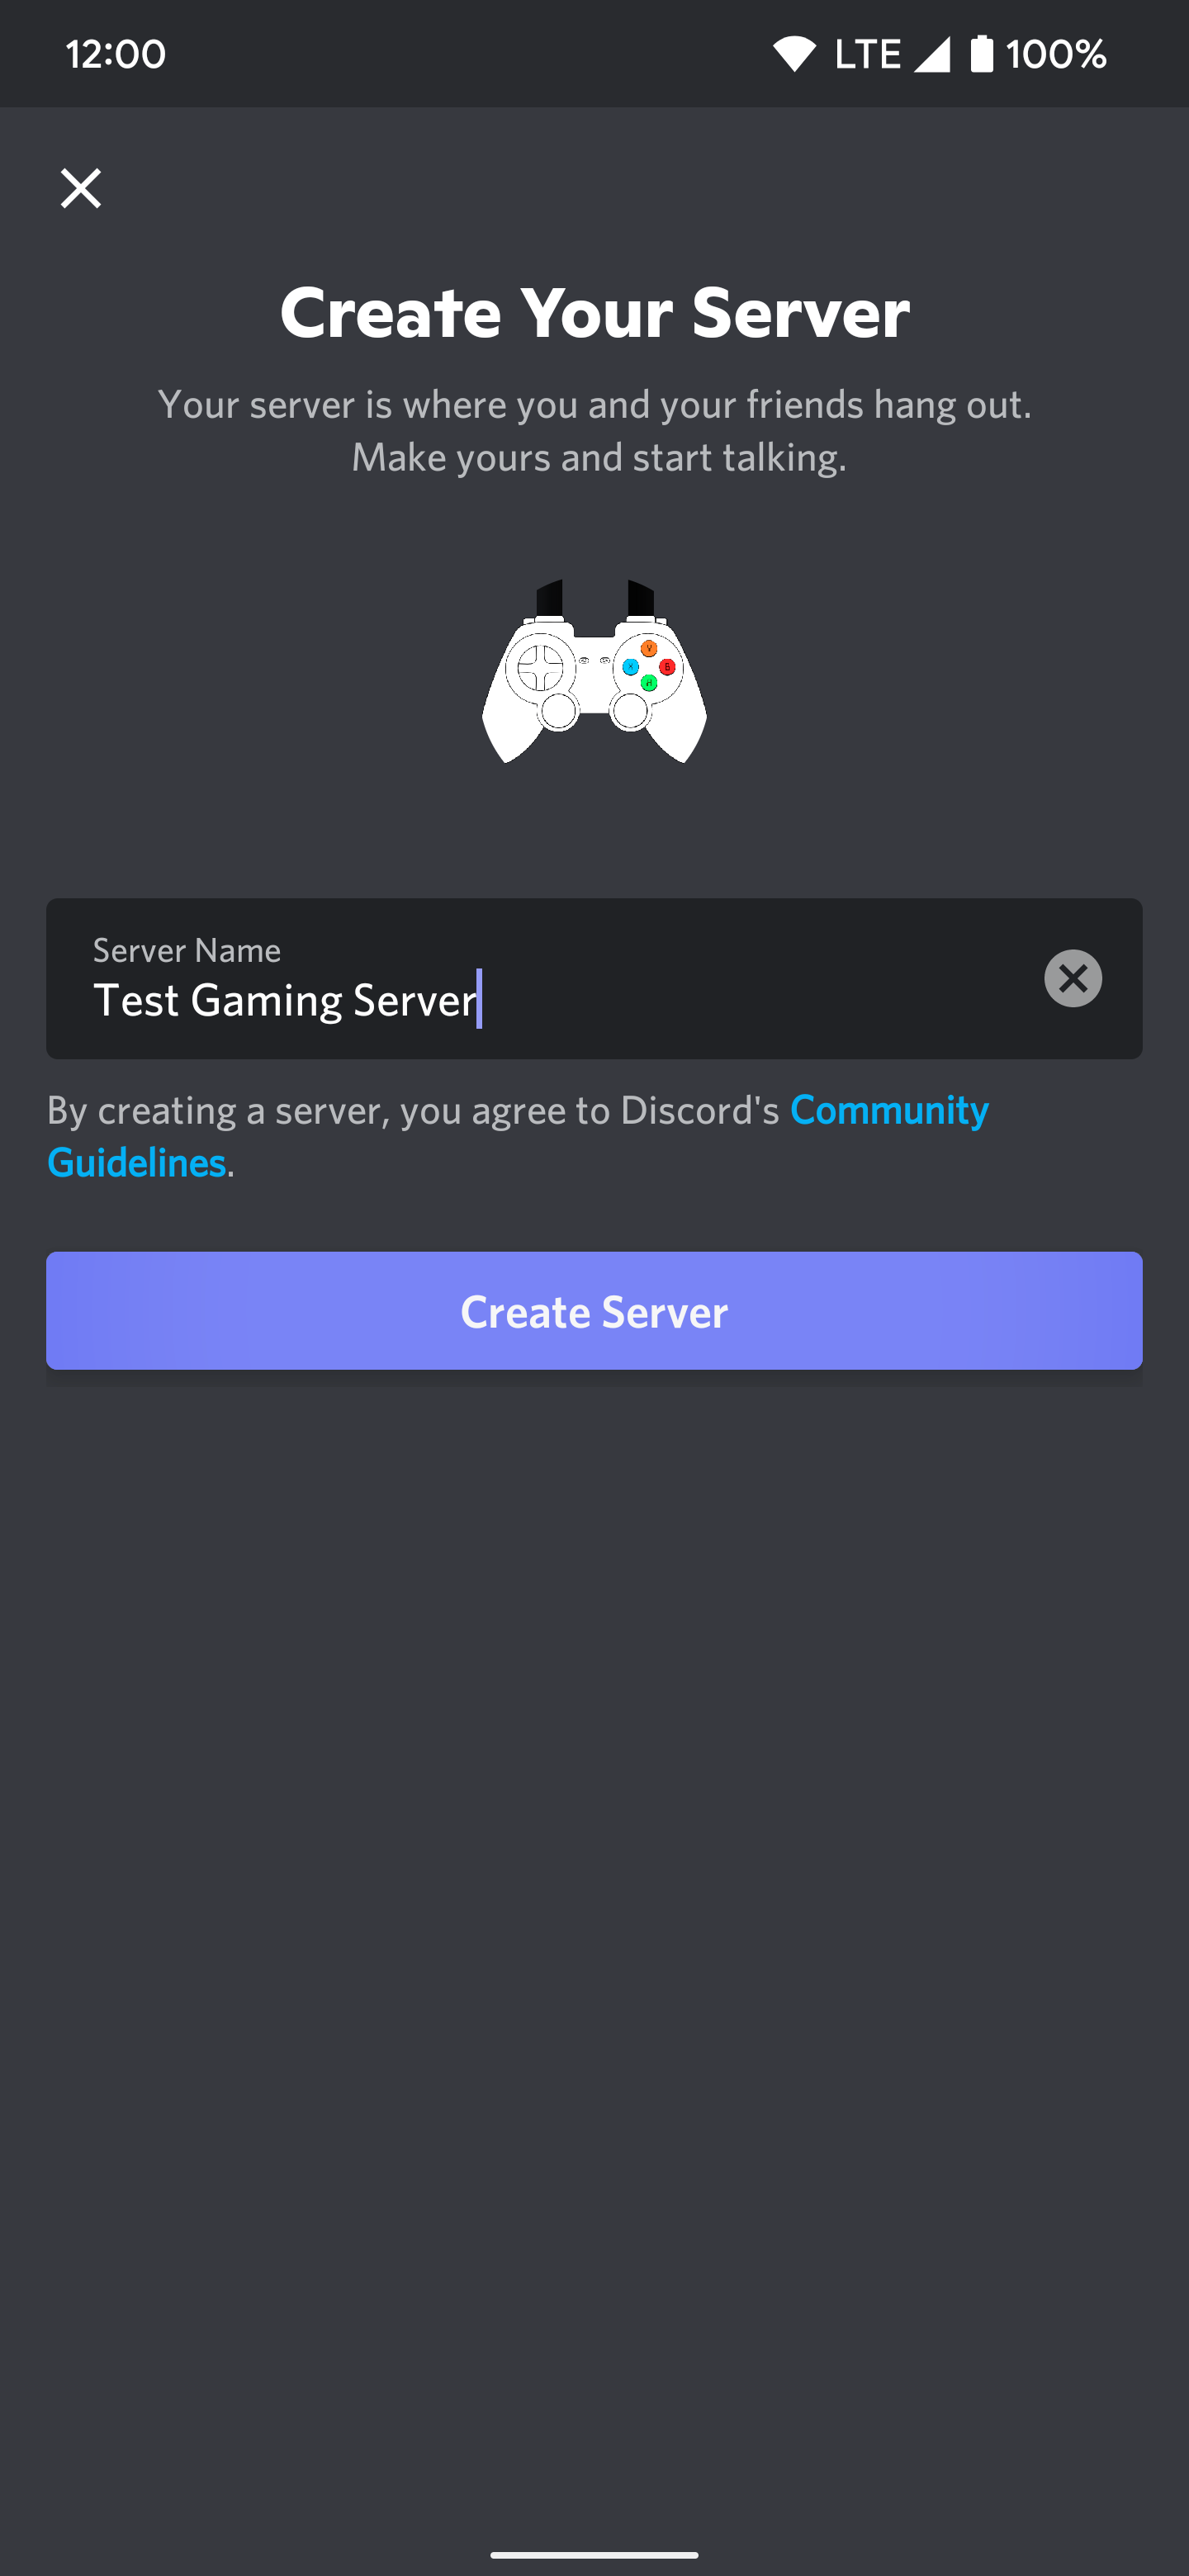
-
Once you're happy with the name and photo, tap the Create Server button to finish setting up your server.
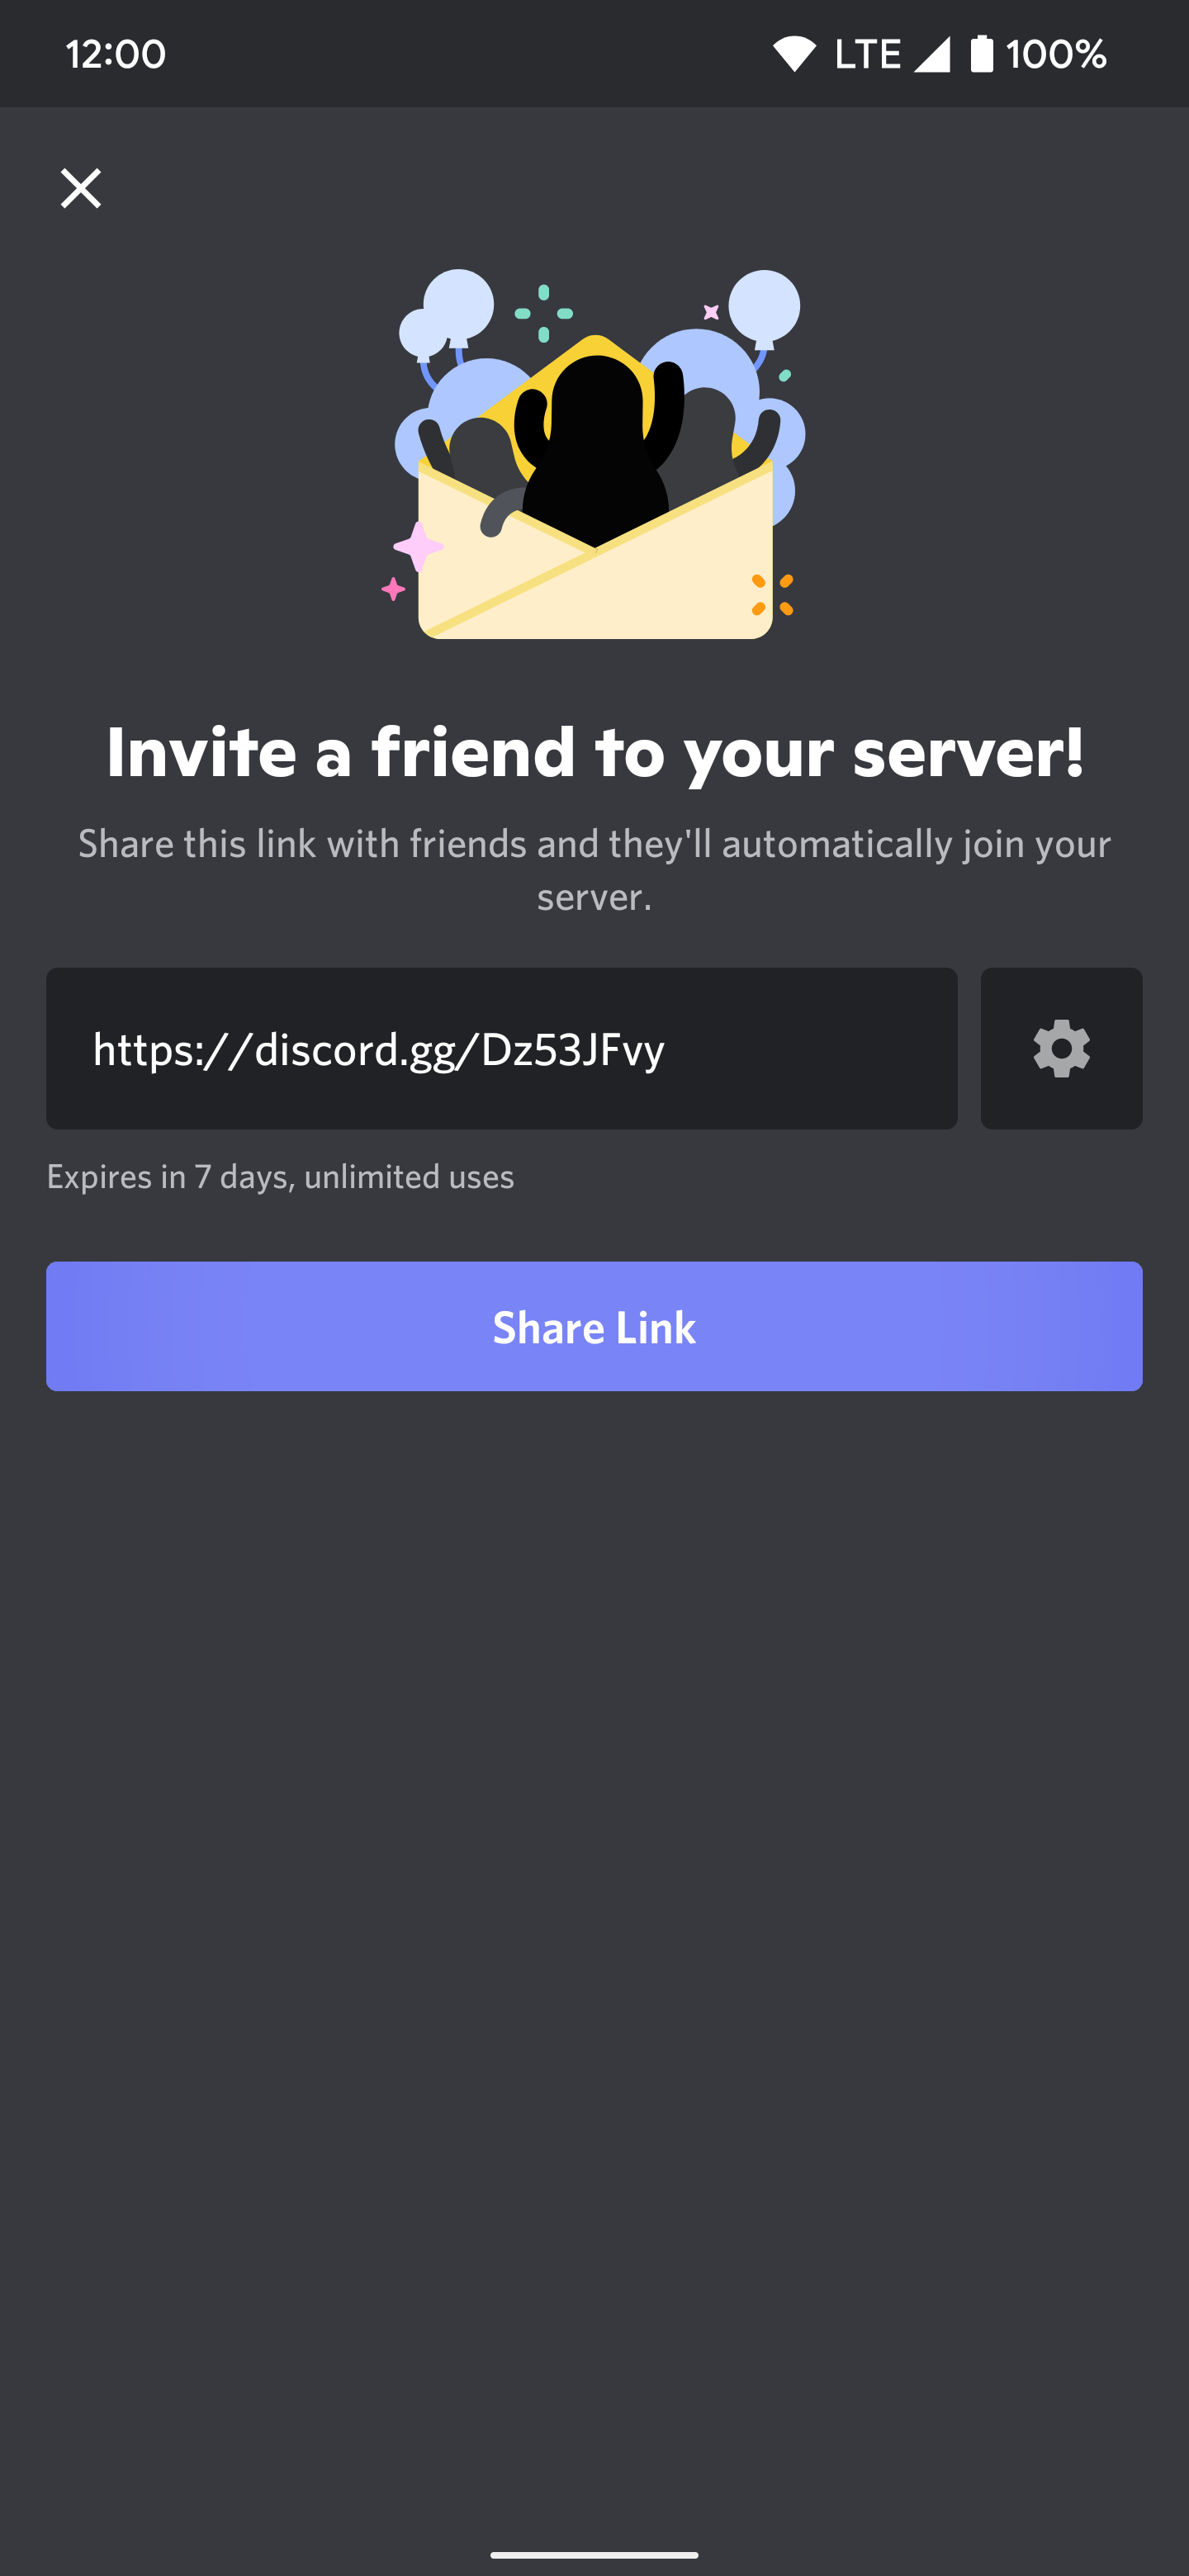
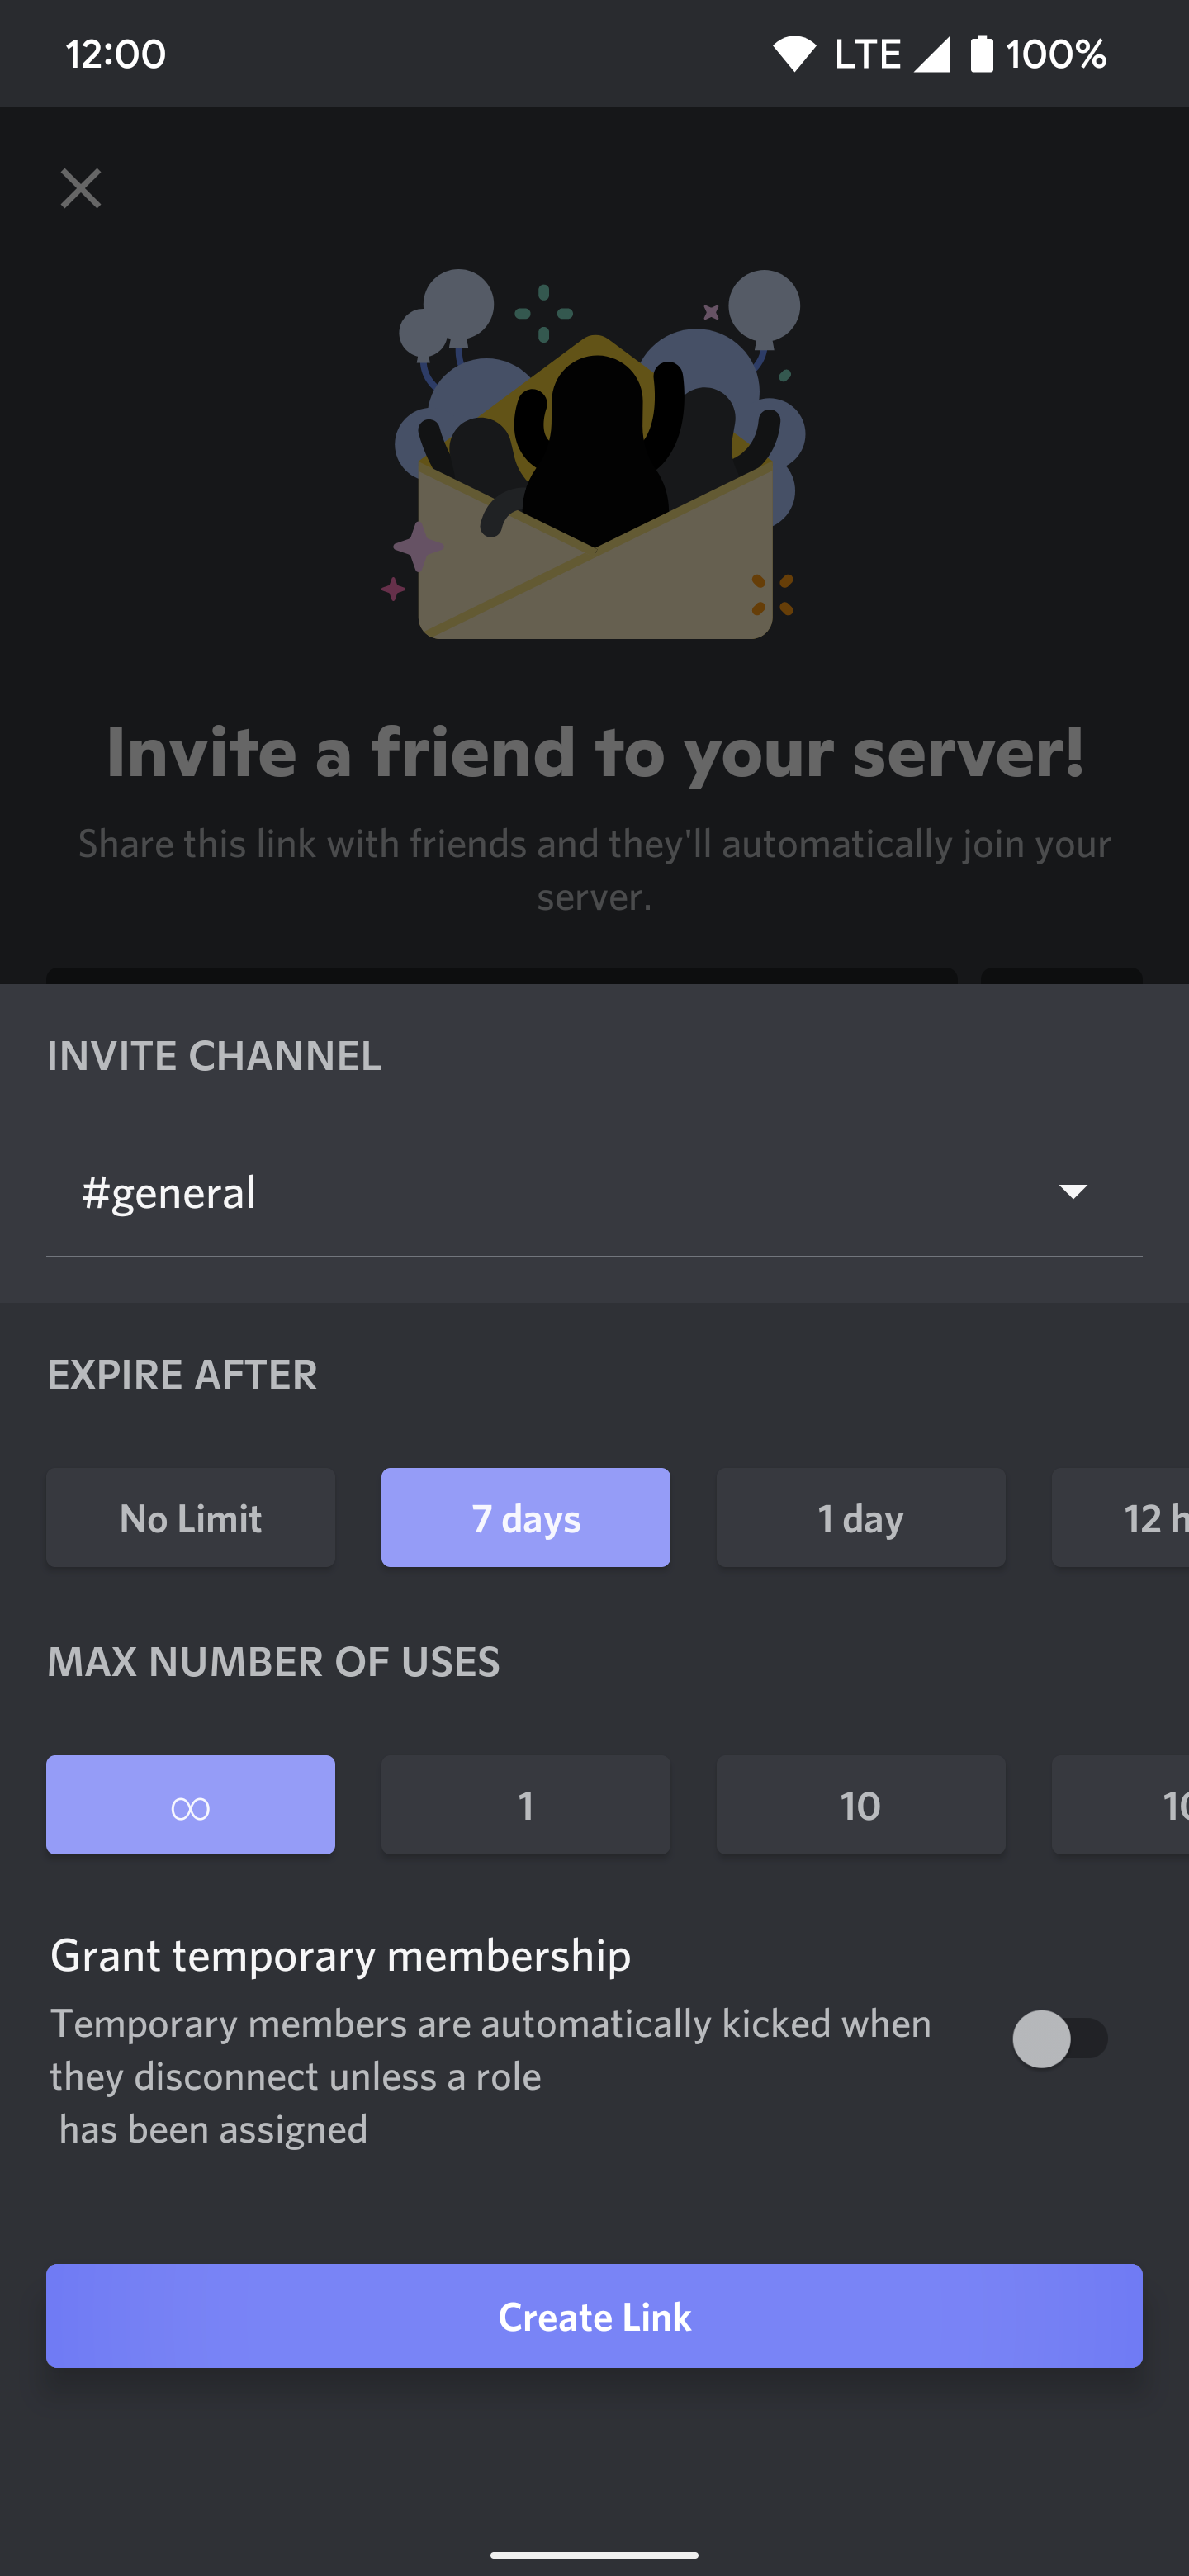
- If you want to share your new server right away, tap the Settings button to make any custom changes.
- After that, hit the Share Link button to send an invitation from your Discord server to your contacts.
-
Tap the X in the upper left corner when you're finished sharing the link with your contacts.
-
You should be sitting at the main screen for your new Discord server.
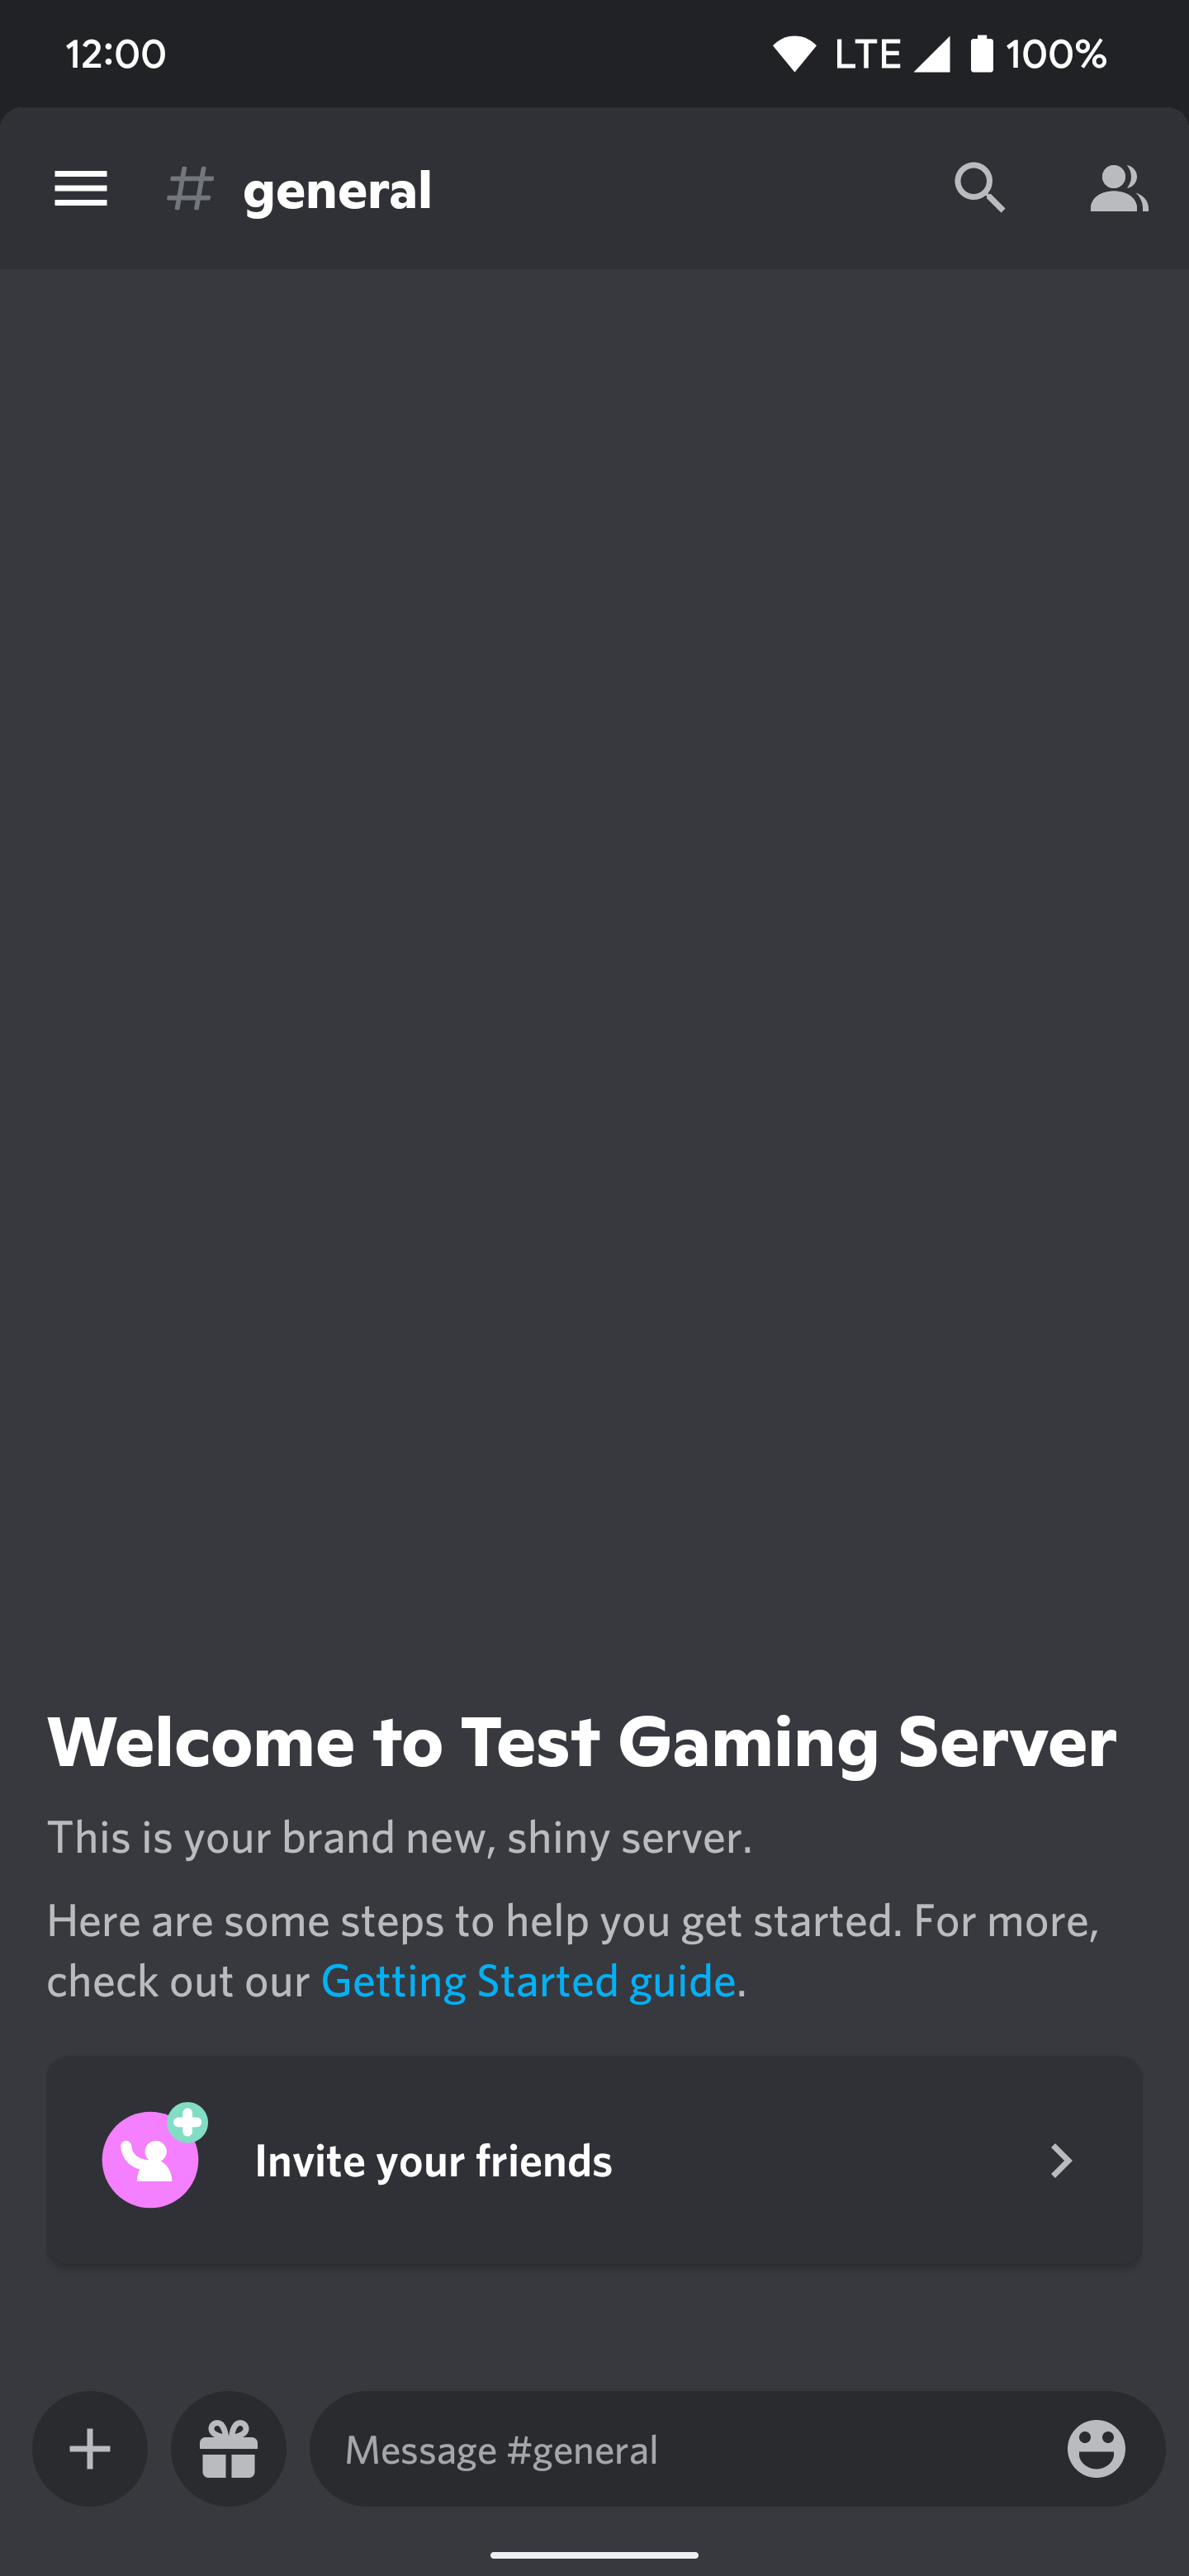
-
You should be sitting at the main screen for your new Discord server.


How to create custom channels on your new Discord server
With the basic Discord server setup taken care of, you can now create your own unique custom channels to keep things organized. To make some new channels that are even more specific than the premade ones, you can do the following:
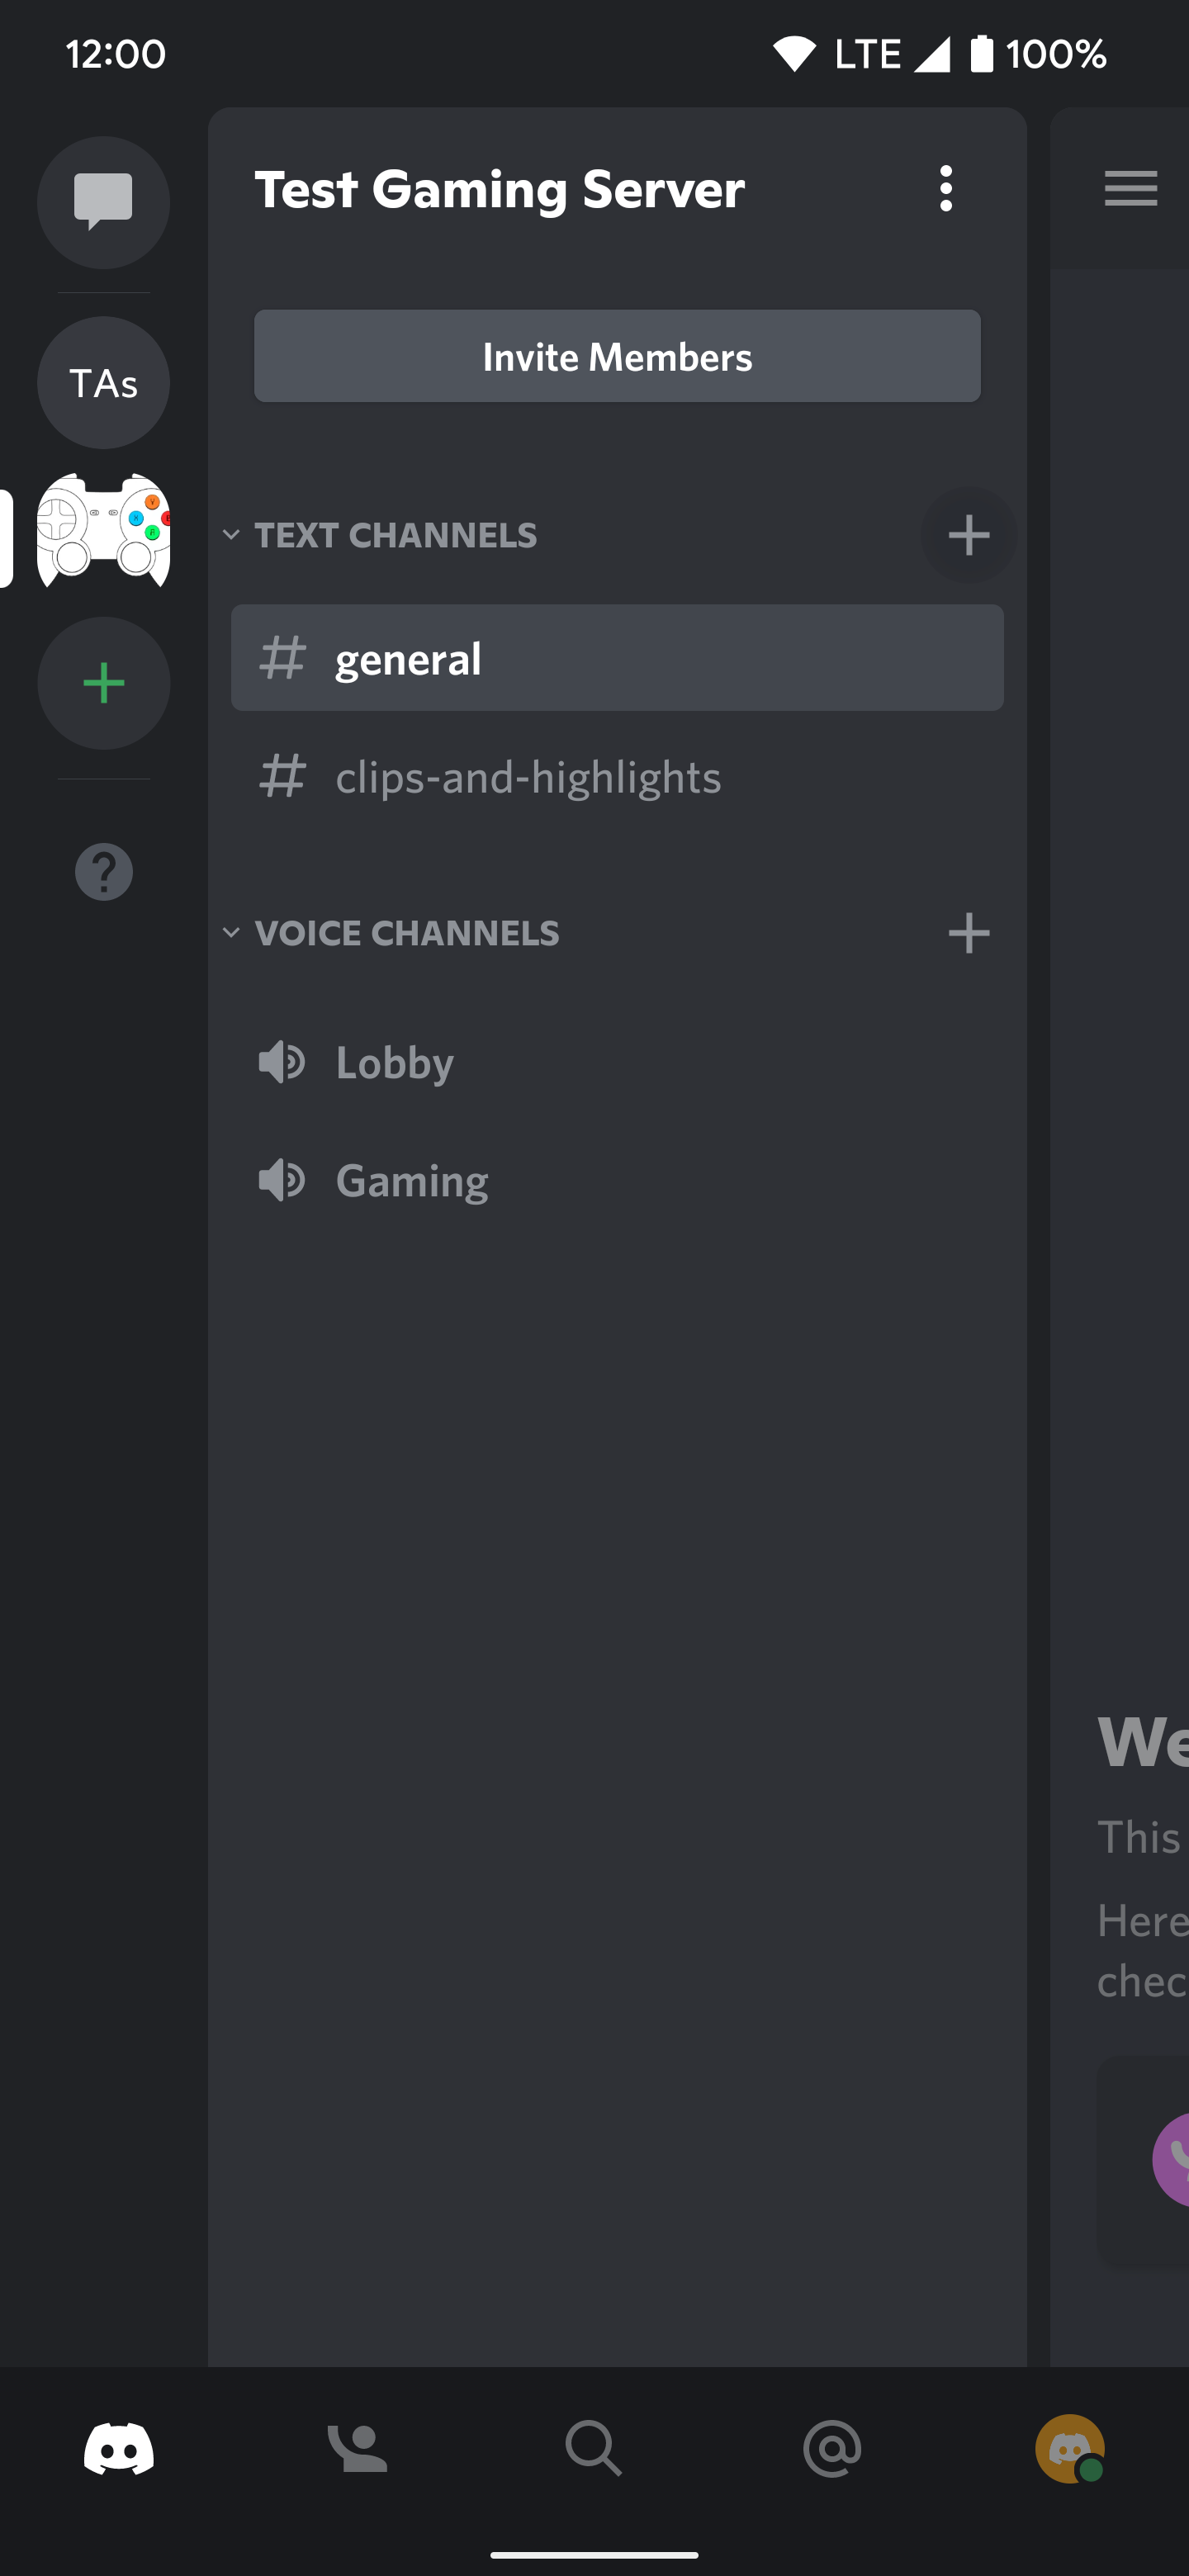
- Tap the hamburger menu in the upper left to view all your current channels.
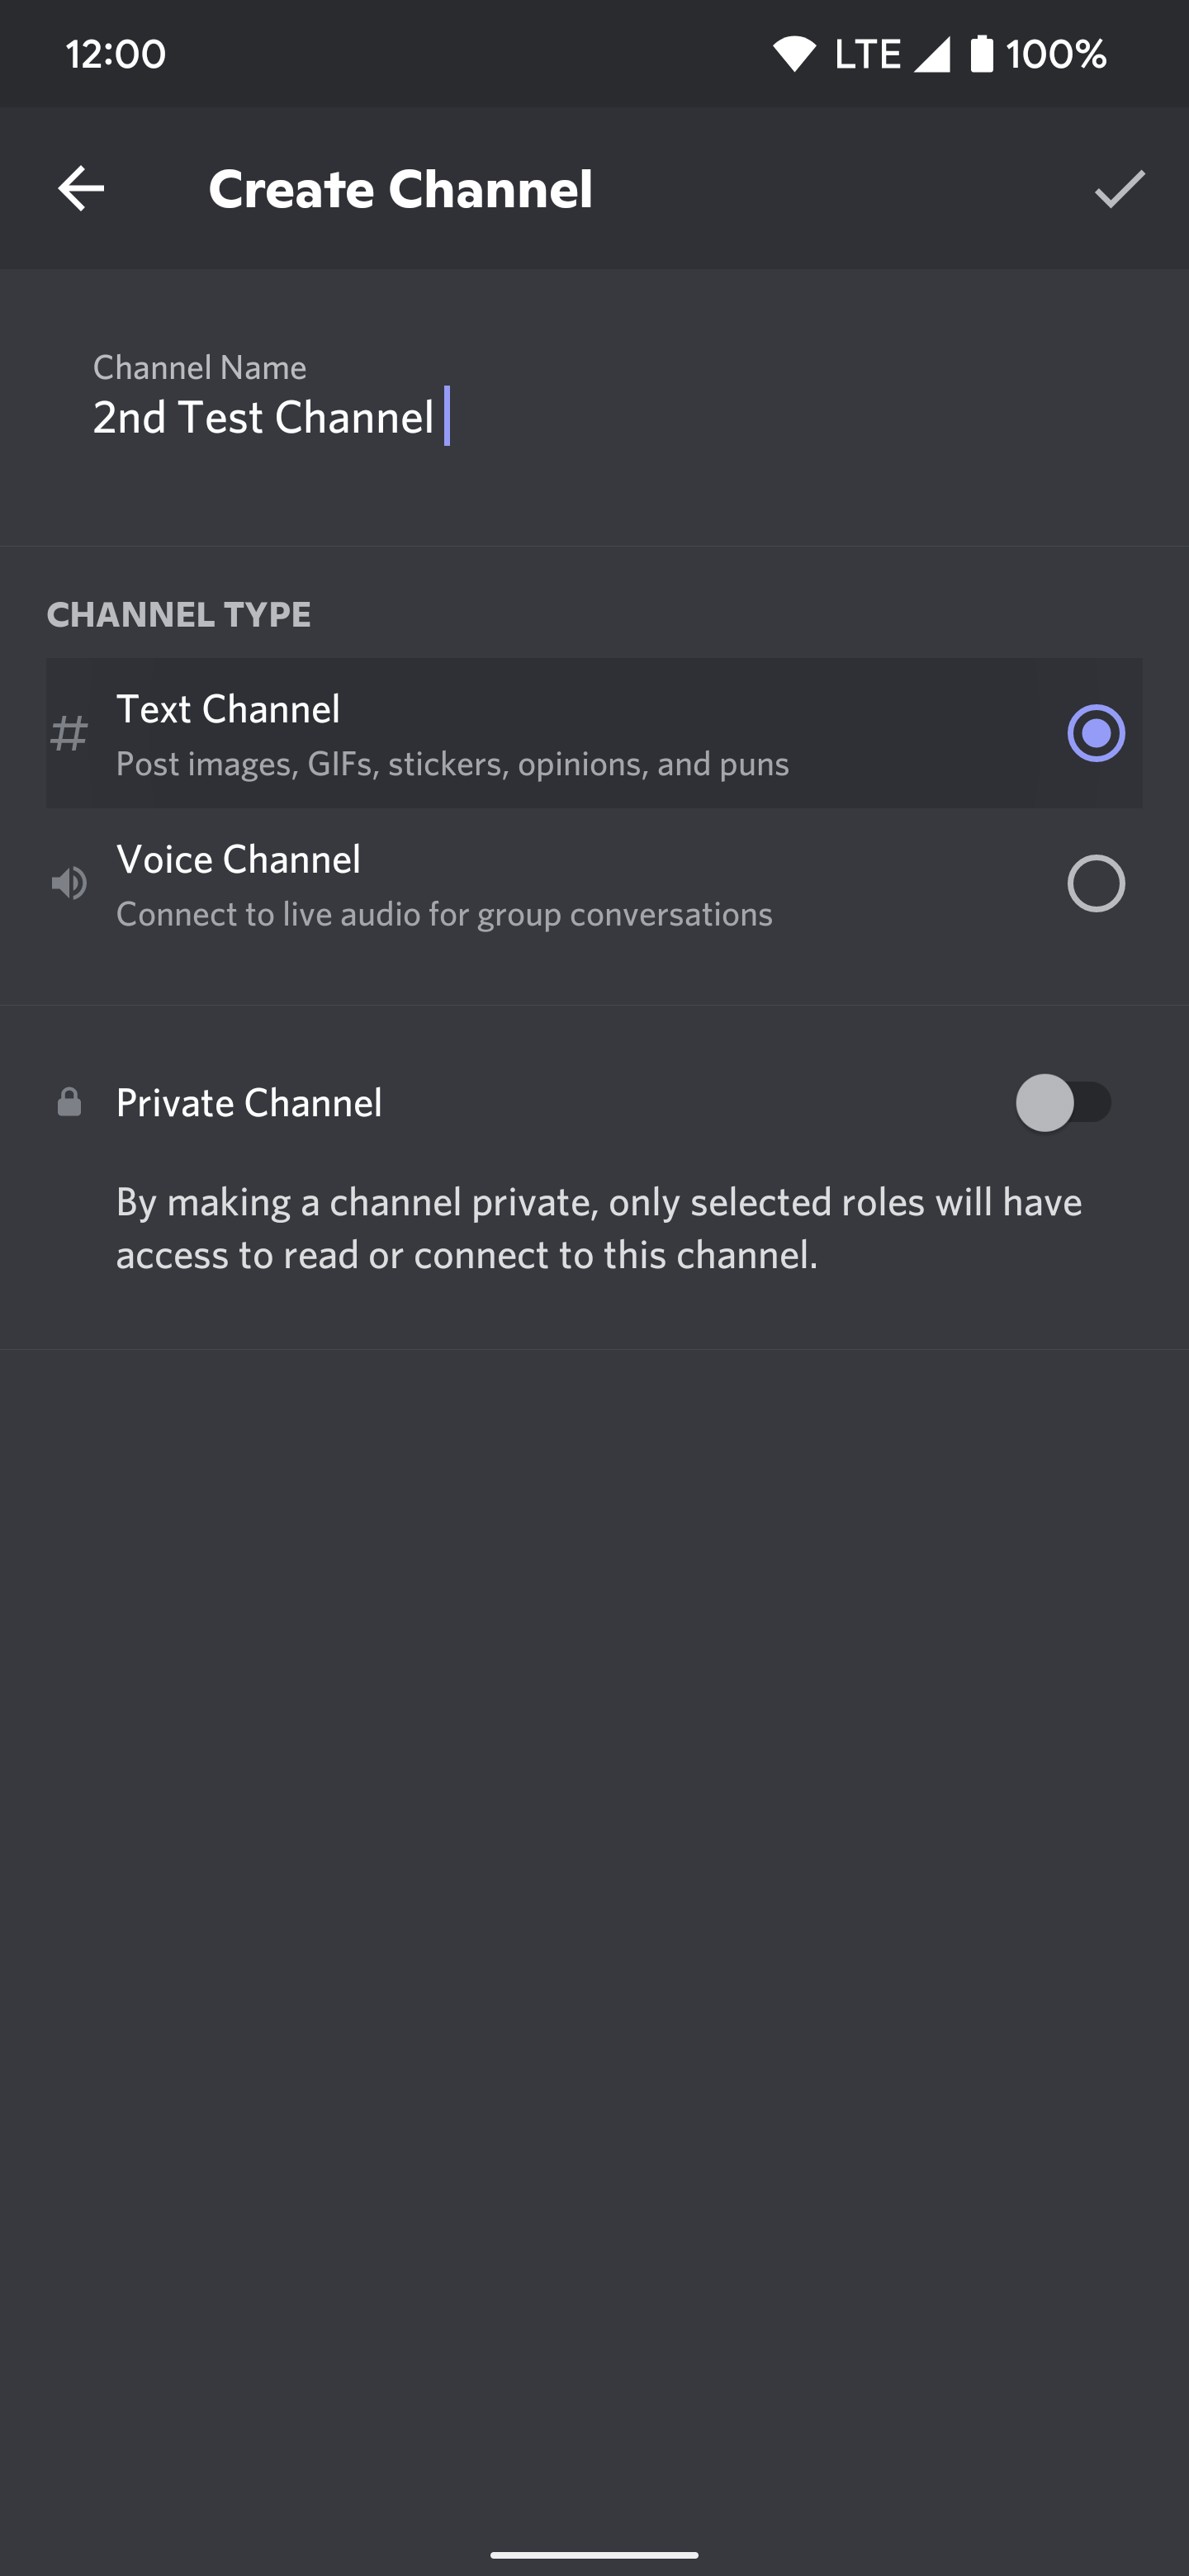
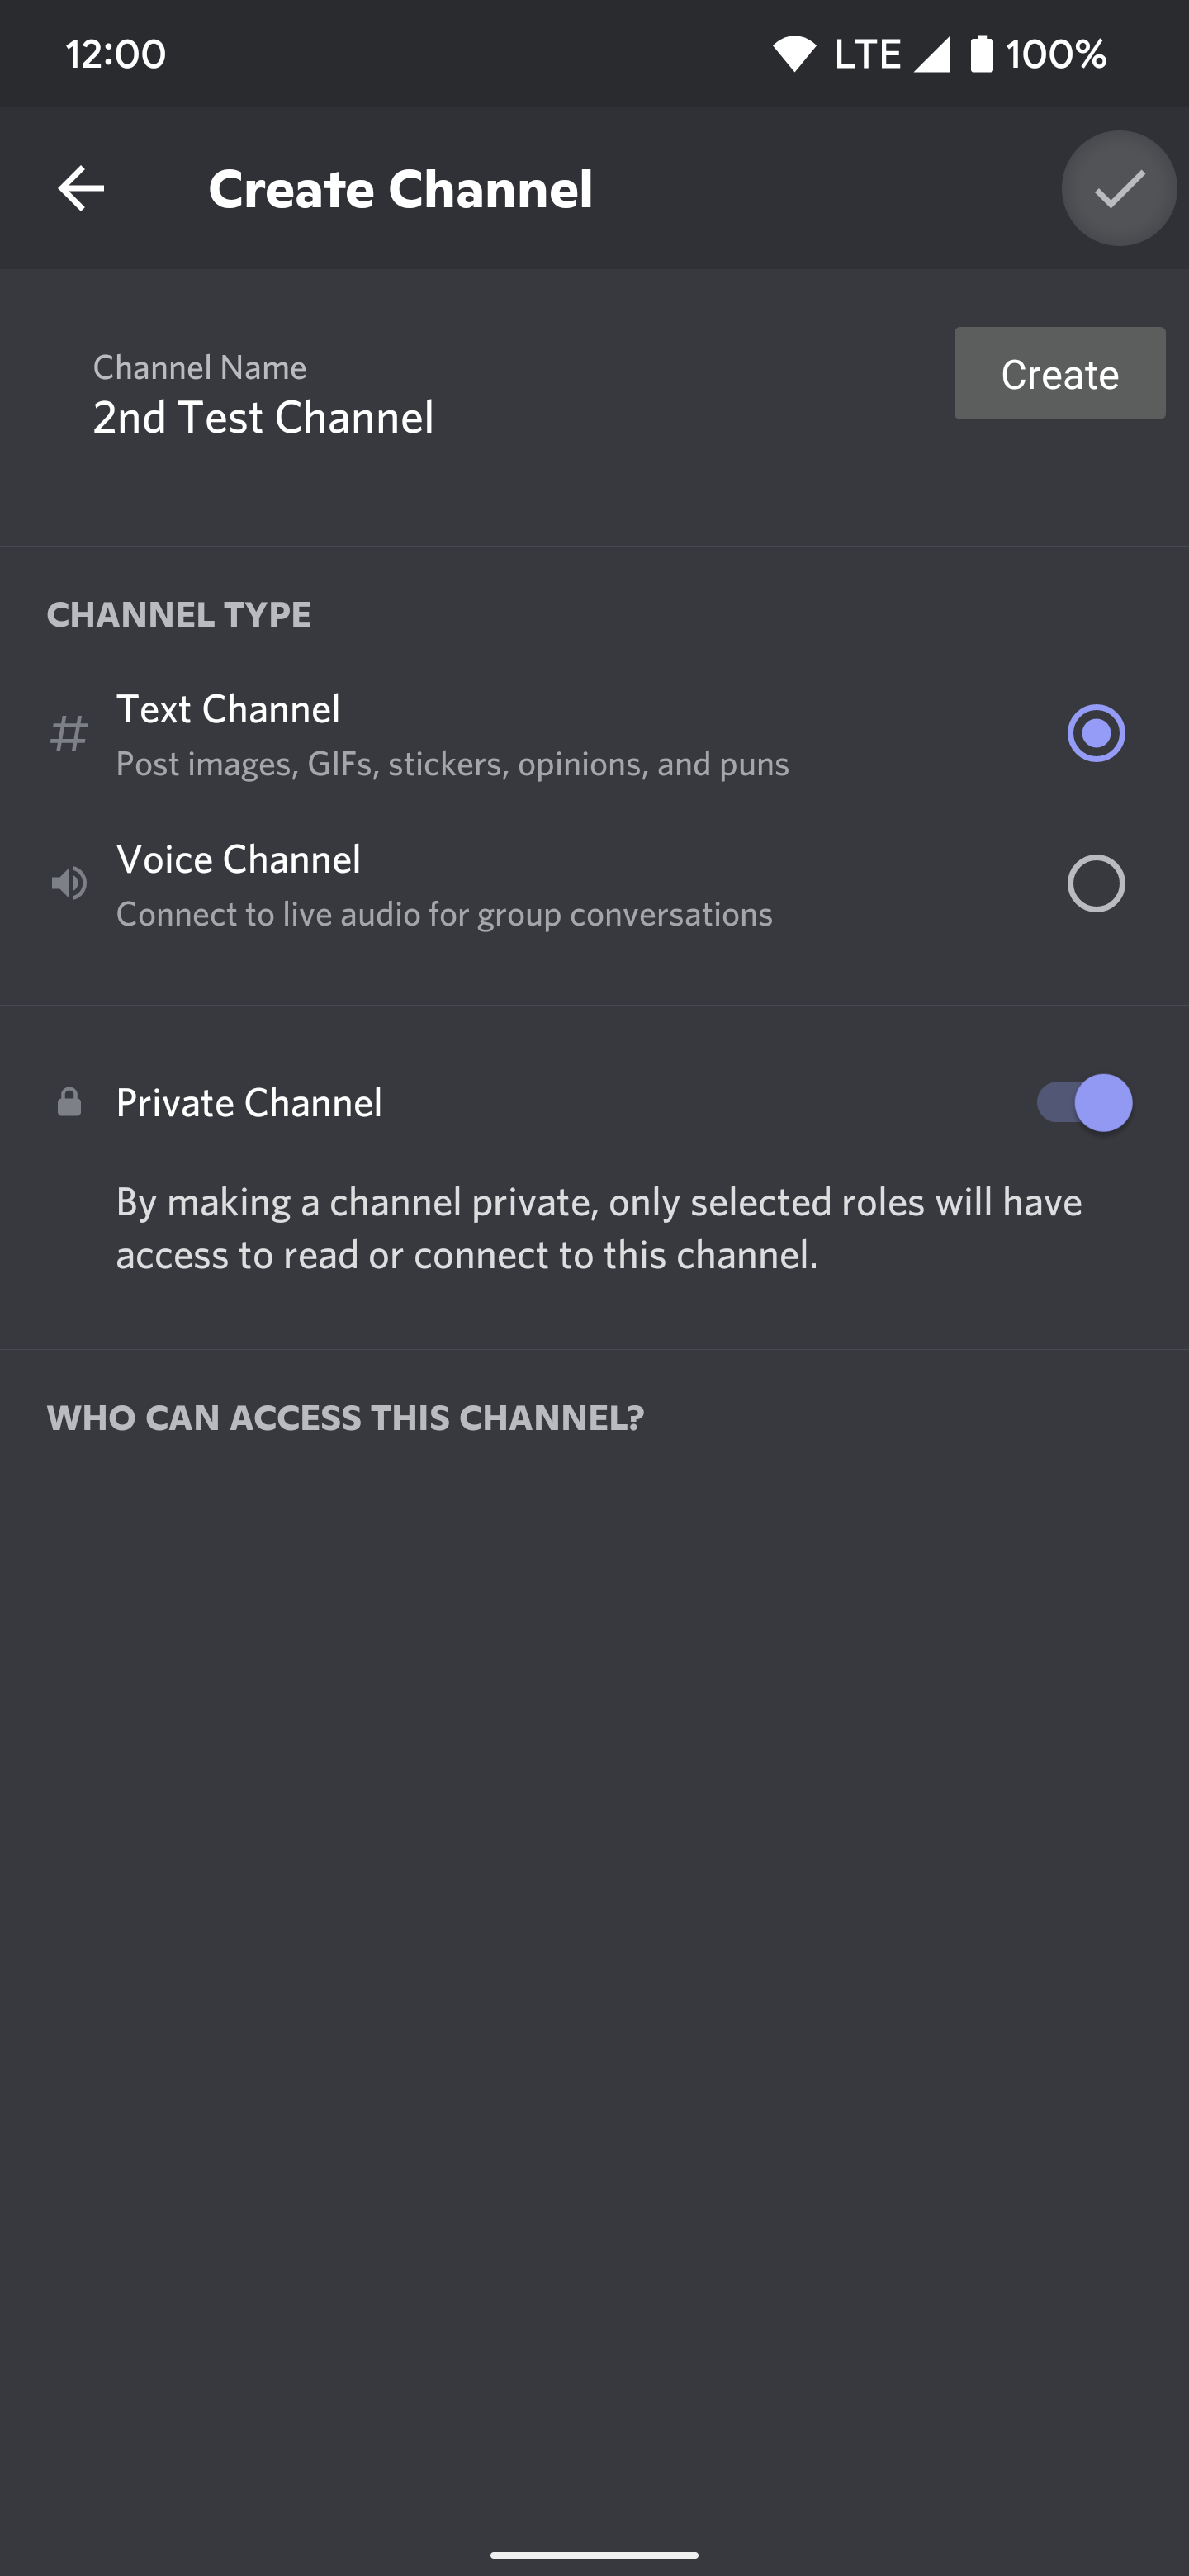
- Press the + next to Text Channels, then input the name under Channel Name.
-
Select either Text Channel or Voice Channel, depending on your needs.
- You can also enable the Private Channel option if you only want to share it with specific users.
-
Once you're all set here, tap the checkbox in the upper right to create your new custom channel.
-
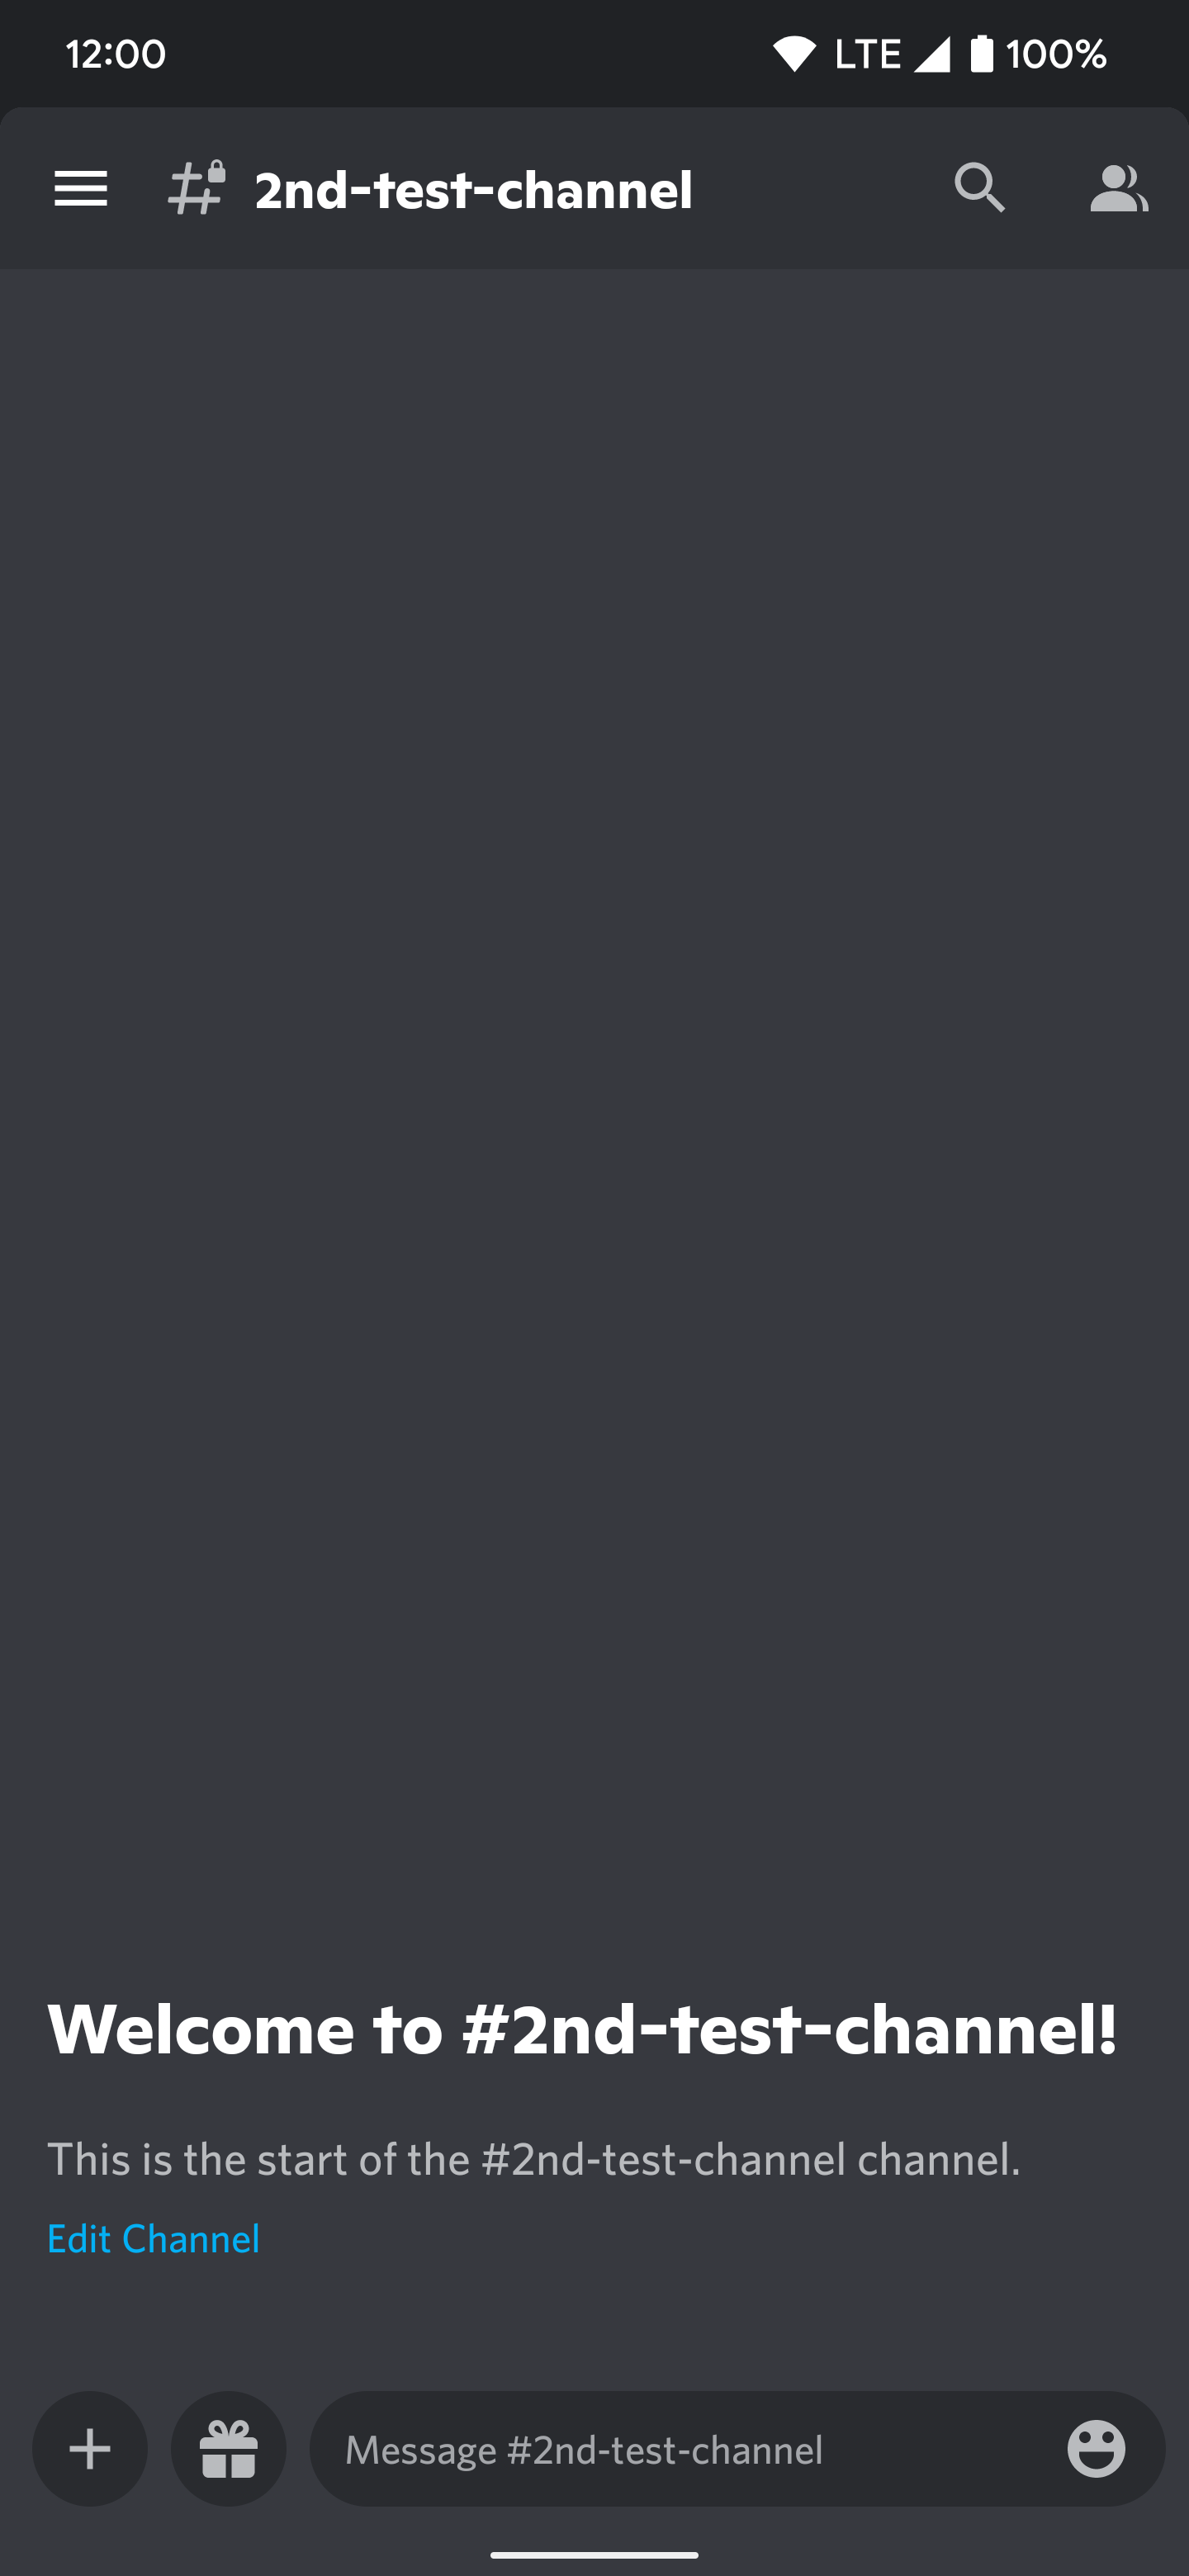
You'll automatically be sent to the new channel's main screen.
-
You'll automatically be sent to the new channel's main screen.
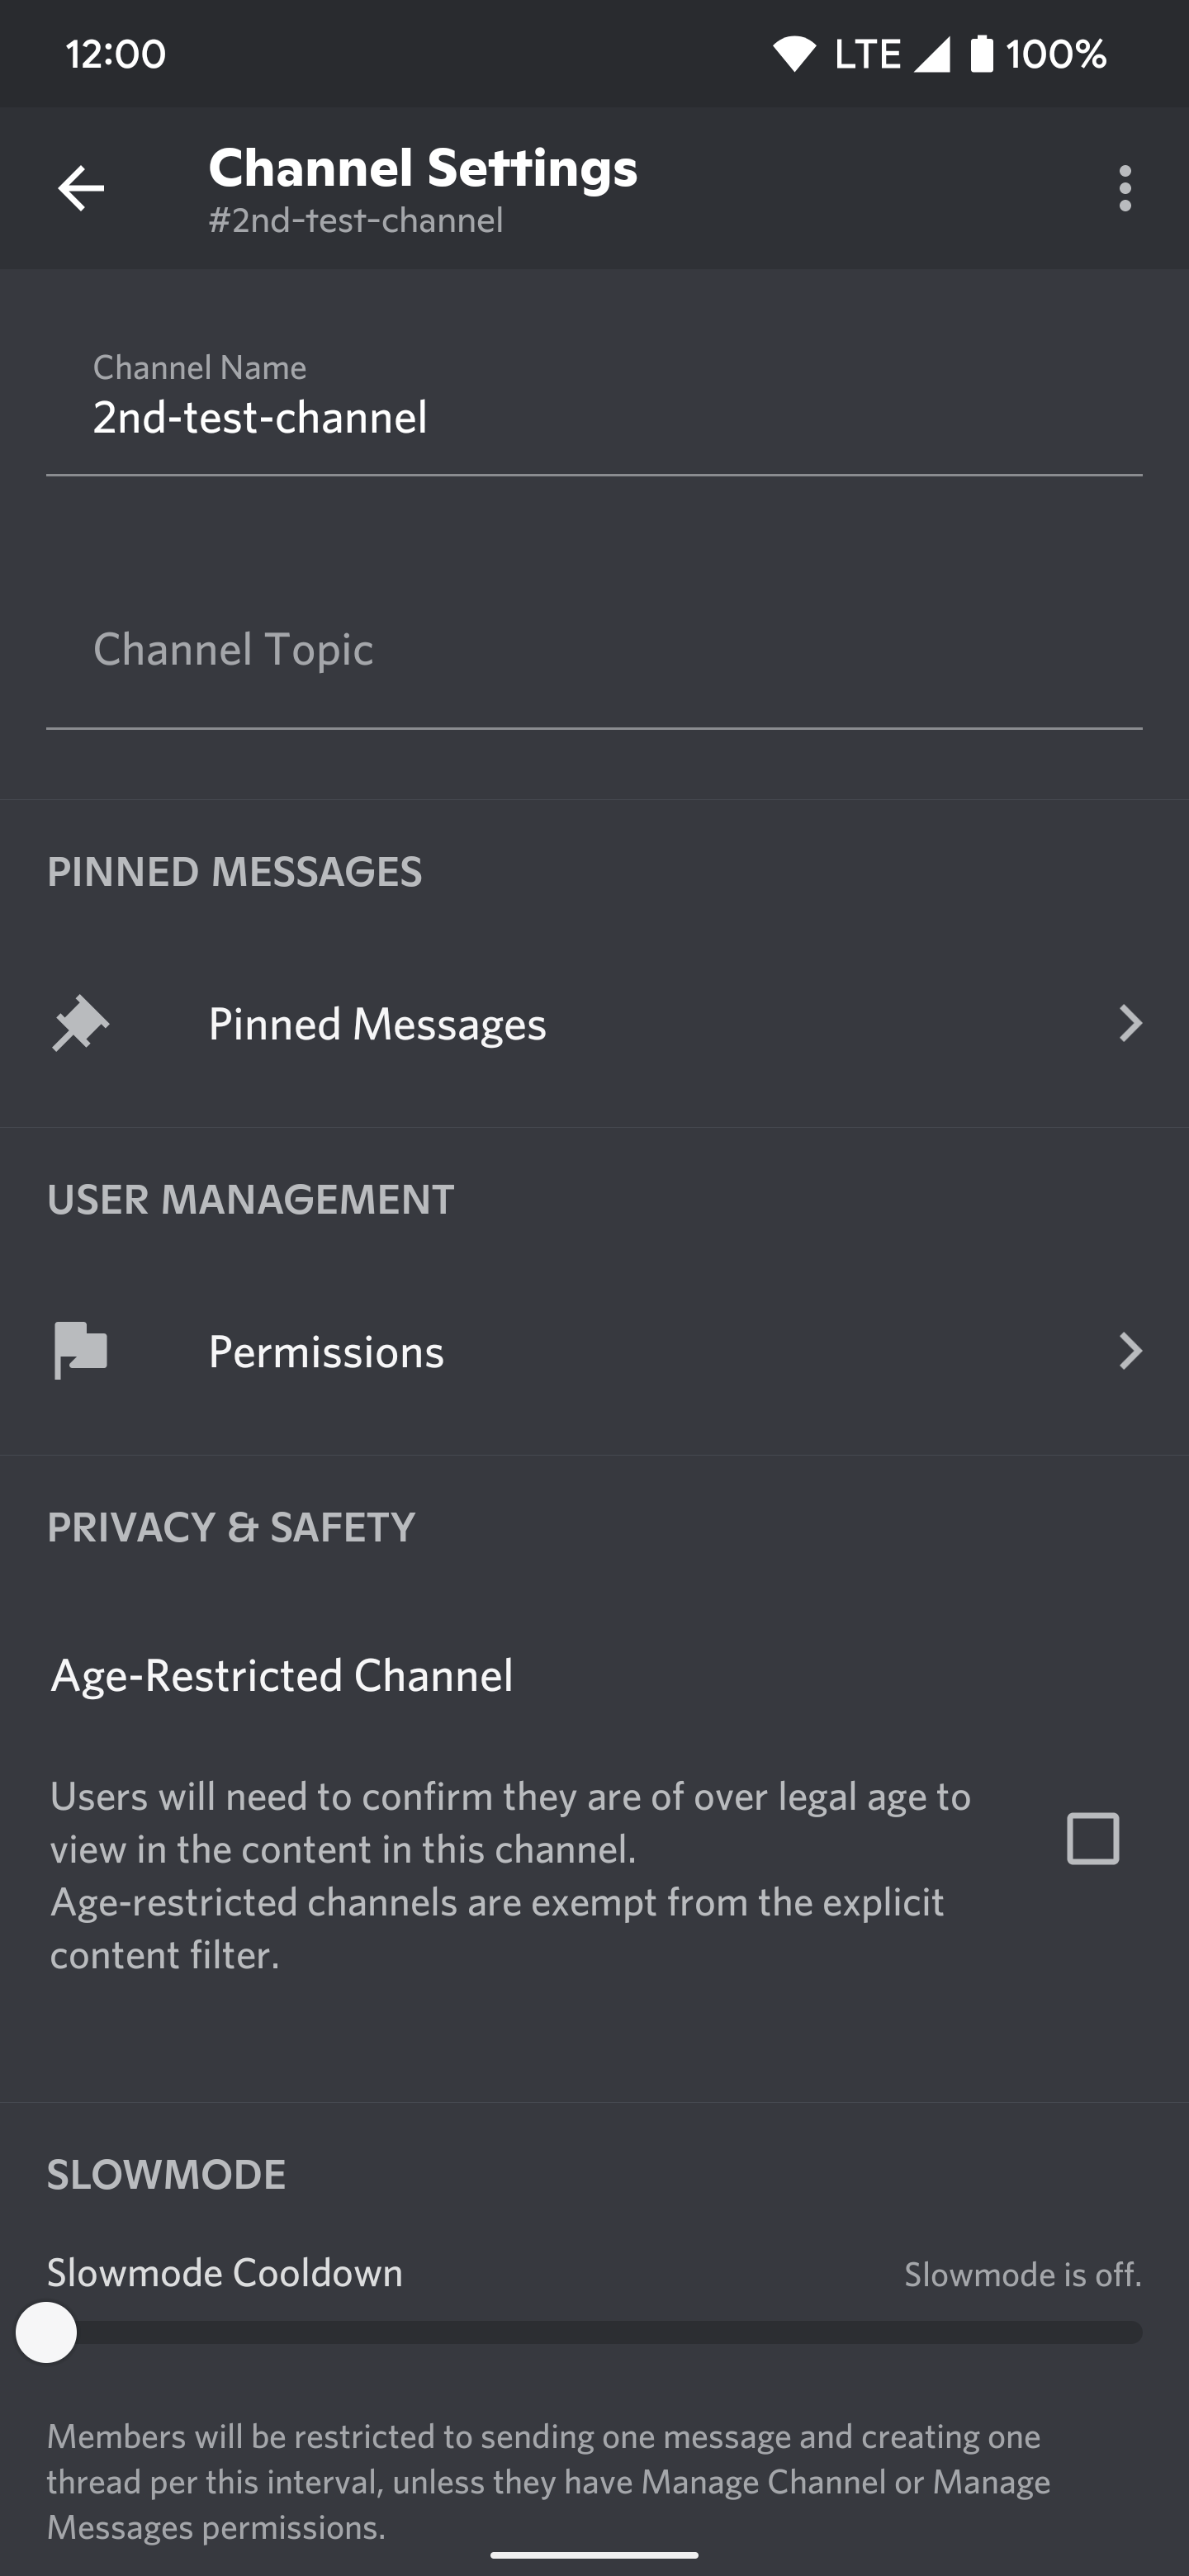
- Hit Edit Channel at the bottom and scroll through the available settings to make any changes you want.
-
Tap the back arrow to return to the main screen for that channel.


How to manage the members on your new Discord server
Finally, you should check out how to view and manage the active members on your new server for future reference. To do this, you can follow the steps below:
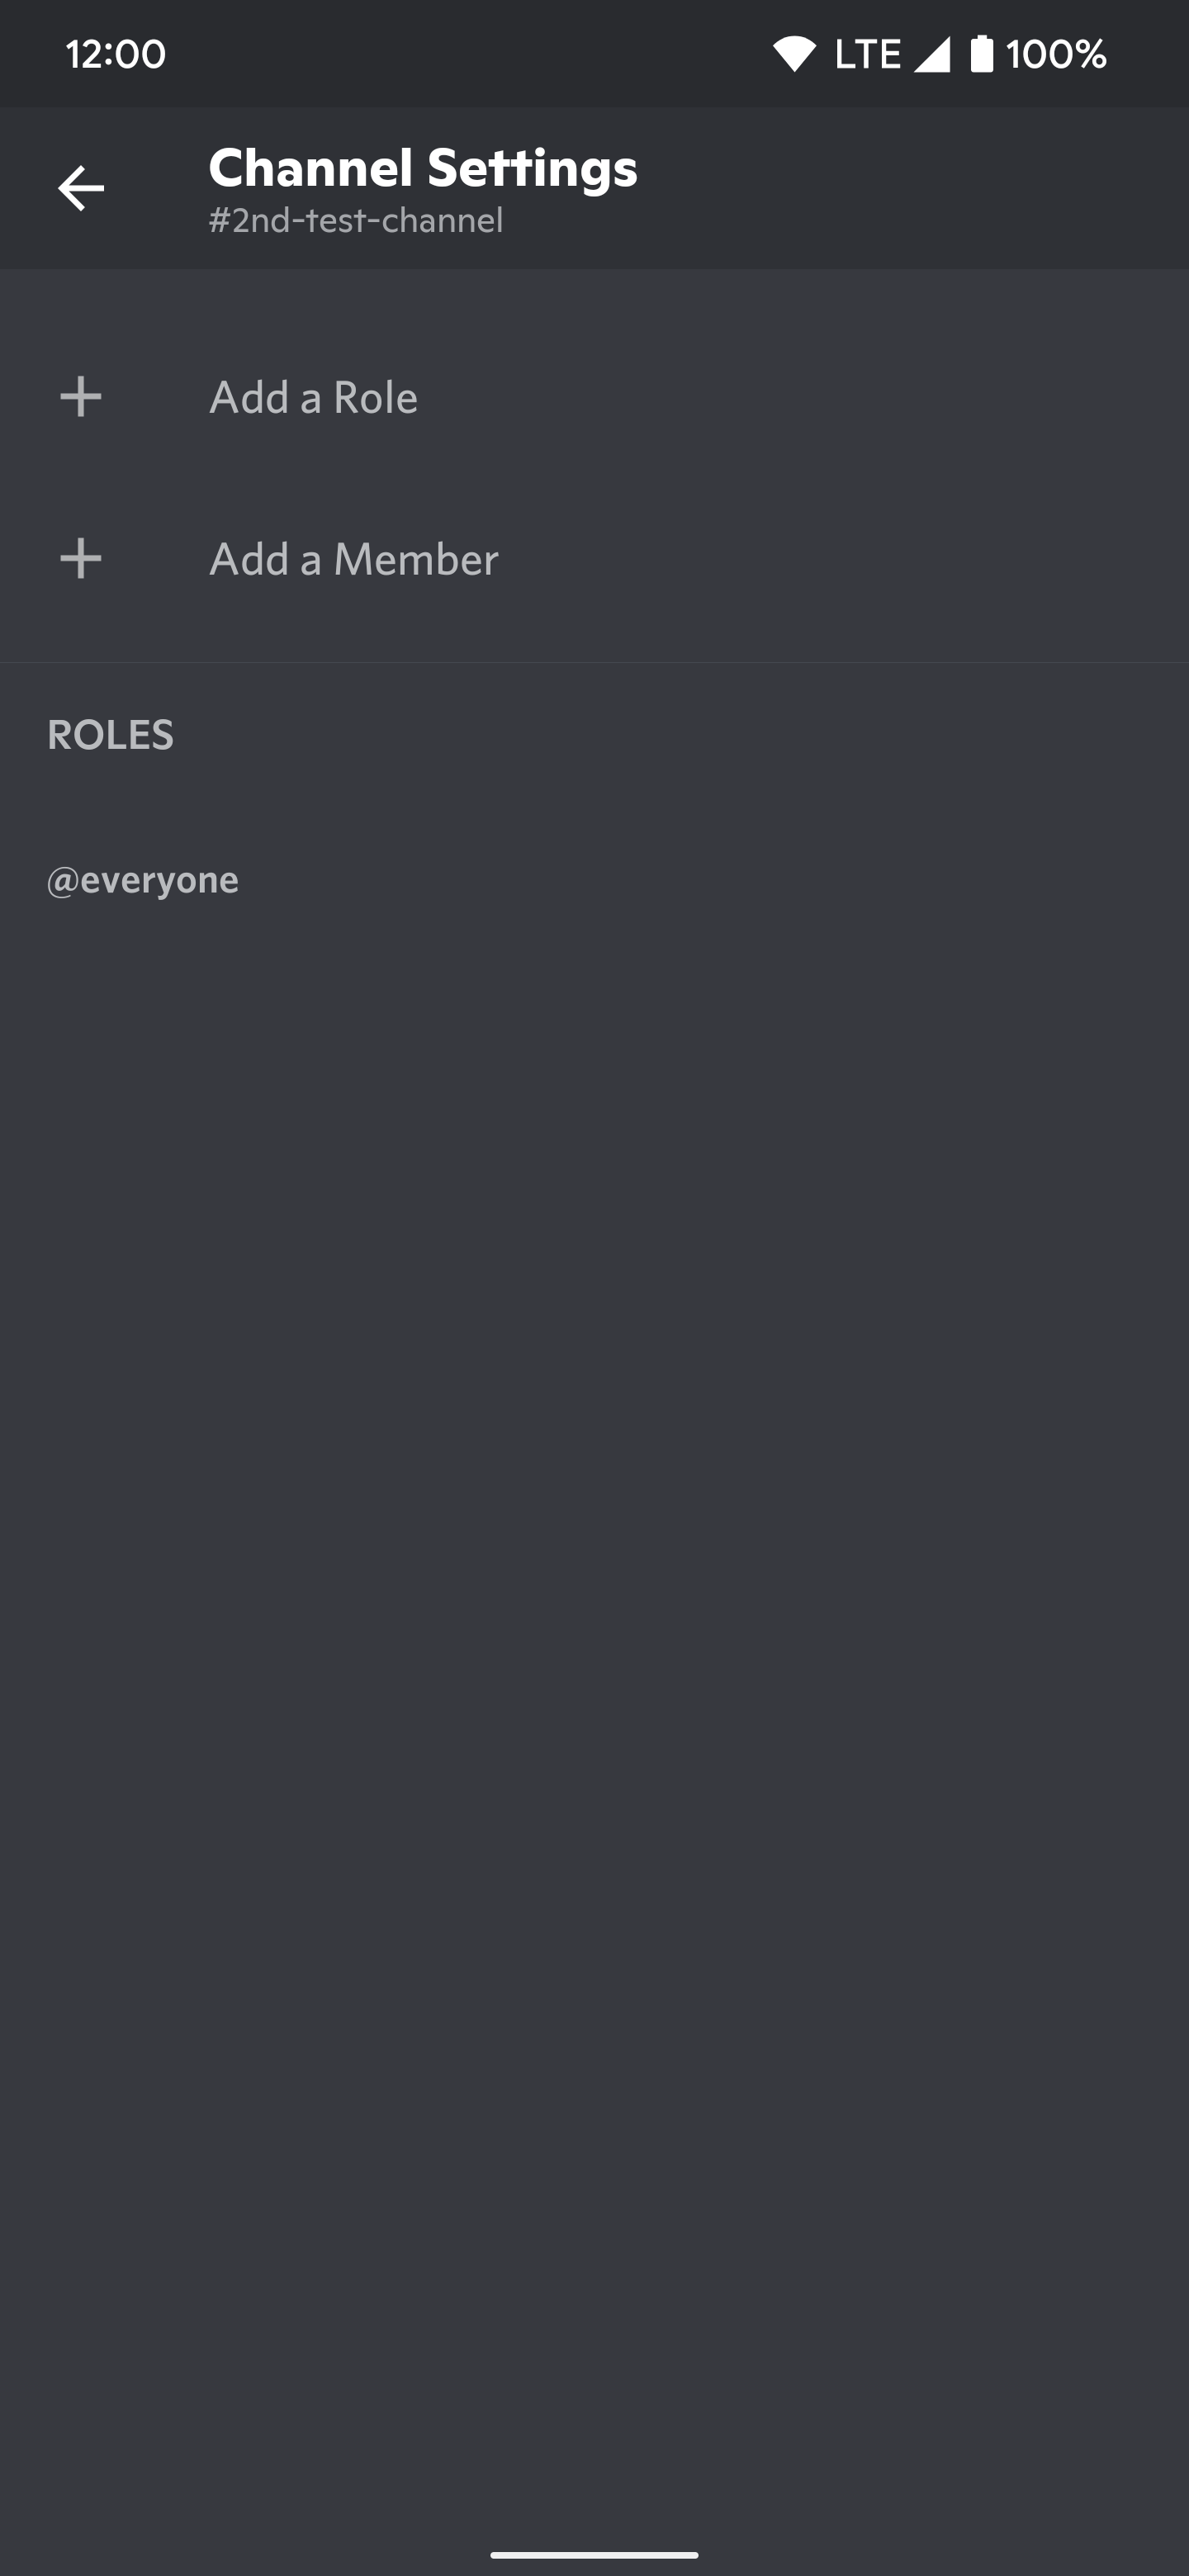
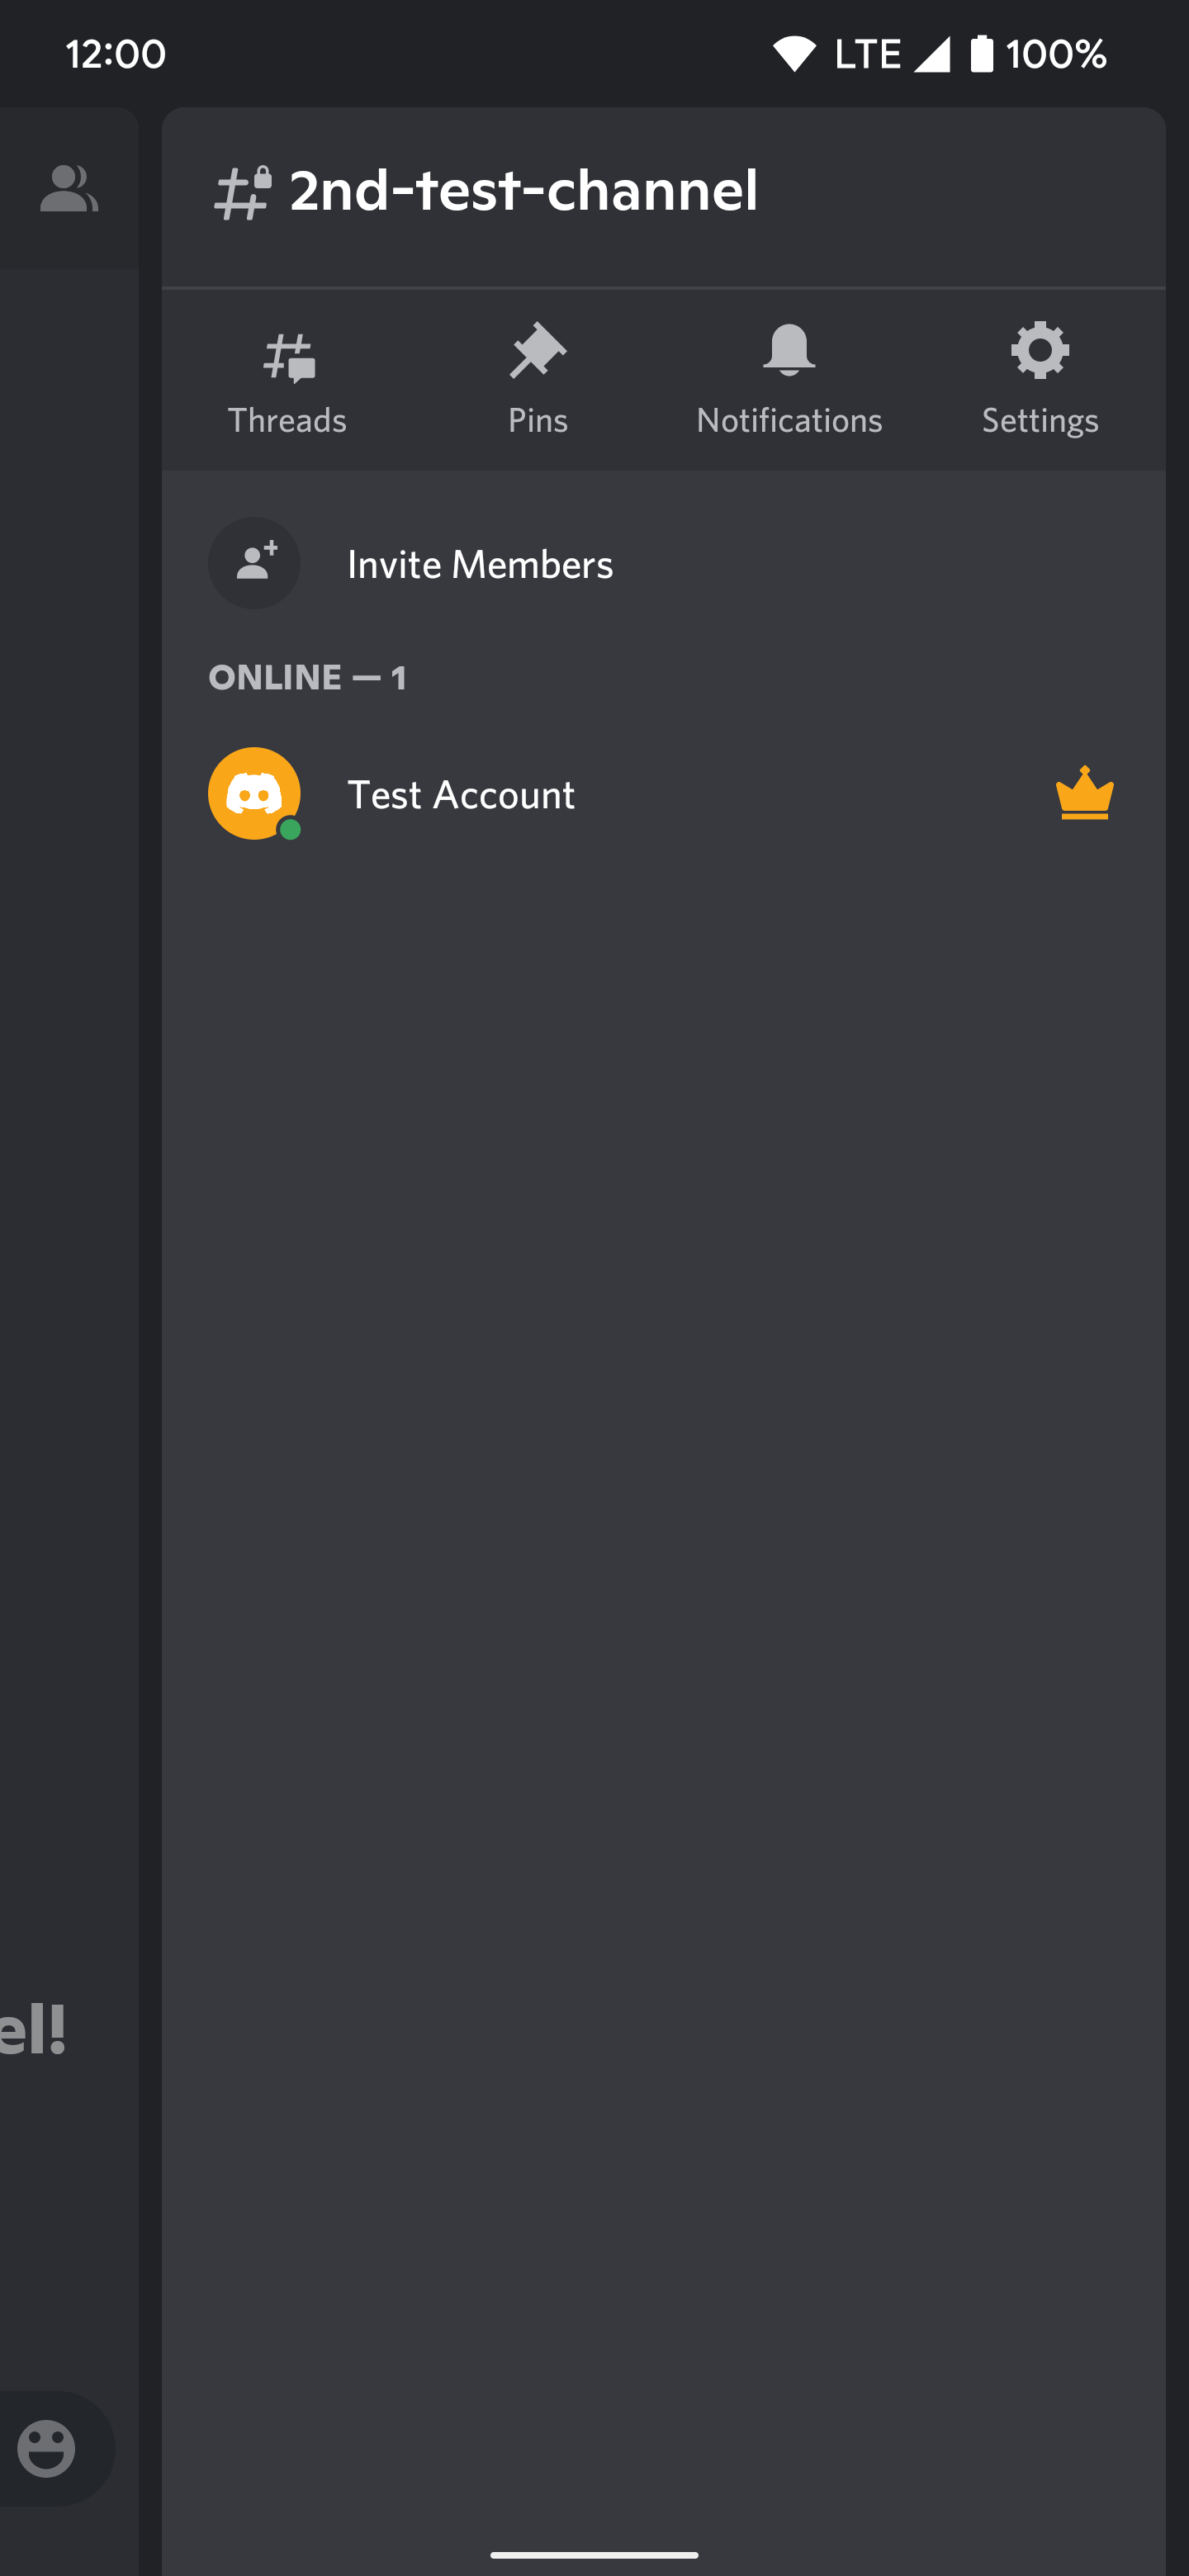
- On any channel, tap the profile image icon in the upper right to view all current channel members.
- You'll see all available members of that channel under the Online section.
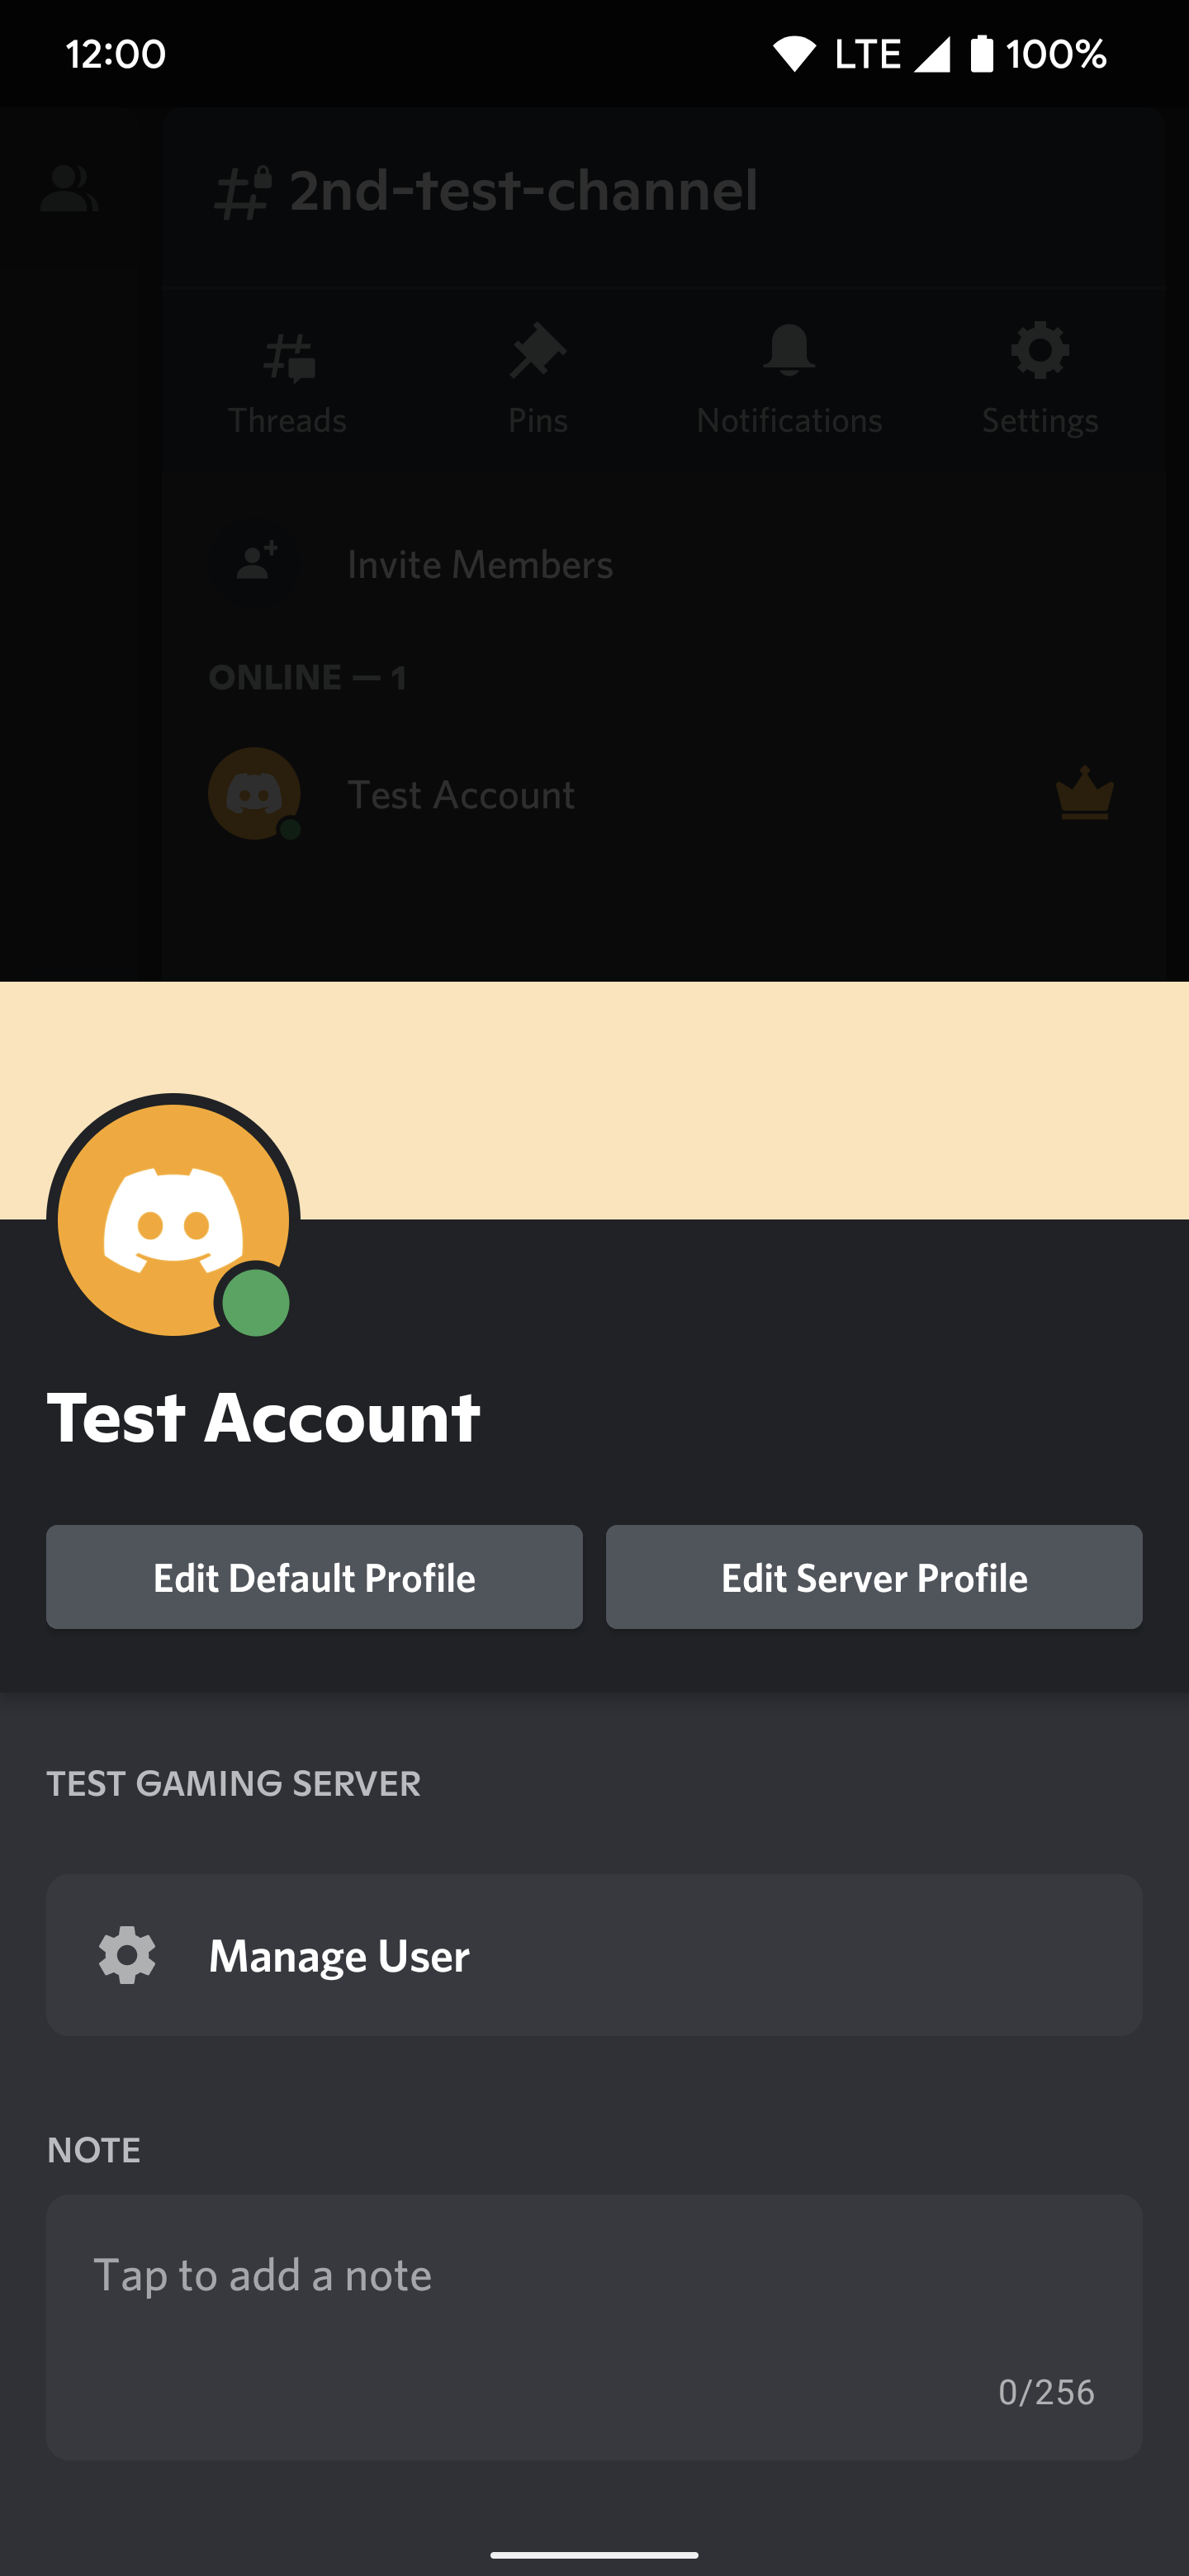
- If you tap on a user, you can edit and manage a few settings for each one.
-
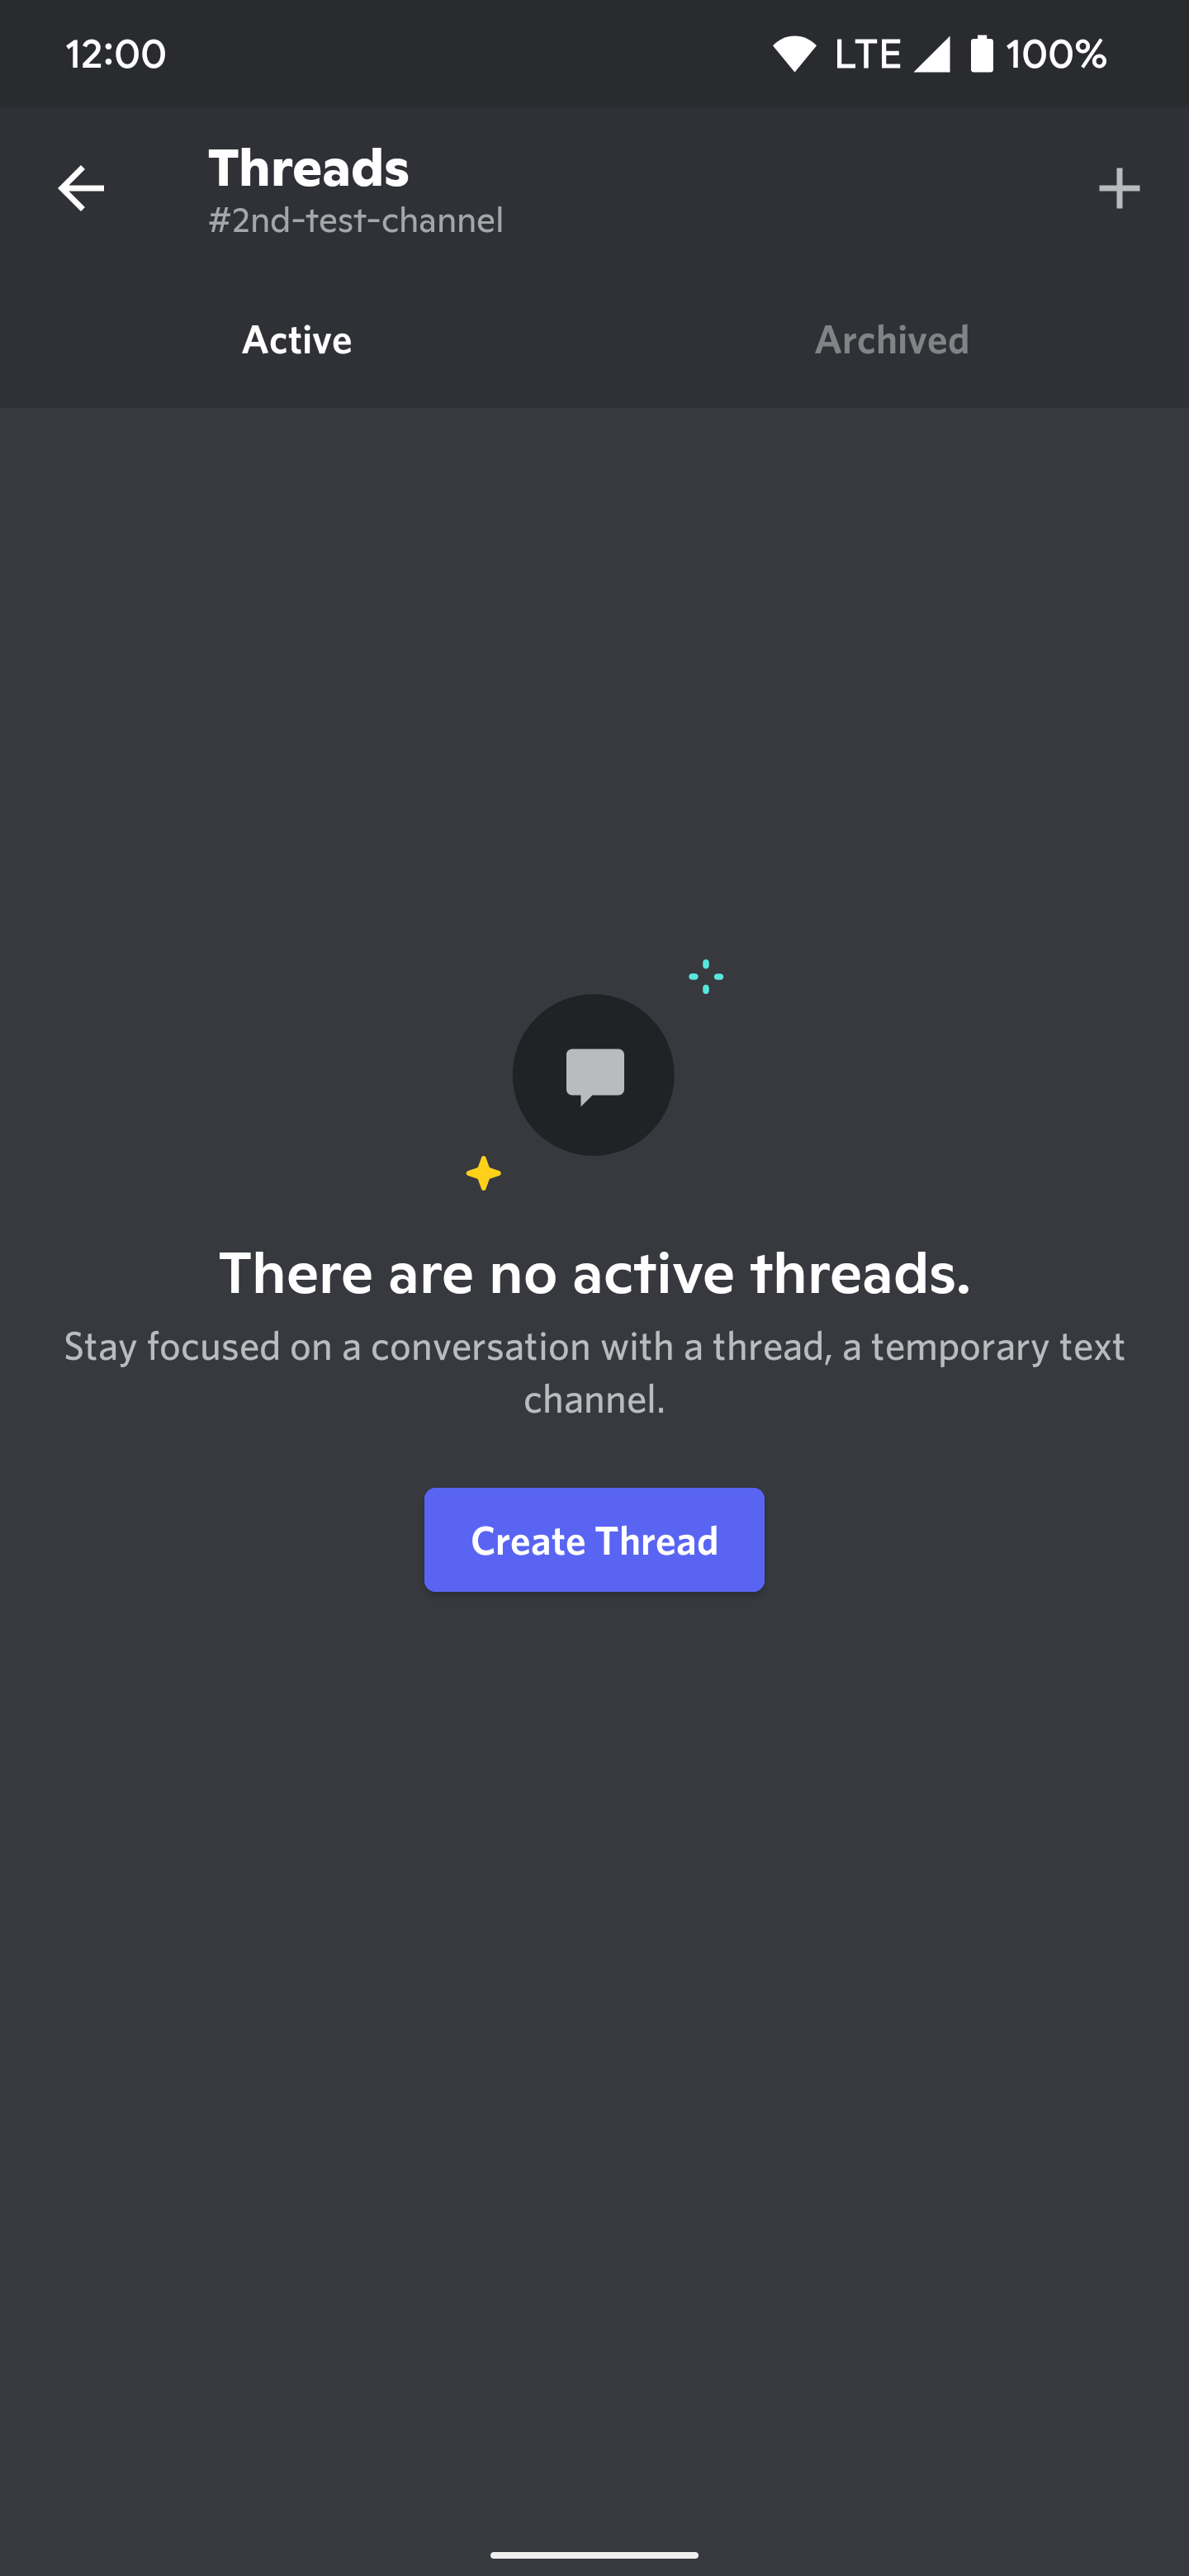
You can also create Threads, Pins, or adjust Notifications for the channel as you see fit.


If you'd like to learn more about managing your new server, Discord has a comprehensive guide on everything you need to know. You can also reach the same page by tapping the Getting Started guide link when you first create your server. It should be found within the # general channel.
Time to chat
Now that you have a good idea of what a Discord server is used for and how to set one up, you can create as many as needed. You can also organize each server into an unlimited number of custom channels, which helps keep chats organized. So now you can go out there and chat about your favorite movies, TV shows, or video games with others who enjoy the same topic.