We live in a spectacular time. We can capture any moment with an inexpensive Google Pixel 7 Pro and share it with the world. Although smartphones may not be as versatile as a DSLR or mirrorless camera, a flagship like the Samsung Galaxy S22 Ultra costs less than a single camera lens.
While taking and sharing photos at a moment's notice is incredible on its face, there's something about printed photographs that's hard to recreate on a glowing screen. Google Photos features all kinds of options that let you order prints of your pictures, including a robust suite of tools to create custom photo books.
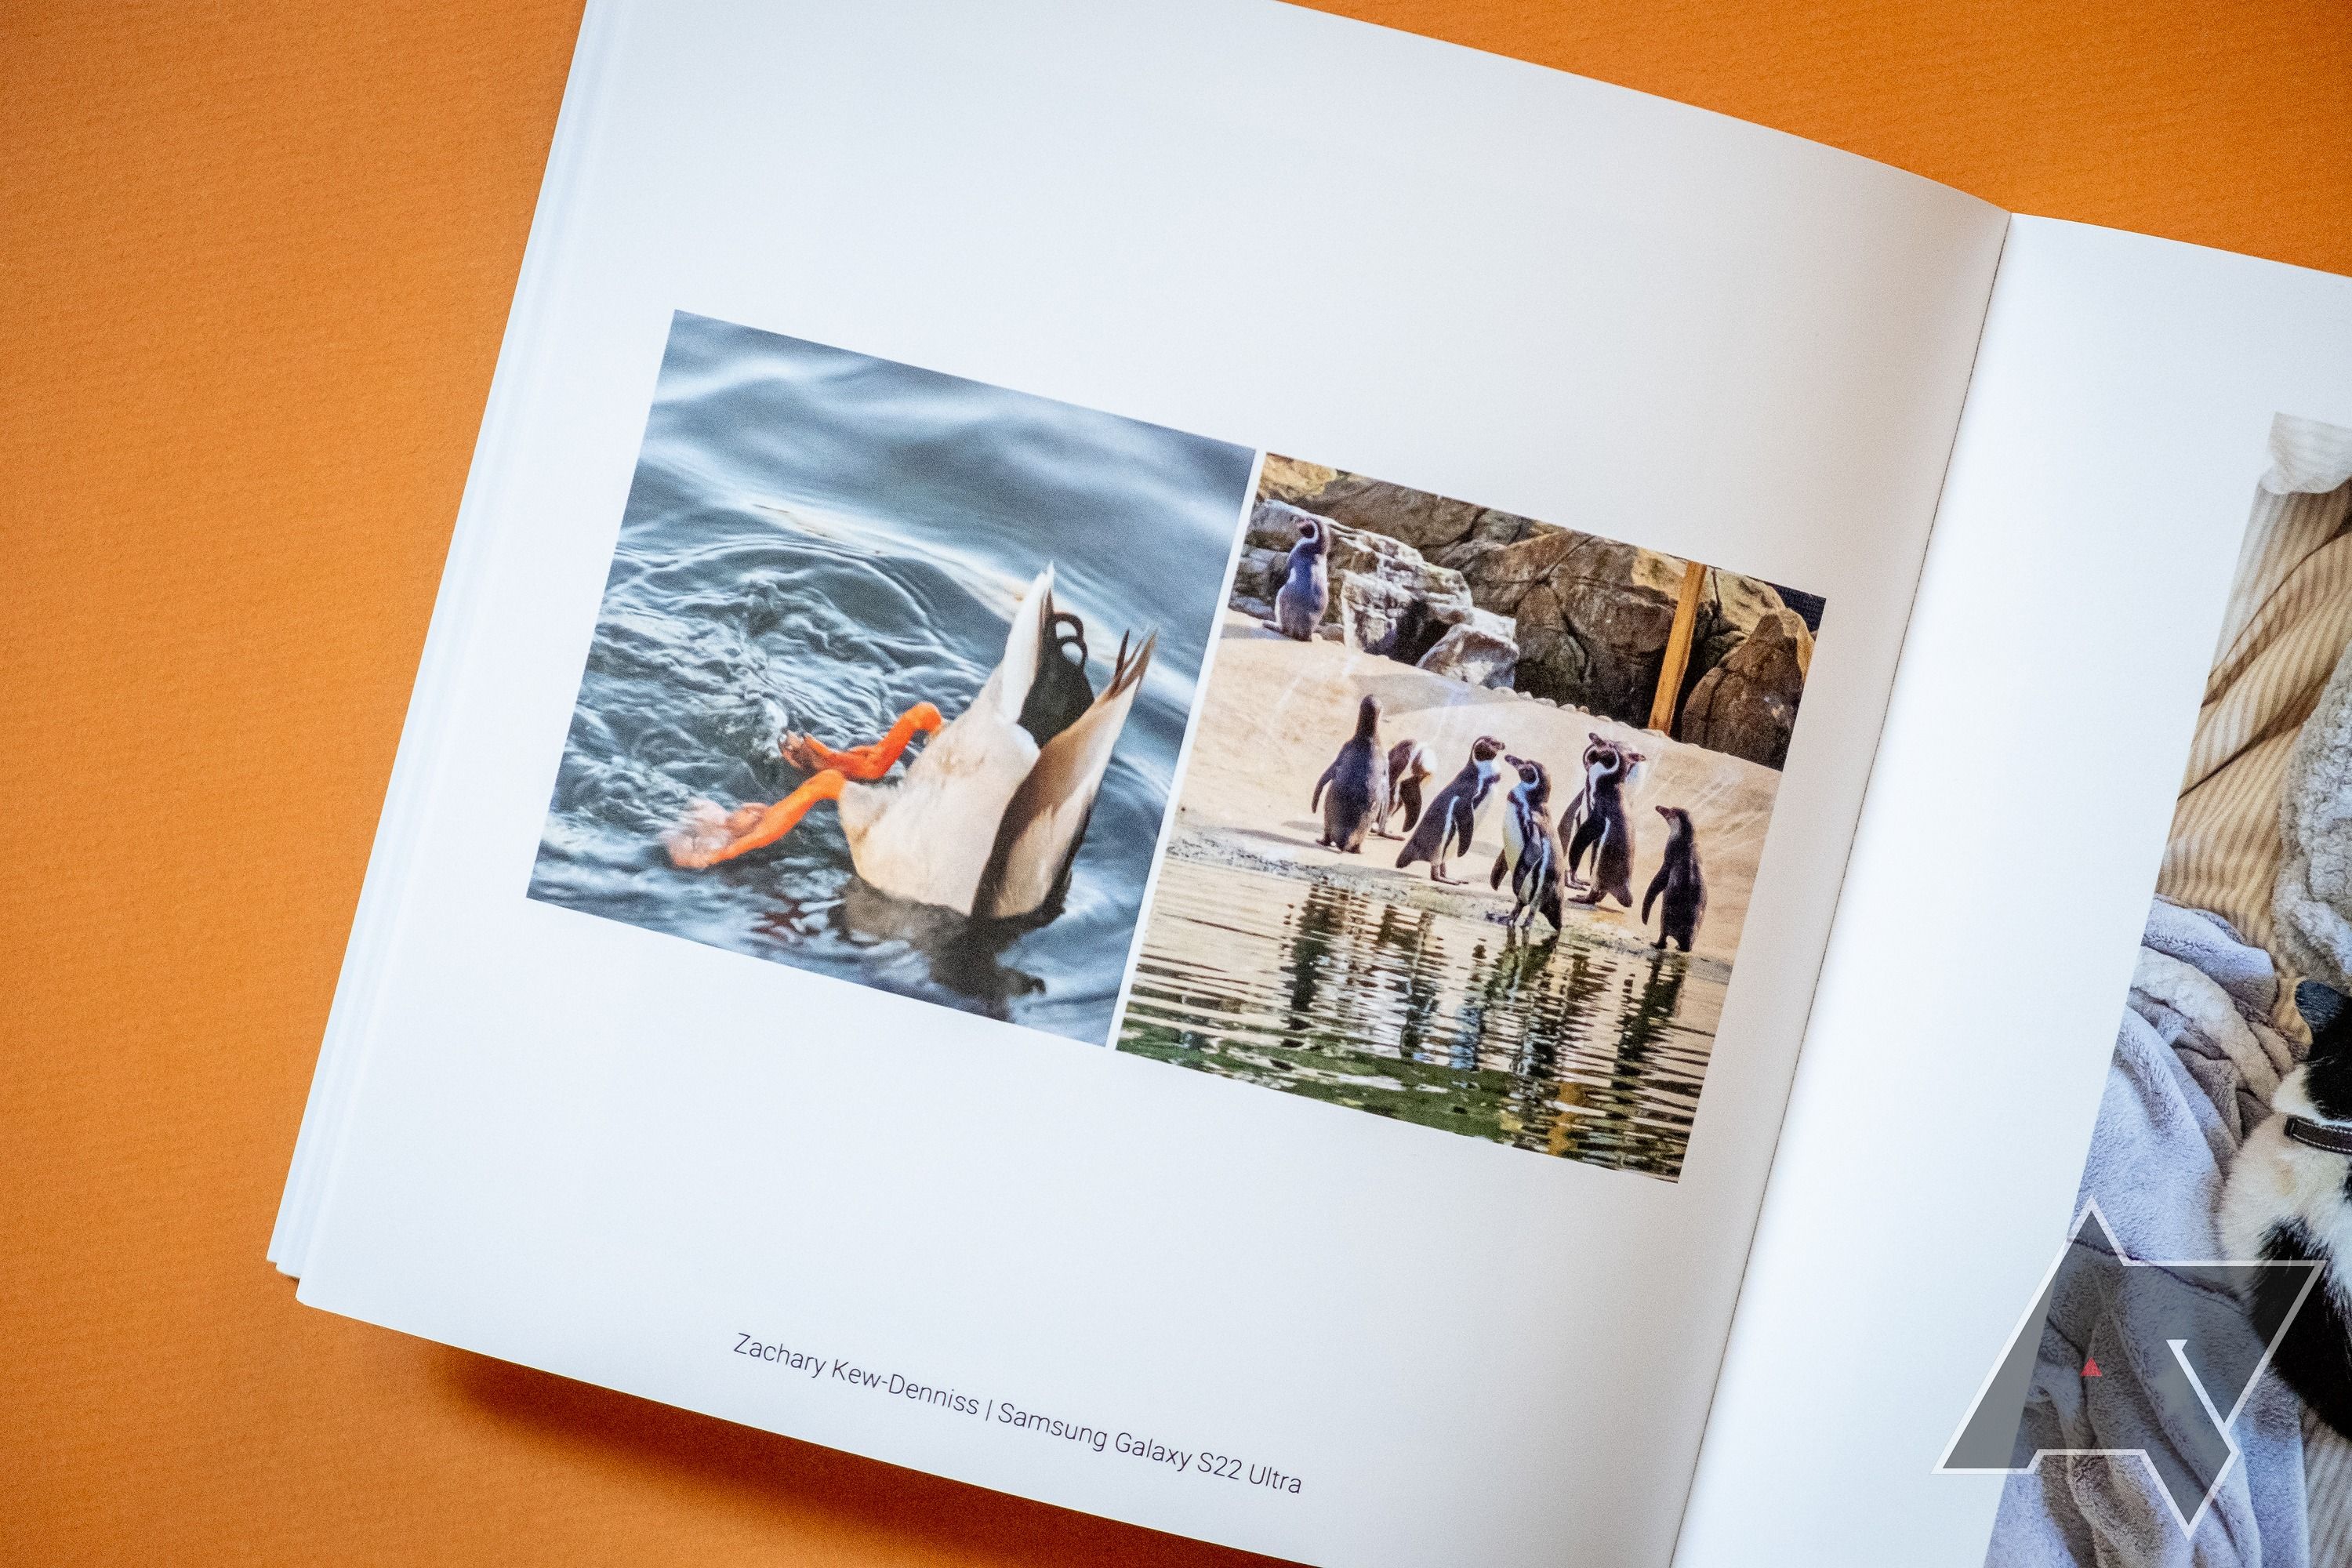
Here, in no particular order, are six tips for printing high-quality photo albums from Google Photos, featuring some of the Android Police team's best mobile photos in 2022.
1. Don't get hung up on chronological order
When you create a photo book from an album on Google Photos, your pictures populate the book in chronological order, oldest to newest. That makes sense for the default, but changing the order your photos appear can make your book pop.
Place images that pair well together on opposite pages.
There's no right way to sequence your pictures. A good place to start is to find pairs or groups of photos that look interesting next to each other. Look for recurring shapes, colors, themes, or compositions, such as in the first example above, where the mirror and the Ferris wheel are each prominent oval shapes. They were also taken in different lighting (day versus night), so there's an interesting visual contrast between the two.
For a closer look at all the wonderful photos we used to create the book you see in this post, check out this Google Photos album.
If you want to get fancy, create a theme in how your album progresses. For example, visually dark to visually light images from start to finish or segments for each of the four seasons. Those are just examples and trying to make a personal photo album thematically cohesive may be more work than it's worth. But if you're up for the challenge, it can be a lot of fun.
2. Group your photos to save space
When printing a photo book, Google Photos charges by the page after you reach 20 pages. If you have several photos you think would look nice on a single page, don't be afraid to group them. To create an image group, access the Edit book view in the Google Photos app, tap any page, and then tap Edit. Use the Add photos option to choose up to four pictures to show on a single page.
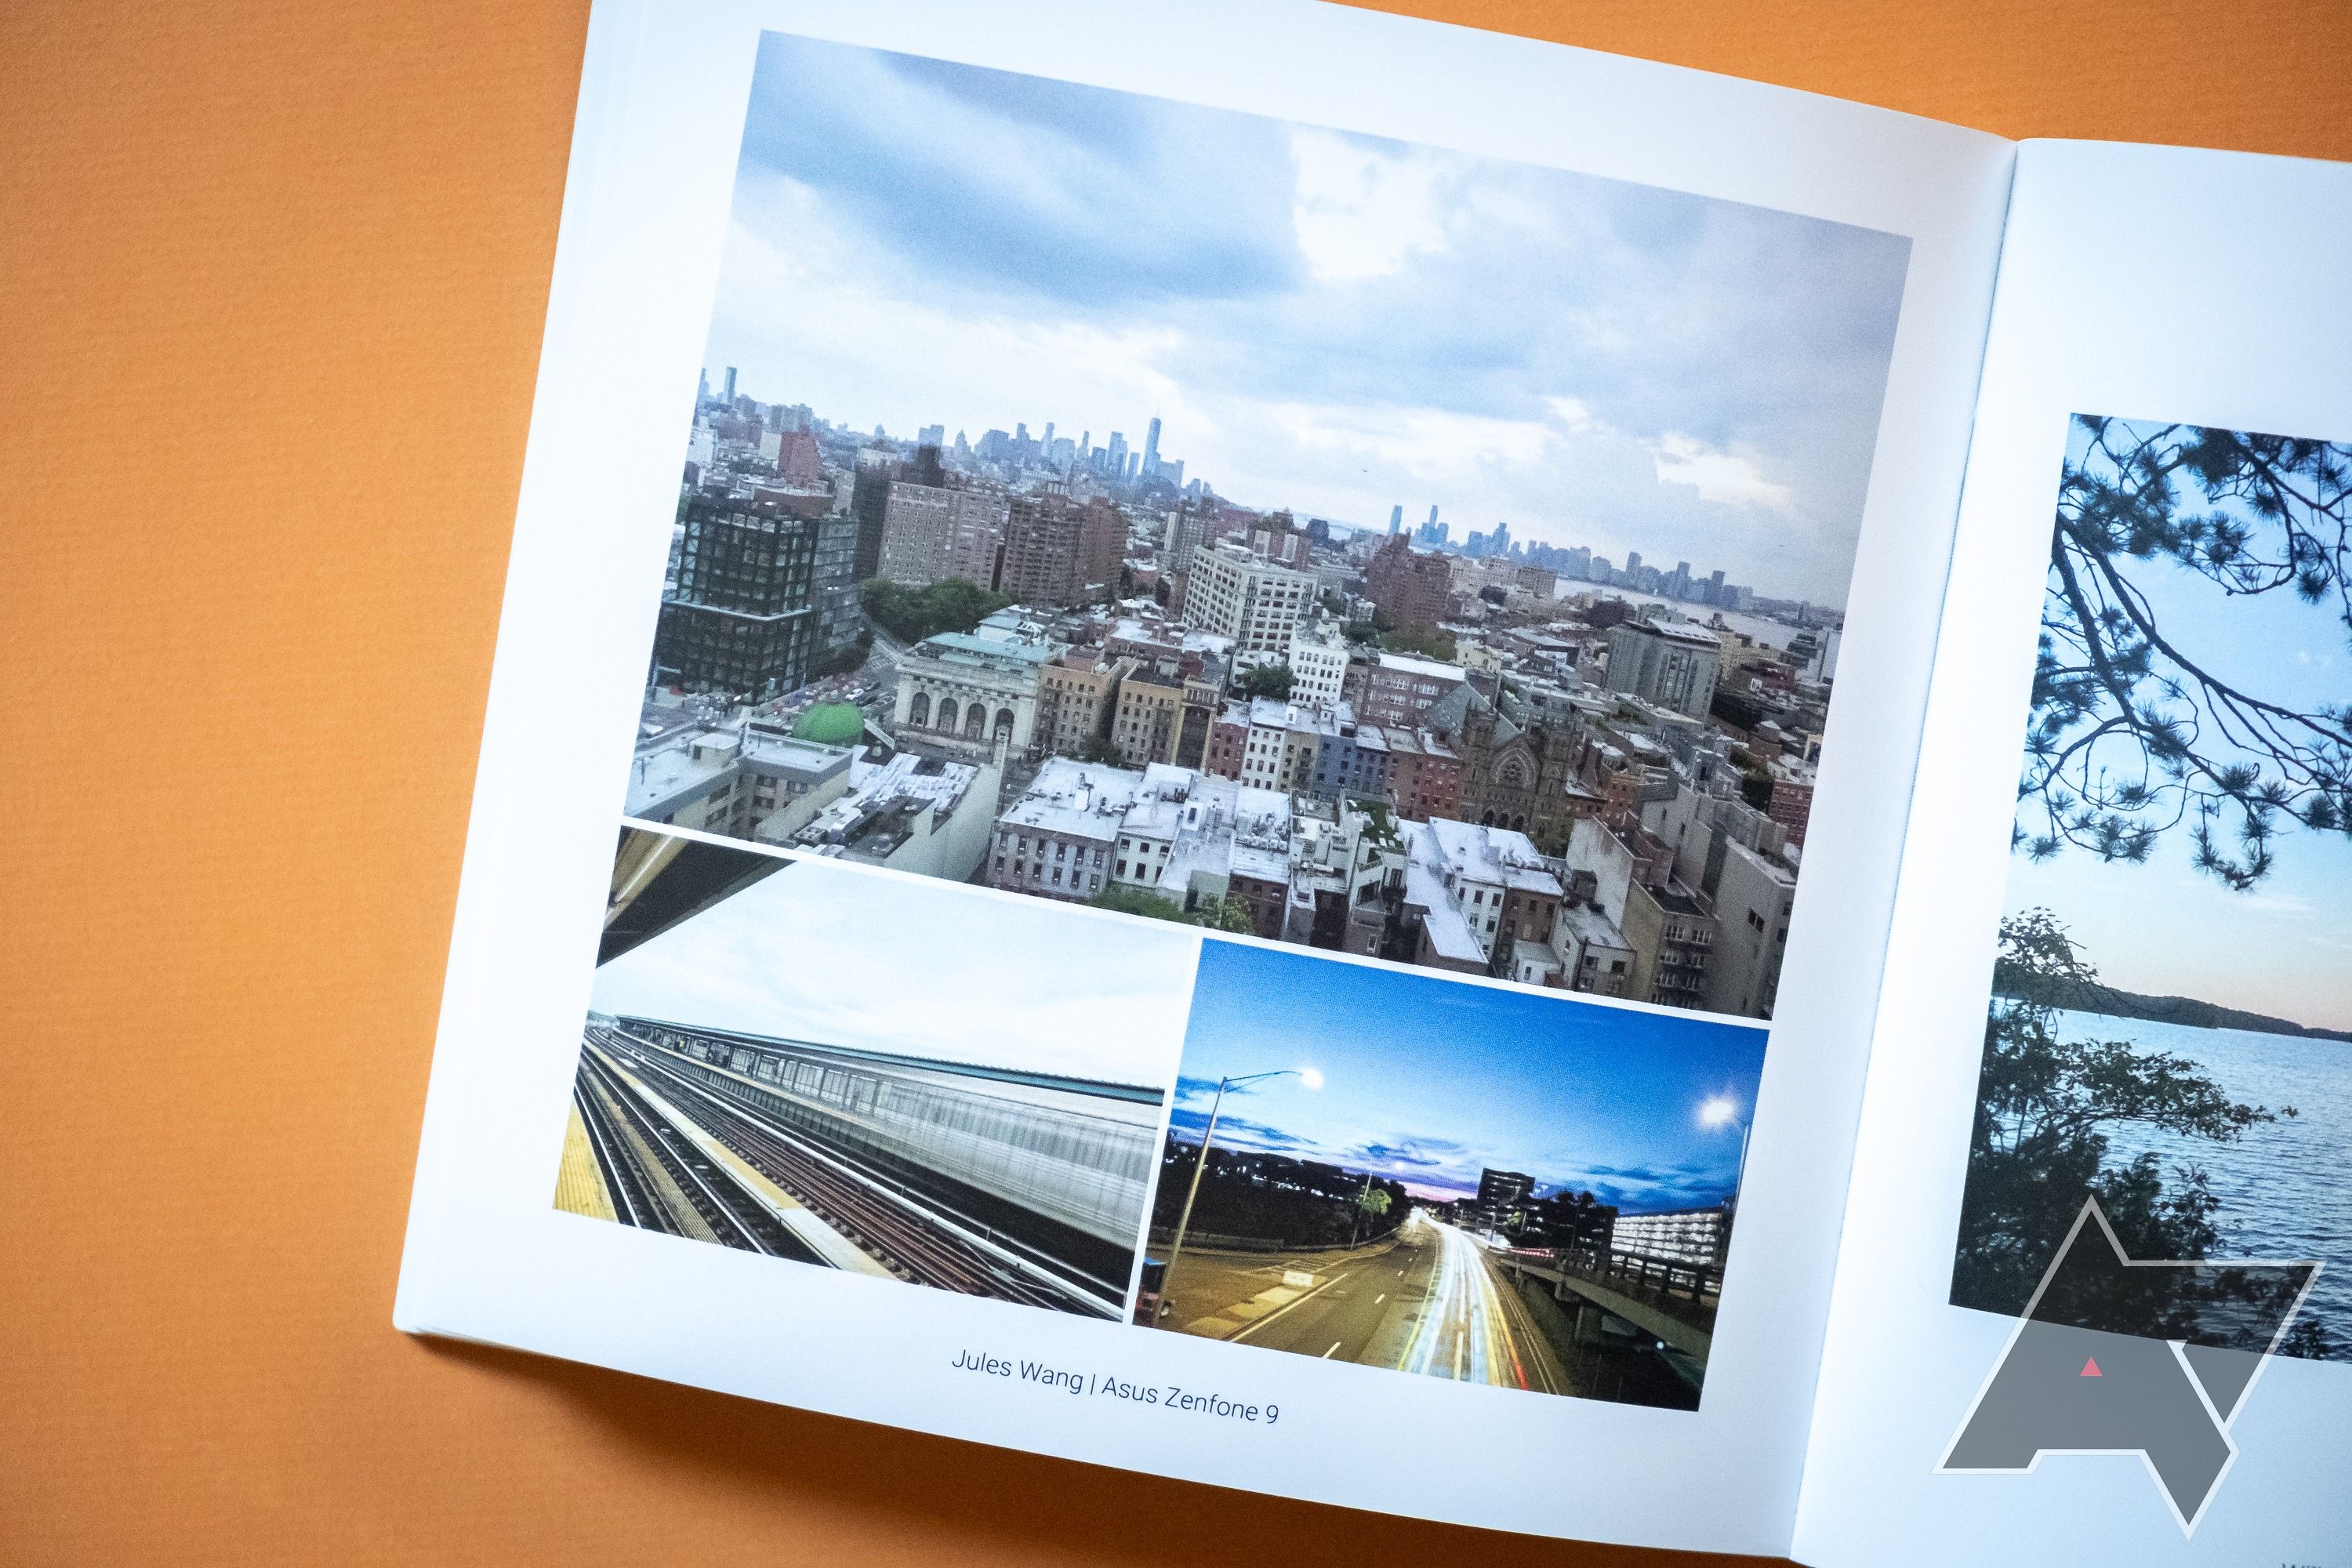
With additional photos added, the Layout tab shows several arrangements you can choose from. Press and hold on a photo to drag it around the page. Placing one photo on top of another swaps their positions.
If you want to show more than four photos on a page, you'll need to use options outside the photo book interface, which gets complicated fast. But if you're committed to the idea, there are several ways to make photo collages on Android. You can upload those collages to Google Photos to include them in your book the way you would a single photo. Just make sure your method of choice exports collages in high enough quality to print.
Google Photos lets you select up to nine photos to create collages with, but the results are too low of a resolution to print. Some collage apps, like inCollage, export collages that are a high enough resolution to print in an album, but they don't work especially well with Google Photos.
3. Pay attention to size warnings
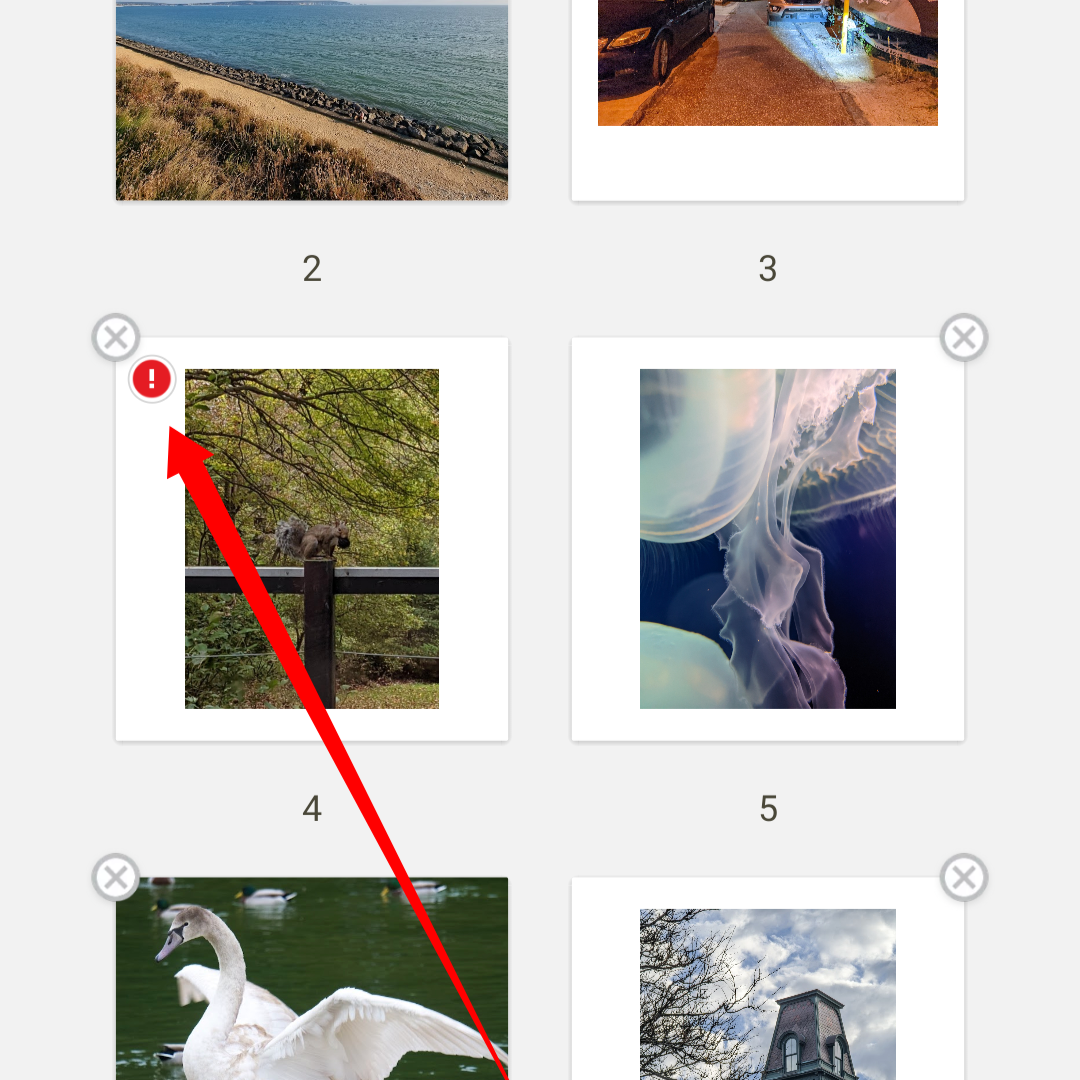
This one's pretty cut and dry, but it bears mentioning. Google Photos warns you if you include photos in an album that are too low of a resolution to print in acceptable quality. Any page in the Edit book view marked with a red exclamation point icon contains photos that probably won't print well. If you're fond of your low-res pics, you can ignore these warnings, but don't expect impressive results.
4. Highlight special photos with blank pages
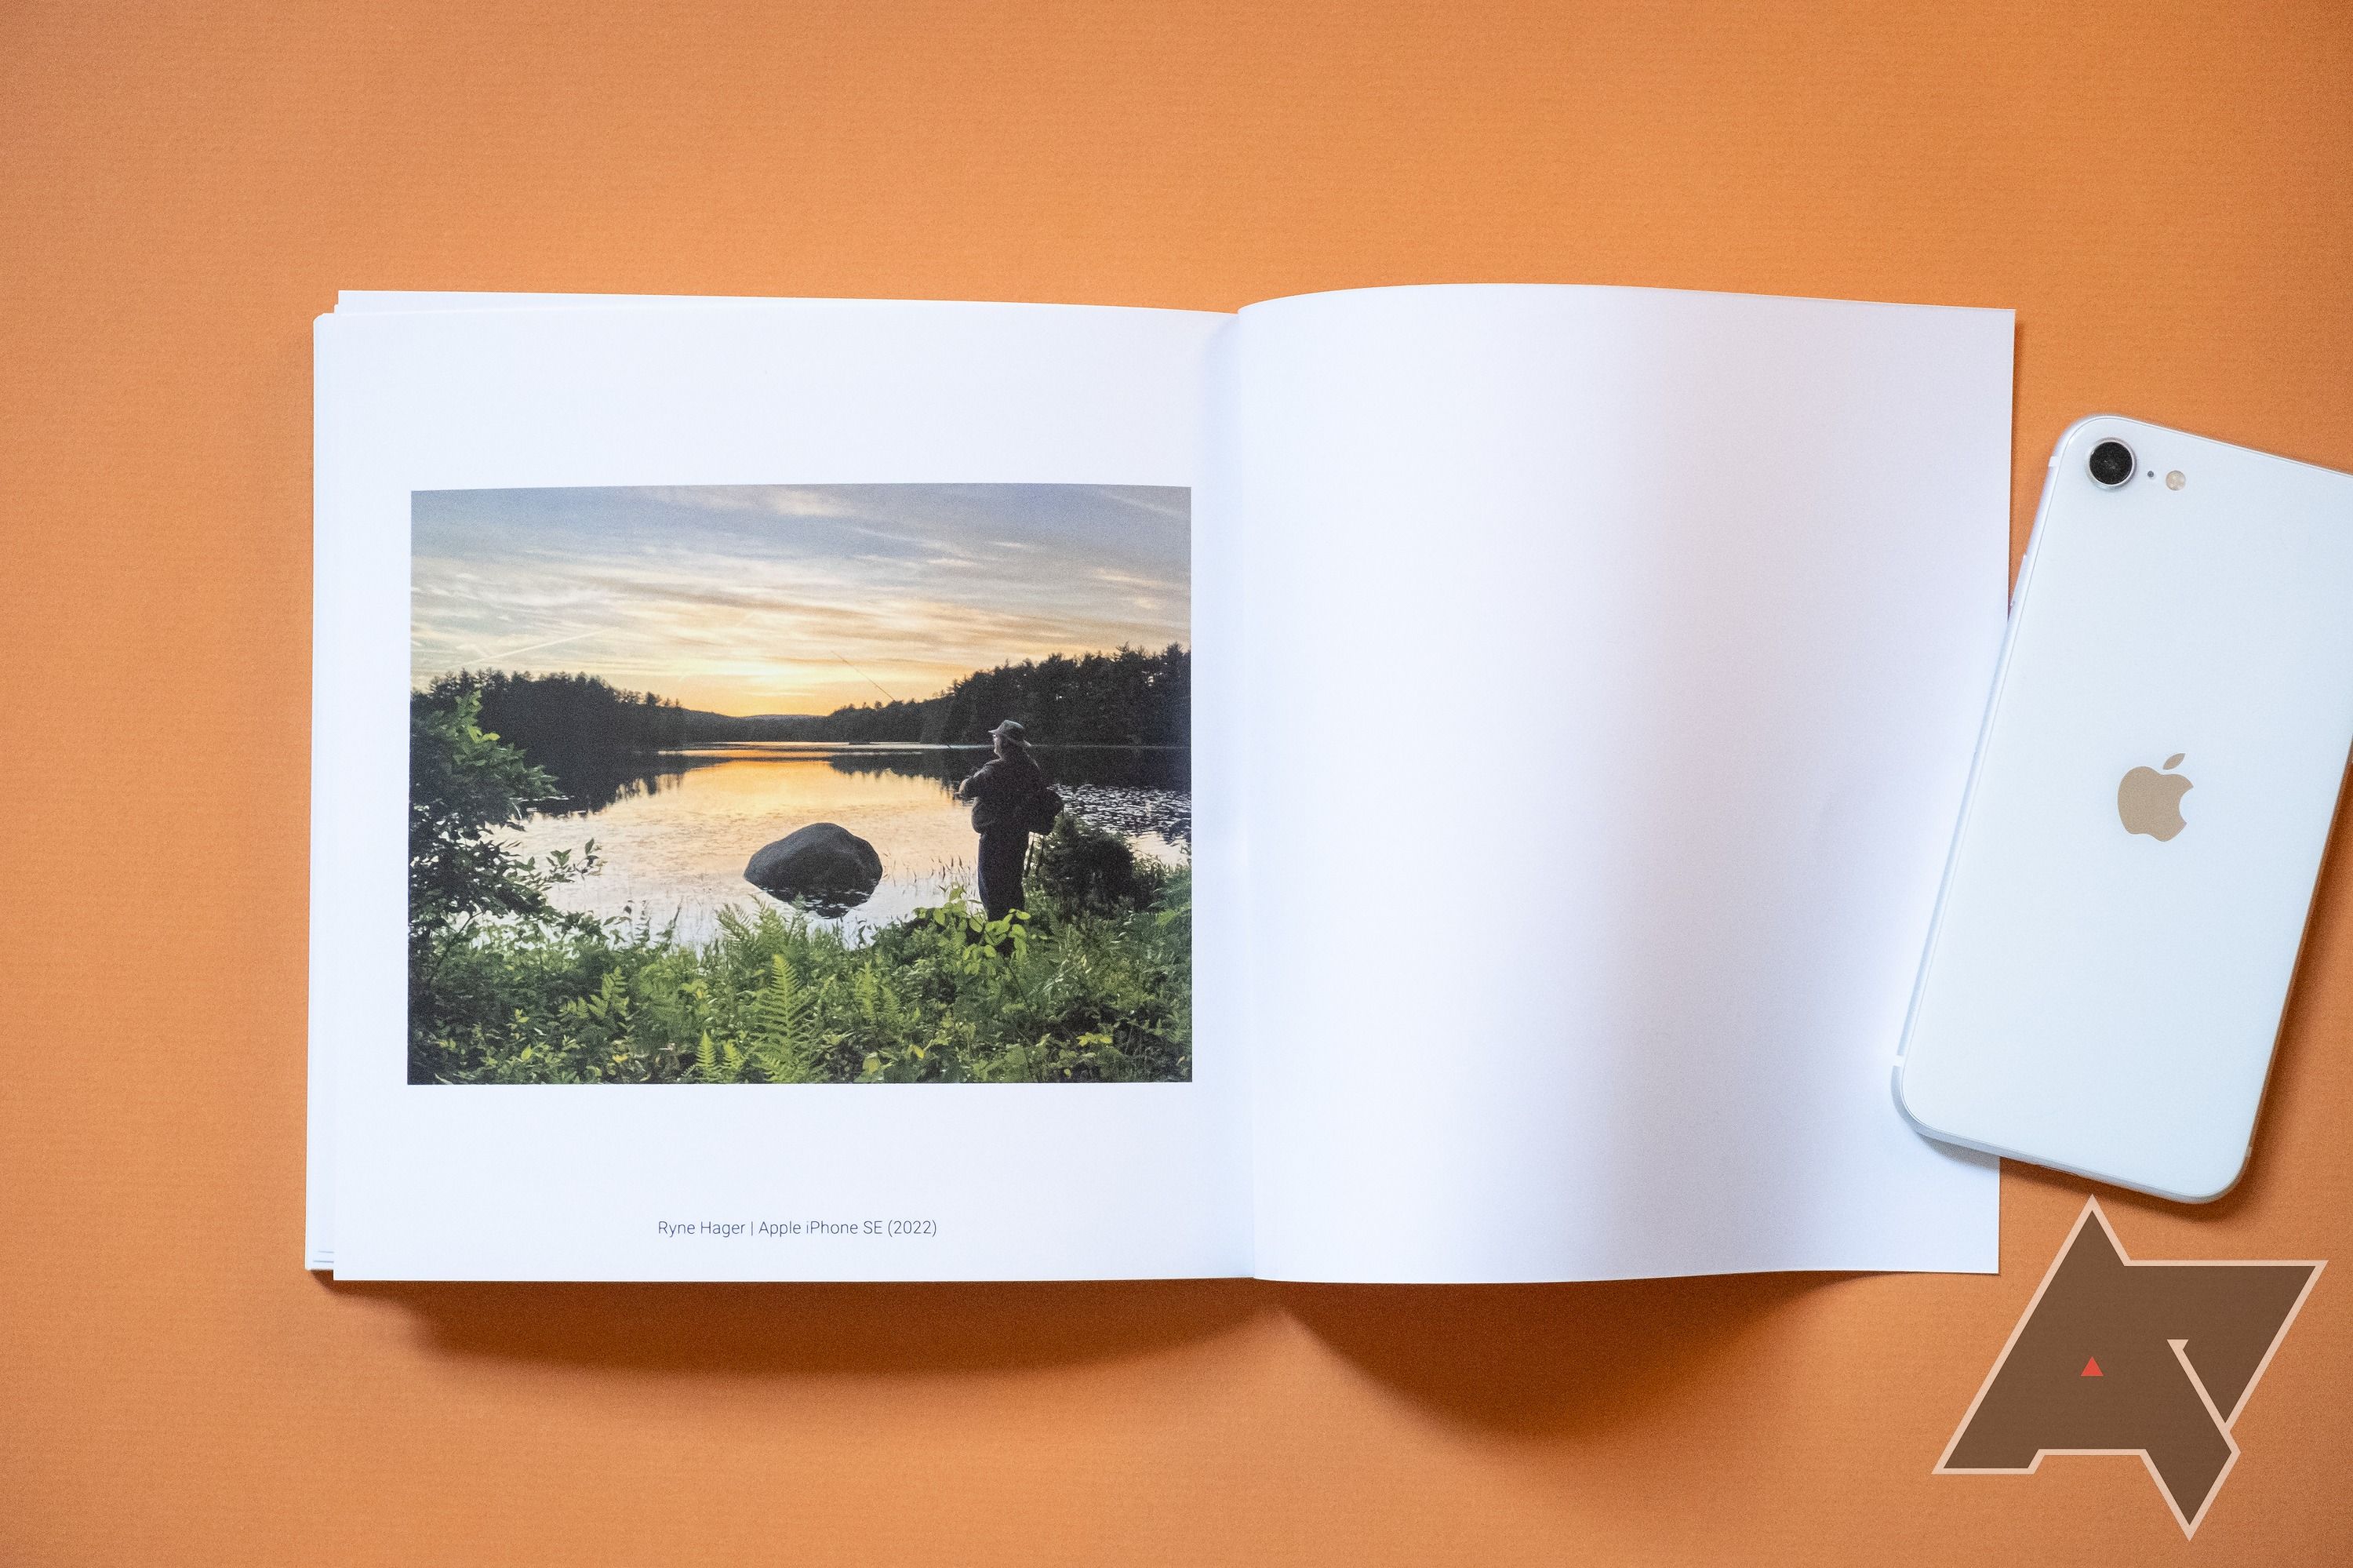
If you have specific photos you wish to highlight, one way to call attention to them within your photo book is by presenting them opposite a blank page. That way, they will be the only thing to look at on that spread.
Google Photos doesn't offer this functionality natively, but you can force blank pages in by adding a blank, white image to your album. You can add the same image to a book multiple times if you want to do this more than once in a single book, so you don't need to upload more than one blank image.
Take a few minutes to think about image placement. We placed the photo verso in our example image. Placing images recto may be your best bet if you're interested in maximum visibility.
This can also be helpful if you have a photo you want to take up an entire page but still want a caption for it. Add your full-page image on one page, then a blank image on the opposite page. Insert the caption for the photo under the blank space on the opposite page.
Google Photos charges per additional page after 20 pages, so this is one to use sparingly. But if you have pictures you're proud of, this is one way to make them shine in a printed album.
5. Big photo album? Go for softcover
Going past 20 pages in a photo book means you'll pay for each additional page you want to add. Softcover books start at $15, and additional pages cost 49 cents apiece. Hardcover books are $30, and extra pages are 99 cents each.
The math shakes out to hardcover albums costing double what their softcover counterparts do, regardless of how long they are. And the more photos you add, the bigger the price tag you're doubling. A 100-page softcover album will run you 65 bucks, but a hardcover version of the same one costs a whopping $110.
6. Bonus: Create your own cover
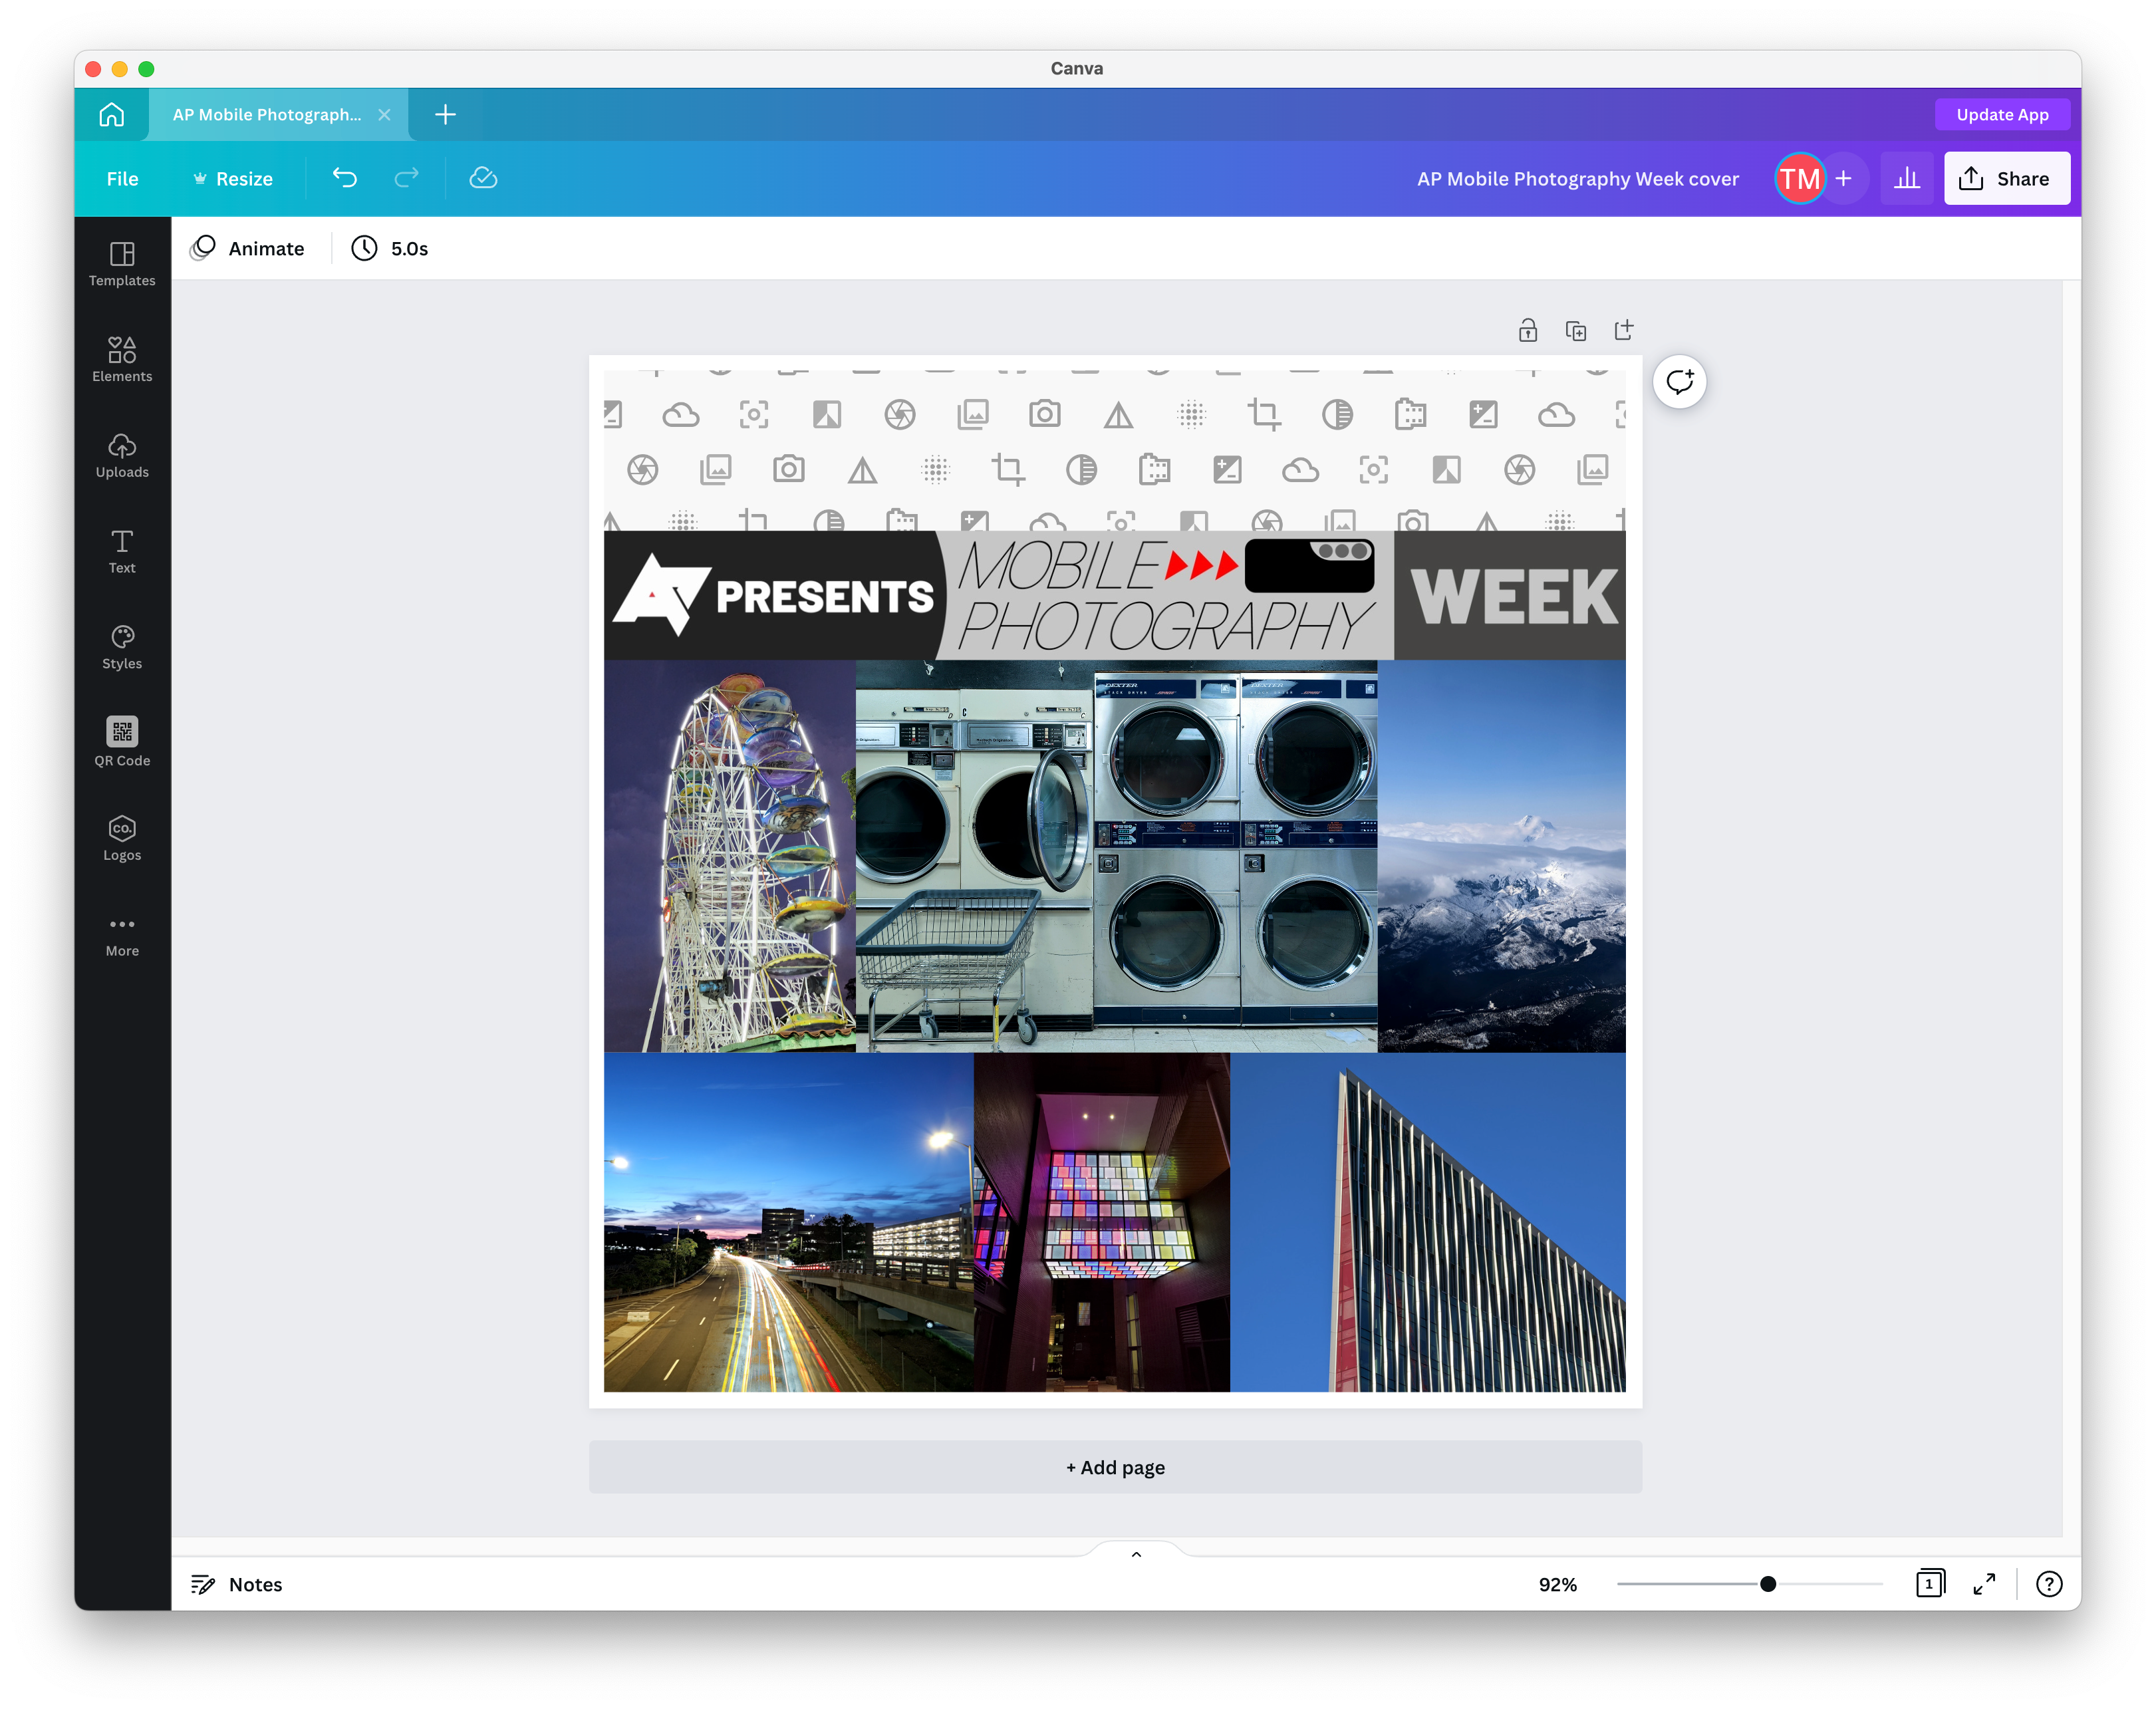
Google Photos' cover options for printed photo books are woefully lacking. Using the tools provided, you can only use a single photo on your cover, and there aren't many options to style it. But if you're inclined, there's nothing to stop you from using design software to create customized photo book covers.
Because Google's photo books are square rather than rectangular, there's not a lot of guesswork involved. If you have a square JPEG or PNG that's high enough resolution, it's simple to slot it in as your cover image.
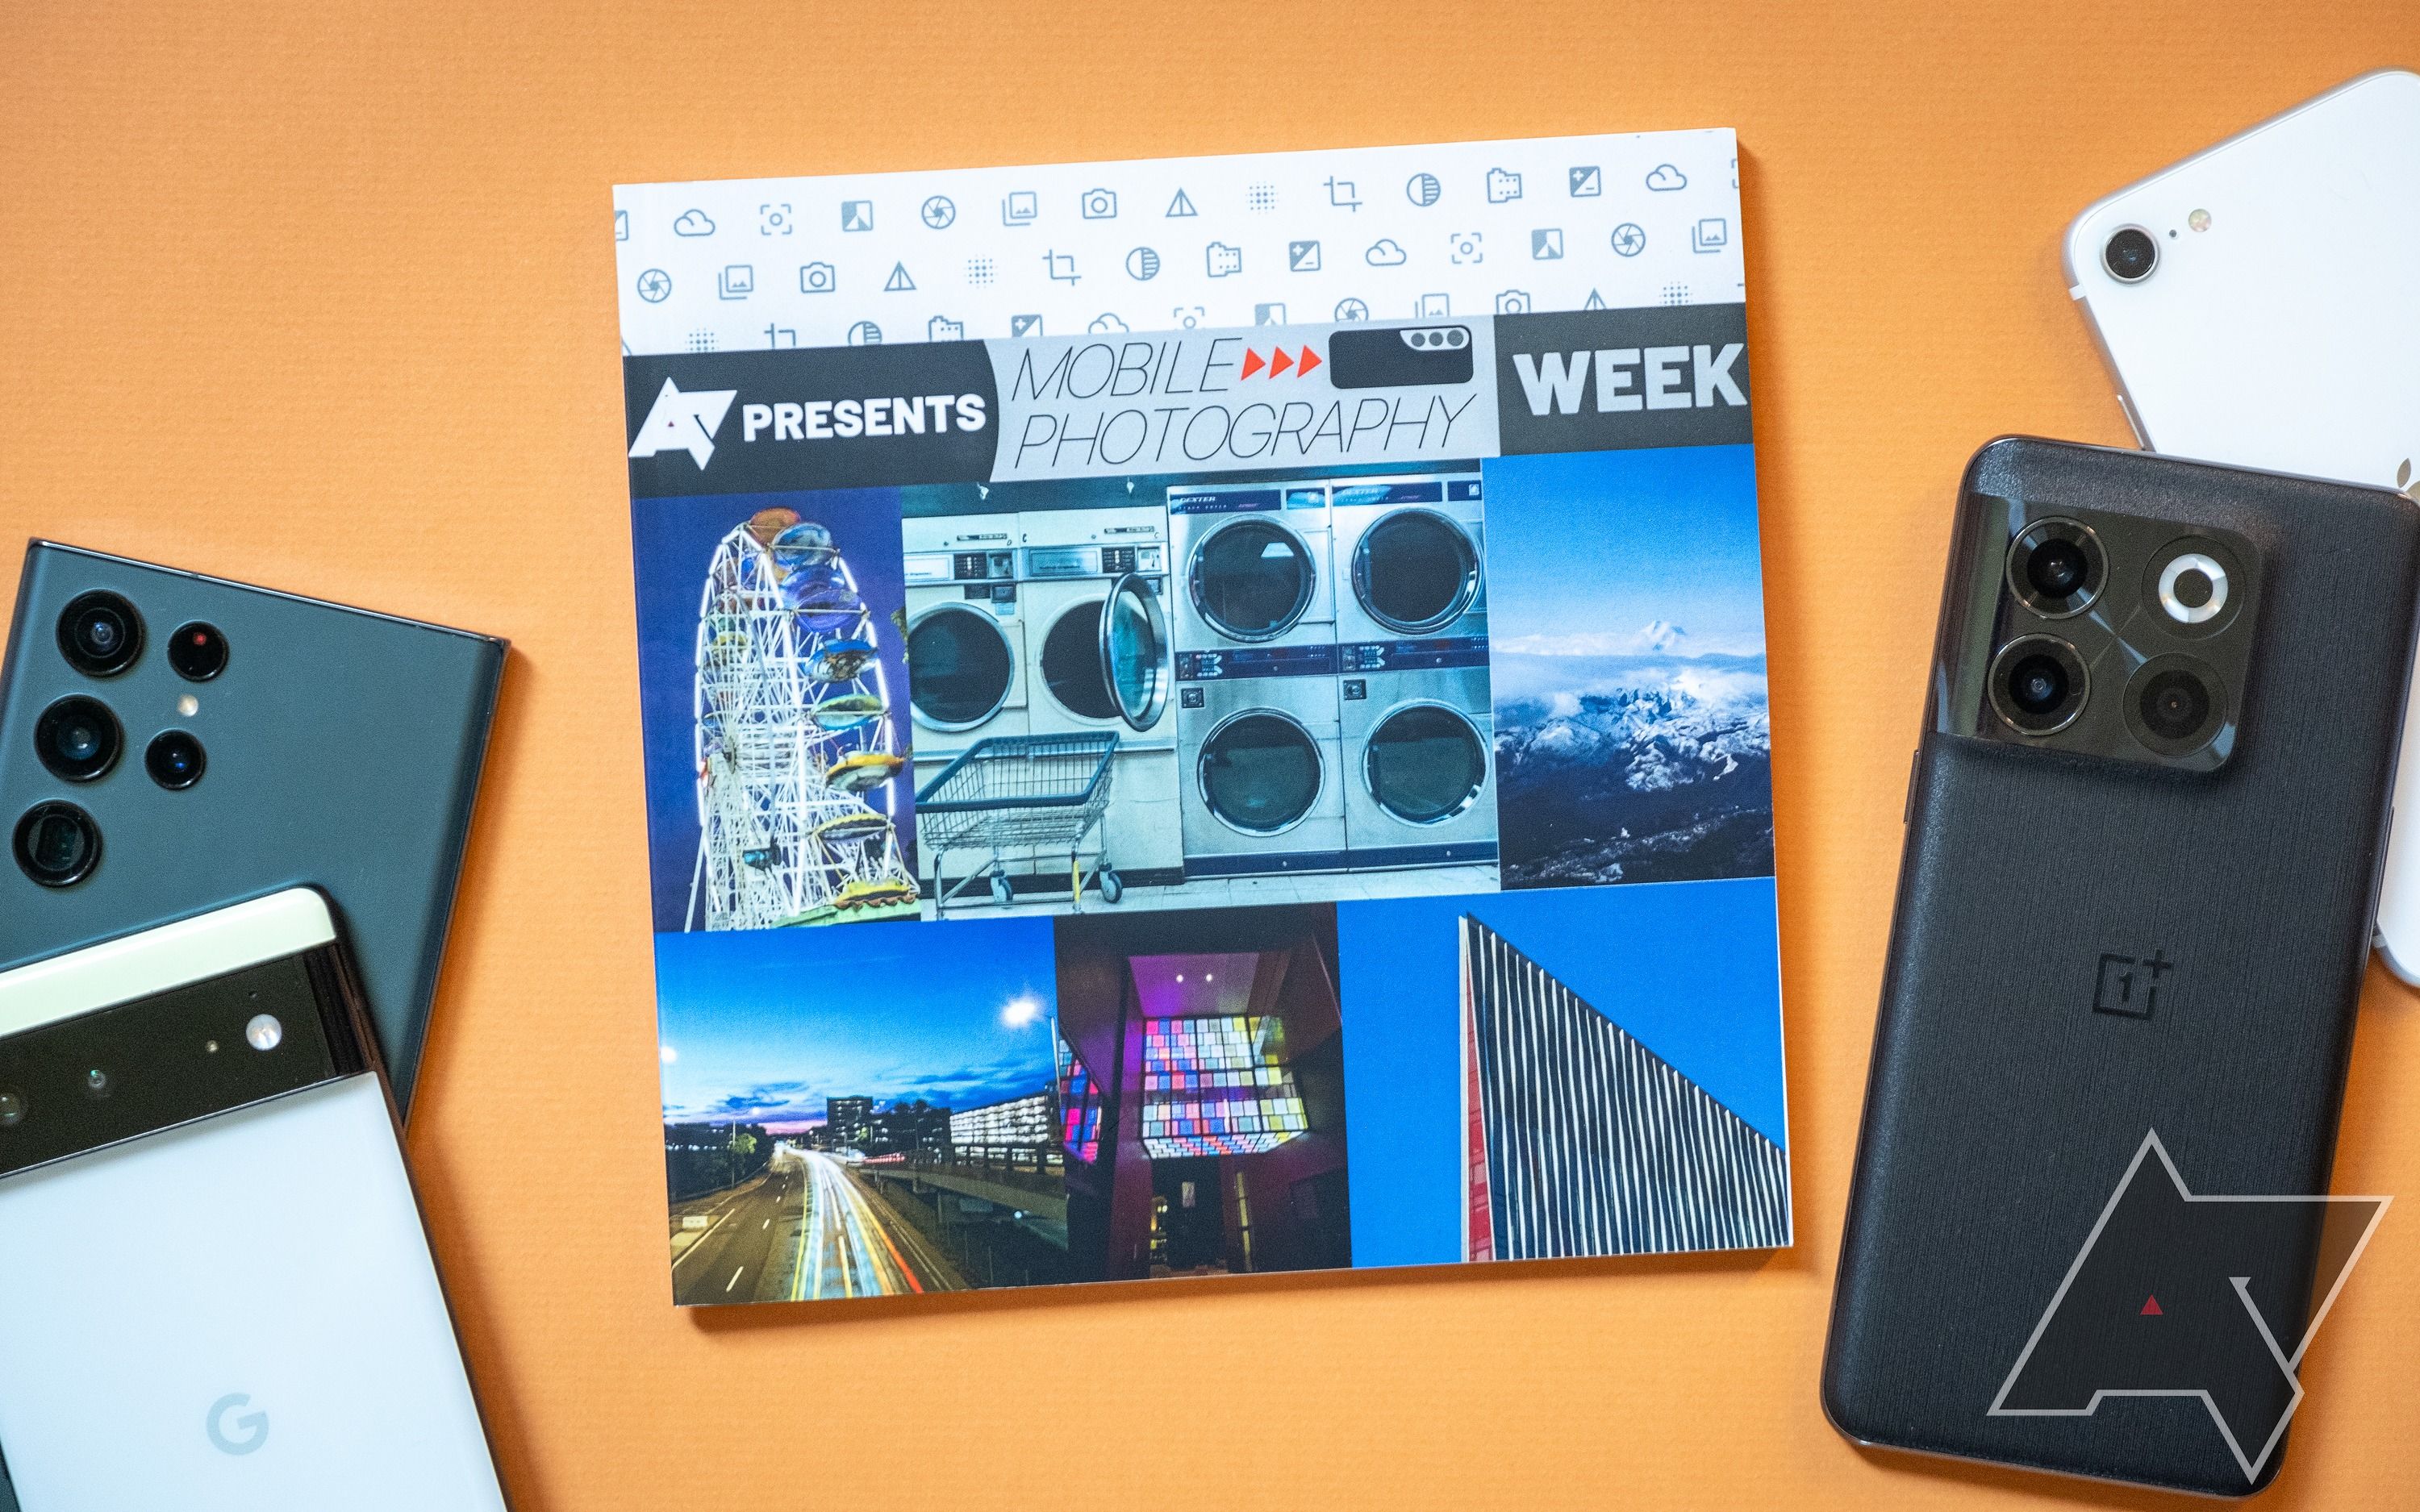
Canva was used to design the book cover you've seen throughout this post, but any graphic design software you're used to should be fine. The design here is simple. The pattern at the top is made of Google's free Material Icons, the strip in the middle is the same AP Mobile Photography week banner you see at the top of this post, and the photos below are snaps from inside the book. The design was exported as a PNG, uploaded to Google Photos, and applied as the cover photo using the full-size option.
Err on the side of caution and work in as high a resolution as possible if you go this route, but a resolution of 2100 x 2100 (for a seven-inch softcover book) or 2700 x 2700 (for a nine-inch hardcover book) should translate to an ample 300 pixels per inch when printed. Note that the full-size option sees your image bleed off the cover just a little in every direction, so it's best to incorporate some wiggle room if you're able, both visually and with respect to resolution.
Get serious about smartphone photography
You can become a better mobile photographer using any phone with a camera. However, if you want to upgrade to better hardware, check out our recommendations for the best Android phones you can get. If you're looking for general advice about using Google Photos, we have a handy list of tips and tricks for you to check out.
Want to take better selfies or up your food photography game? We have guides for those, too. For something a little more technical, check out our explainer on pixel binning. It explains why your phone's 50-megapixel camera kicks out 12-megapixel photos.

