Computers should be simple and easy to use for everyone. Windows and macOS devices are okay in this regard but have some complexities that sometimes make them difficult to use. Chromebooks have a streamlined user experience that is almost as easy as using the Google Chrome browser. This is because the operating system used on Chromebooks, called ChromeOS, is based on Google Chrome.
Chromebooks are cost-competitive compared to other computers. The cream-of-the-crop Chromebooks have great premium features such as touchscreens, styluses, or a fingerprint sensor. There are several great features included with ChromeOS that all Chromebook users, new or seasoned, should be aware of.
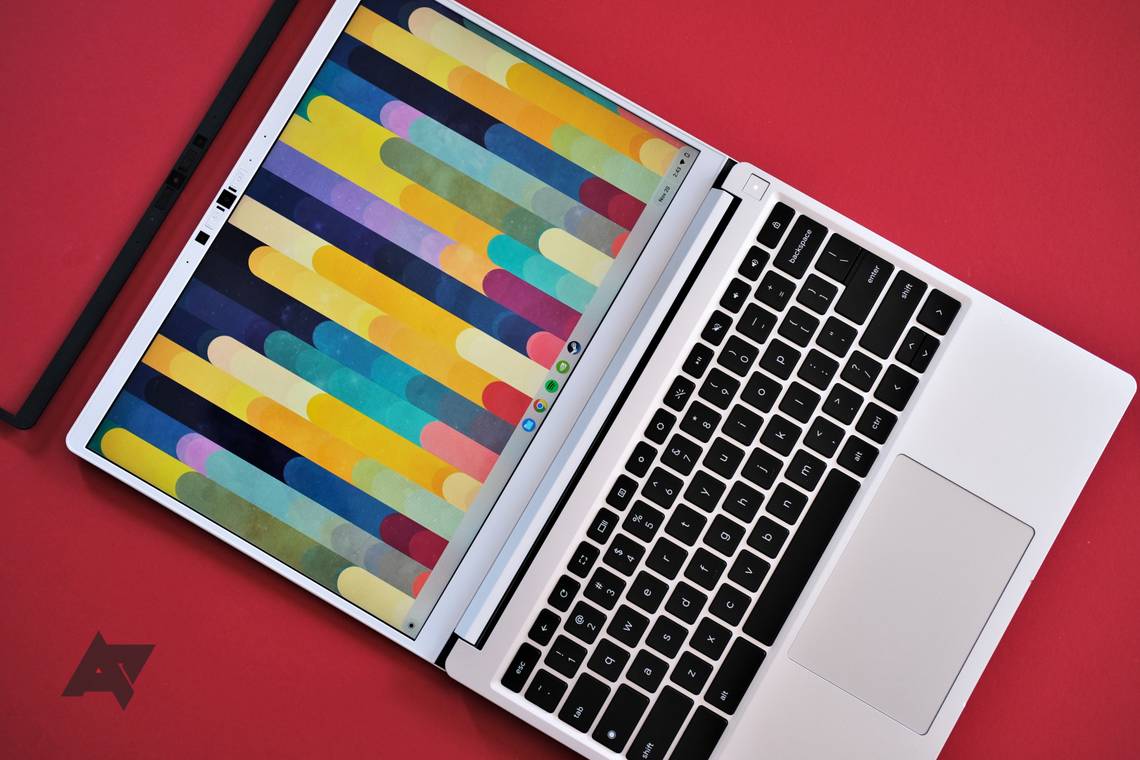
1 Gesture with your touchpad
There are several ways to move around a Chromebook, whether you use the touchpad, keyboard, or touchscreen if you have one. ChromeOS makes your touchpad more useful than a mouse by including gestures to make navigating your device easier.
- Tap the touchpad with two fingers simultaneously to right-click.
- Move two fingers up or down to scroll.
- Put two fingers on the touchpad and move them left or right to go forward and back in Chrome.
- Swipe up with three fingers to see your open windows. Swipe down with three fingers to go back to your last open window.
- Open a link by tapping it with three fingers.
- Close a Chrome tab by tapping it with three fingers.
- Put three fingers on the touchpad and swipe left and right to move through your Chrome tabs.
- Switch between your virtual desks by swiping left or right with four fingers.

2 Control your Chromebook with your keyboard
In addition to the gestures available using your touchpad, you can get a lot done with keyboard shortcuts. Your keyboard can do anything from refreshing the page to opening a new tab. To see the list of available keyboard shortcuts, simultaneously press Ctrl + Alt + ?. Some commonly used ones are:
- Ctrl + T: Open a new tab.
- Ctrl + Tab: Close the current tab.
- Ctrl + Shift + Tab: Open the last tab you closed.
- Ctrl + Tab and Ctrl + Shift + Tab: Move forward or backward through your tabs.
- Alt + Tab: Cycle through your windows.
- Search + l: Lock your Chromebook.

3 Turn on caps lock
Most people are used to using a Windows or Mac computer, which have dedicated caps lock keys. Chromebook keyboards don't have a caps lock key since they have a different layout from a traditional computer. Still, there is a way to turn on caps lock with the keyboard. Press Alt + Search simultaneously and caps lock turns on. Tap that key combination again to turn it off.

4 Quickly open pinned apps and websites
Much like the taskbar on Windows or the Dock on Macs, Chromebooks have a space at the bottom of the screen to save apps and websites you access often. This is referred to as the Shelf in ChromeOS, and there are a couple of ways to quickly and easily access these items. You can click them with the mouse to open them or use the keyboard to access the first 10 items on your Shelf. To do so, press Alt and the number key corresponding to the item you want to open in order from left to right. For example, to open the fifth item on your Shelf, tap Alt + 5.

5 Reposition your Shelf
Speaking of the Shelf, if you don't like it at the bottom of the screen, ChromeOS allows you to move it. To do so, right-click your home screen, mouse over the Shelf position option, and select Left, Bottom, or Right.

6 Customize how your apps show up
The ChromeOS launcher is a go-to way to access your common apps and Google Suite tools. But not everyone likes the layout as it first appears. Some apps that Chrome sets first you won't use, while apps you immediately access every time may be buried in the middle of the pack.
You can change this. Bring up the launcher and right-click it to get a Sort by menu. You have two options: You can sort by alphabetical name or sort by color. We know those sound a little strange, but give them a try. You may end up liking those arrangements more than the standard setup that the launcher has.
If you want to organize app groups for work, entertainment, or school, drag one app on top of another. This auto-creates a folder you can label and position, then add more apps to it until you're set up.

7 Set your accent colors
A 2023 update to ChromeOS gave users new options to tweak their displays. You can now use your shared Google Photos albums to pick a wallpaper from or set as a screensaver, so you have easy access to family or vacation photos even if you took them from your Android phone.
But that's only the beginning. When you pick a photo to use as a background, ChromeOS gives you a selection of accent colors to use based on the photo. Pick one, and it automatically adjusts your windows and tabs to that color palette. That makes it easy to set up a flowing display scheme.

8 Set up quick split screens
Split screens are more common than ever as we access multiple apps and reference points at the same time. Chromebooks make this easy to manage with a recent update that allows you to pick exactly how you want your screen organized.
Start by using the Everything Button key + Z while in a window (the Maximize tab button usually works for this step). This pops up a small window where you can select the tab array you want. Float is one of our favorite options because it keeps one small tab open on the side to reference while you work. Split screen allows you to divide the screen evenly between two important apps. Choose what works best for you.

9 Find useful new apps and games
We're all busy, and few people have time to sit down and browse new apps to look for something interesting. ChromeOS didn't help, either. The Explore option was loosely organized and difficult to navigate unless you knew what you wanted. Now that's improved.
To see the new apps or games that have recently become popular or offer significant changes, go to the Explore app, then select Apps and games. This tab, added in 2023, collects the latest important new content in one spot, so you can quickly browse and catch up on apps you may have missed.
10 Take advantage of virtual desks
Chromebooks include a great productivity feature called virtual desks, which allows you to have different desktops for different tasks you are trying to accomplish. For example, you can create a desk for each task if you are working on something but want to play a game. This minimizes the number of windows you have to maneuver around with.

To access your desks, swipe up on your touchpad with three fingers. You'll see your desks at the top of your screen and can add a new desk by tapping the New desk button. If you want to save your currently open applications as a desk for access later, tap the Save desk for later button in the upper-left corner.
11 Get notifications from your phone on your Chromebook
Chromebooks pair well with Android phones since there are integrations between the two devices through a Chromebook feature called Phone Hub. You can do many things with the linked devices, but one of the most useful features is the ability to access your phone notifications on your Chromebook. Connect your phone to your Chromebook, turn on the notification feature, and you're good to go.

When this feature is activated, any time you get a notification on your phone, it pops up in your notifications on your Chromebook. When the notification pops up, tap the arrow to expand or dismiss it. Dismissing a notification on your Chromebook also dismisses it on your phone. If the notification is for a message, you can reply to it from your Chromebook.
This is a handy feature because you can use many of the features of your Android phone while you're on your Chromebook without picking up your Android phone.
12 Chromebooks come with perks
Chromebooks come with a simple and easy interface. They also come with perks. To access these benefits, open the Explore app. To do so, press Ctrl + Shift + ?, go into the launcher and tap the icon, or search for the app. After you open the Explore app, select Perks on the left to see a list of available offers. These perks include free or discounted apps and services that change occasionally, so check back every couple of weeks for new offers.

13 Check your Chromebook performance
Chromebooks may be simpler and easier to use than Windows or Mac devices, but that doesn't mean they don't run into problems. That's why Google included the Diagnostics app to help you solve issues with your Chromebook. The Diagnostics app shows information about the performance of your hardware, keyboard, and network. You can run tests on the internal components of your device, export the results, and send those results to a support agent to help solve your issues.

14 Let others use your Chromebook without logging in
You may need to share your Chromebook with a friend or family member. But who wants people messing with their apps and settings? Chromebooks include a guest mode for these situations. Guest mode allows anyone to use your device without signing in to a Google account. Nothing they do on the device is tied to a specific account, and everything is erased after they log out.
To access guest mode, log out of your account and return to the main login screen. Then, tap the Browse as guest button in the lower-left corner to launch guest mode.

15 Easily access quick settings
Chromebooks have many settings you can find in the Settings app, but you don't need to access all of them all the time. Google thought of this and included the most used settings in the quick settings menu on the Shelf. To access them, go to the Shelf and tap the time to see the list of quick settings.

These settings include adjusting the brightness and volume of your device, Wi-Fi and Bluetooth settings, and a Do Not Disturb mode toggle. If these settings aren't enough, tap the gear in the upper-right corner of the quick settings menu to launch the Settings app.
16 Get the right screenshot every time
With people working or learning remotely at least part of the time, taking screenshots is more important than ever. Chromebooks make taking screenshots easy with many tools that capture exactly what you need. To open the screenshot tool, tap the screen capture button in the quick settings menu or press Ctrl + Shift + Overview (a box with two lines to the right of it).

After opening the tool, you have a few options. You can take a screenshot of the whole screen, a section of the screen, or a specific window. You can also record a video of your screen and choose where to save your screen capture.
17 Google Assistant included
A perk of having a device made by Google is that Google Assistant is integrated into the operating system. To activate the Assistant on your Chromebook, press Search + A to open the Assistant screen. Type your query or command or tap the microphone icon in the upper-right corner to speak to the Assistant. The Assistant can do everything on your phone or a smart speaker, such as answering a question, modifying a smart device, or setting a timer.

18 Start from scratch with a Powerwash
If your device gets to a point where it's slow or constantly runs into issues, it might be time to reset it. Resetting a Chromebook is called giving it a Powerwash, which is simple. Go to the Settings app, tap Advanced on the left, and select Reset settings. Then, tap the Reset button and follow the instructions to reset your device. Make sure you've backed up the files you need because they will be deleted during this process.

A Chromebook is all you need
Chromebooks are affordable and useful devices loaded with features. Make sure you always have the latest and greatest security and user-facing features by checking for updates to your Chromebook. Updates include regular bug fixes and add new features, including some we highlighted here, so give them a priority!